A festive bunting can be just the right touch to add a bit of extra sparkle to your holiday. It’s one of the easiest decorations to DIY, as you only have to have a sharp pair of scissors and know just a couple of stitches.
And if you’ve got a stash of old blue jeans lying around, then your bunting can now be cute AND eco-friendly, as no matter the holiday, denim makes a great background. All you have to do is change the color of the applique and the bias tape, and you’re immediately in season. Want a Halloween bunting? Use orange and black. Want a Valentine’s bunting? Use red and pink. Thanksgiving bunting? Orange and brown.
See? Denim works with everything!
I’m kinda rednecky, but I’m pretty sure that’s universal, right?
Here’s how to make a holiday bunting out of denim for every occasion!
You will need:
old denim. This is a nice way to use up old blue jeans, because the spots of wear just make the bunting look more interesting, I think. If your sewing machine can handle the extra thickness, you can even cut across seams and pockets and make the final bunting look even more interesting.
felt or fleece. I really like to use a thick, non-raveling fabric for the applique–cuts some of the fiddly sewing, you know? Felt is the most eco-friendly choice here, as those of you who prefer to craft with natural fabrics can use wool felt, while those of you who prefer recycled crafts can find felt made from recycled plastic. However, quilting cotton will absolutely work for this project.
You can use commercially-bought bias tape for your bunting, but I like to make my own bias tape, also from fleece or quilting cotton.
templates. Use stencils, a die cutter, or simple freehand sketching to create the appliques for your bunting. I have a super old-school, first-generation Cricut that I dote upon for all my die cutting needs.
glue stick. This is my secret weapon, y’all. Read on to see how I use it to simplify my sewing.

1. Cut the pennant flags. I made the template for my pennant flags by folding an 8.5″x11″ piece of paper in half lengthwise, then using that fold line as the altitude of an isosceles triangle. Once cut, my pennant flag template is an isosceles triangle with a base of 8.5″ and an altitude of 11″.
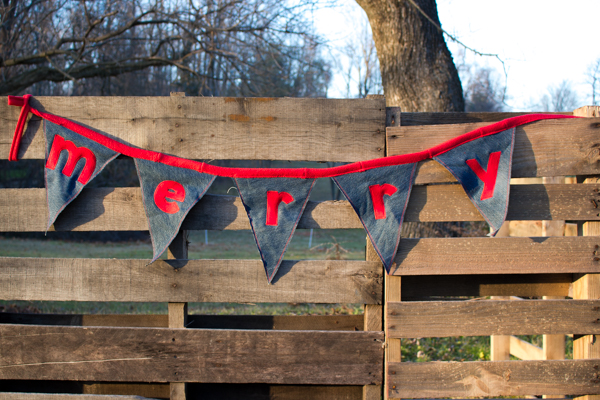
2. Measure and cut the appliques. You really only know how large your appliques need to be once you know how large your pennants are. I cut the word “merry” so that the “m” was 4″ wide, with the other letters proportional, and that, of course, determined their height.
Don’t forget, as well, that you don’t have to applique only letters. Trees, hearts, candles, or other simple graphics would also be really cute.
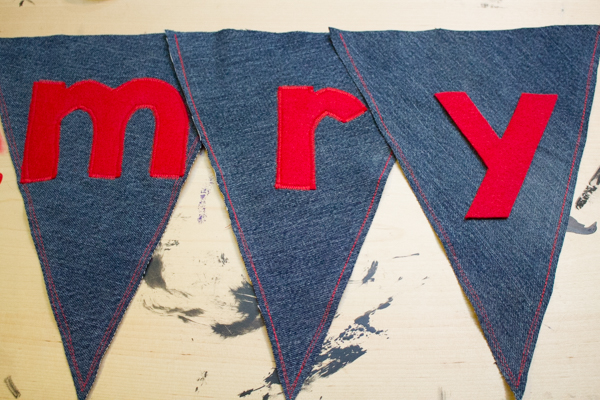
3. Stitch the pennants. Denim frays, and I definitely want my denim pennant flags to fray, as well… a little. To control the amount that your denim can fray, stitch twice around the raw edges of each flag.
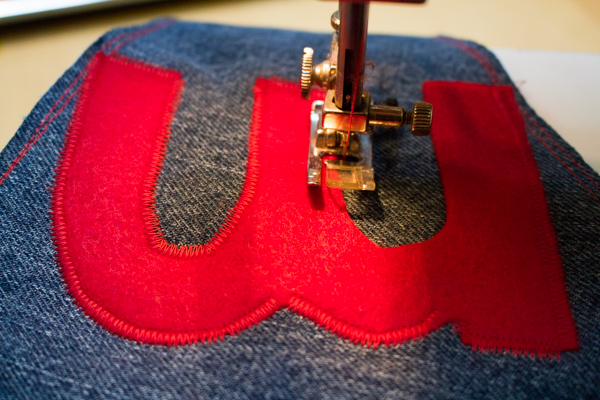
4. Stitch on the applique. Here’s where you get to learn about my secret weapon! Rub glue stick glue on the back of each applique piece, then press it firmly to its pennant flag. This glue won’t hold forever, but it WILL hold for long enough for you to zig-zag stitch the applique to the pennant, and it won’t gum up your sewing needle.
5. Sew the pennants to the bias tape. Pin the pennant flags inside the fold of the bias tape, leaving about a foot of tape at both the beginning and end of the bunting, so that you’ll have a way to tie it. Sew the bias tape closed, encasing the top of each pennant flag as you sew.
And that’s it! These buntings make lovely party decorations, but our own “merry” bunting is enjoying pride of place in our home all year, right next to our Christmas tree.