With visible mending, your repairs will still look cute even if you barely know how to sew.
I used to be SO afraid of hand-sewing that I tried to do all my mending with my sewing machine. It took me a VERY long time to admit to myself that in many cases, mending by sewing machine is actually more difficult than mending by hand, and it doesn’t always look as nice, either.
But alas, for my hand-sewing skills are also nothing to brag about! I can do a few decent embroidery stitches if you don’t mind that they’re not even, but I certainly wouldn’t be able to hand-stitch a rip so neatly that it would be invisible to the eye.
Fortunately, with visible mending, visibility to the eye is half the fun!
Not having to try to keep your sewing seamless and invisible lowers the stakes enough to make the project actually fun, especially when you consider that you can now use contrasting thread and add embellishments. In turn, that makes it far more likely that I, at least, will actually do the mending and not just hide the item away to be done at some other, undetermined date.
My most recent project was a huge rip in my “chore” pants–you know, the pants you put on when you’re painting or working in the mud or doing something else that might ruin your clothes. I’d been ignoring this rip for a while, but it finally got so big that I could no longer hide it under my T-shirt when I ran out to Menard’s for one more quart of paint. When you can’t even wear your chore pants to the big-box hardware store on a Saturday morning, you know something’s got to change!
Materials
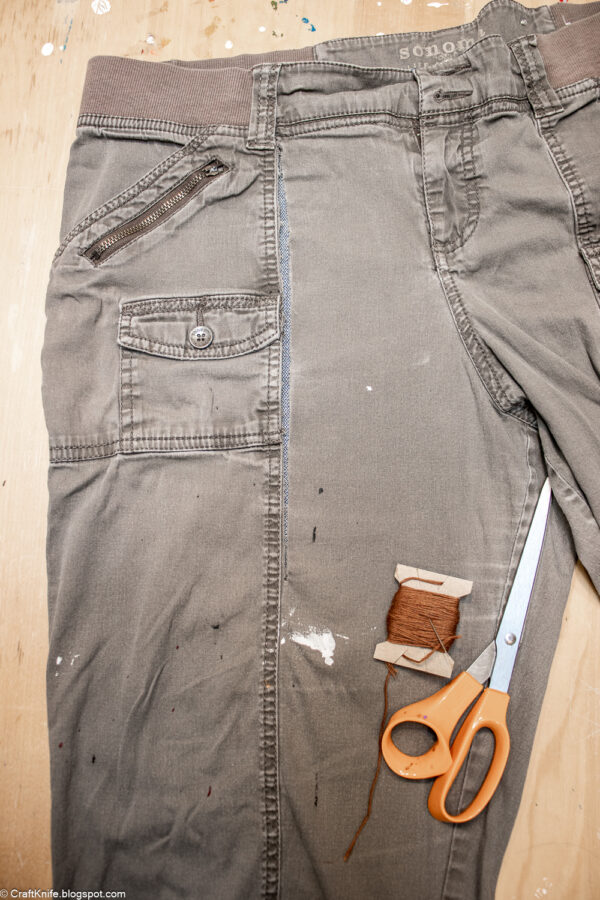
Here’s what I used for this project:
- backing fabric. I used a scrap of denim significantly larger than the rip. After I finished my mend, I cut the excess away.
- backing cardboard. I like to avoid using extra materials in my projects, even materials as simple and cheap as interfacing. Instead, I put a firm piece of corrugated cardboard, bigger even than my backing fabric, inside the pants leg to keep everything from shifting while I did my first round of stitches.
- needle and embroidery floss. I used a hand-sewing needle and several colors of embroidery floss. I was going for a low-key ombre effect in my stitching… it didn’t really come out looking ombre, but it’s still pretty!
- scissors.
Step 1: Prepare the fabrics for mending.
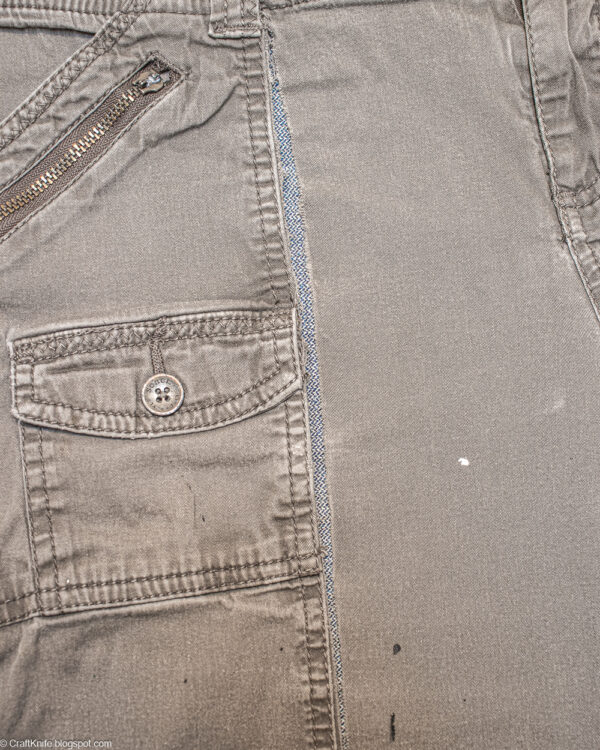
To prep my fabrics, I washed and ironed the pants and ironed the denim patch fabric. I’d been wearing these pants even with the rip in them, so the fabric around the rip had stretched and wouldn’t go back together without bunching. I just pulled the ripped sides together as much as they could without creasing it. I’m not going to repair the mend so much as reinforce it, and to be honest I’m not mad about having a little more room in the gut!
I put cardboard inside the leg to keep the fabric from shifting, then put the patch fabric behind the rip and smoothed it out. There are a few extra inches of patch fabric on all sides around the rip, so I can stitch around it however I want and then cut away the excess.
Step 2: Baste around the rip.
You would do this step even if you were going to do some super-cute visible mending embellishment, and then you’d just pull the basting stitches out later. But I’m going to keep these basting stitches as part of my overall mend.
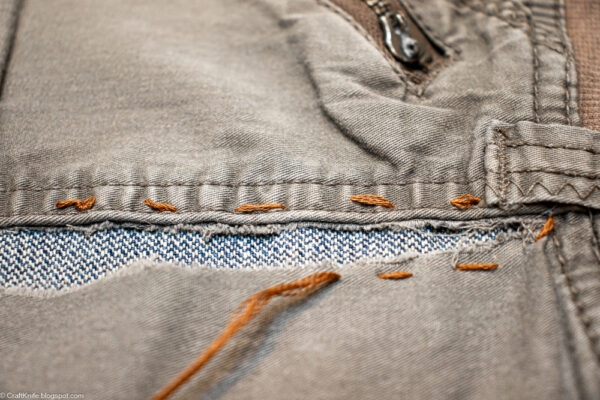
You don’t always want a knot inside your clothing, but I don’t think I’ll mind so I knotted the end of my floss and hid it between the rip and the patch fabric. Then I stitched a (wonky, uneven) running stitch around the perimeter of the rip, trying to get in pretty close to the ripped edges to prevent a ton of fraying. Stitching over the pants seam was a HUGE pain in the butt, and I ended up getting out a pair of my jewelry pliers to help me pull the needle through. It was annoying, but my sewing machine wouldn’t have liked it, either!
The most important places to baste are at the start and end of the rip, because that’s what will keep the fabric from ripping further.
Step 3: Continue stitching however you’d like.
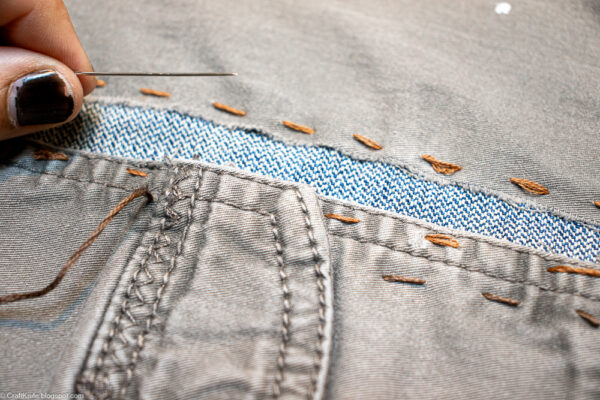
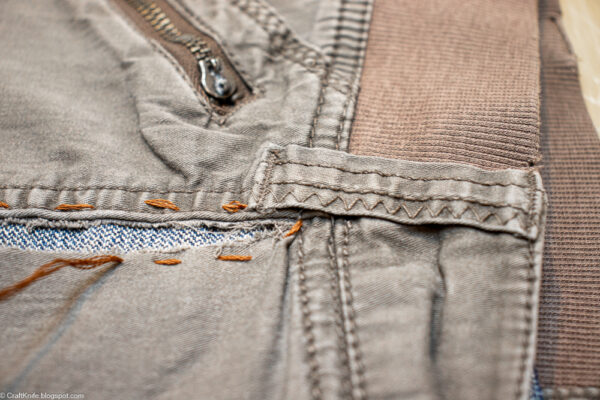
There are SO many cute ways to do visible mending, but I didn’t want to put a ton of brain power into it so I just continued stitching a line of running stitches in ever-widening spirals around the rip. The only tricky part with a running stitch is that you don’t want to pull it too tightly. The advice that I once received is that each stitch should just sit on top of the fabric like a grain of rice. You’re reinforcing the fabric, not pulling it together.
That’s also why you want to add more stitches than just that basting line. All these stitches, even as wonky and uneven as mine are, are working together to strengthen the fabric around the rip, spreading out the stress on it so it no longer has that weak spot.
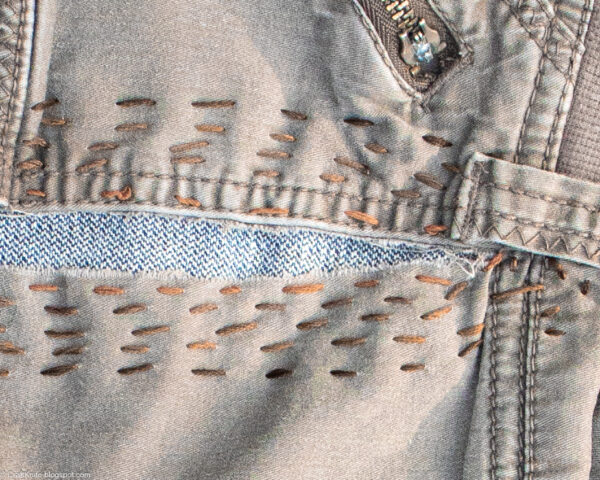
And if you think your stitches look ugly, keep going anyway! A single line of my wonky and uneven running stitches would have looked so bad (and been nearly useless at reinforcing the rip), but adding several more rows of stitching makes them look intentional. Rustic, but intentional!
When I changed floss colors, I again sneaked the knot in between the pants and the patch fabric, easing it between those gaps in the running stitches.
When I was finished stitching, I turned the pants inside out and cut away the excess patch fabric from around the mend. Be careful with this part, or you’ll give yourself something new to mend!
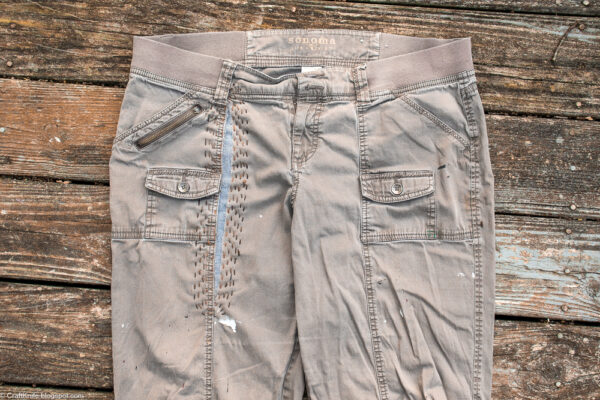
I am SO pleased with the final result! The pants aren’t going to win any fashion awards, but at least I’m no longer putting on a show when I run out to grab a new drill bit, and I’m confident that the repair will stay put.
If you want to know more about visible mending, here are some other resources that I like:
- Creative Mending: Beautiful Darning, Patching and Stitching Techniques, by hikaru noguchi. The focus of this book is really on darning, so it’s an excellent resource especially for mending socks, sweaters, and other wooly bits. It also includes tips for *invisible* mending, including how to choose matching thread colors and hide your mending within a pattern.
- Mend & Patch: A Handbook to Repairing Clothes and Textiles, by Kersten Neumuller. This book is my favorite of the bunch, with tons of illustrated techniques for all kinds of mends on all kinds of fabrics. This book is where I learned the Parachute Ranger’s Stitch, a stitch that has become my handiest, most go-to stitch for every circumstance. My mending group has a monthly open house at our public library during which people can bring us their stuff and hang out while we mend it; the other month, I repaired a patron’s SHOE with that stitch!
- Mend! A Refashioning Manual and Manifesto, by Kate Sekules. My favorite part of this book is the context! Before Sekules gets into even the basics of visible mending, they first spend plenty of time talking about why mending is an important skill even in today’s disposable culture, and then they offer a history of mending from the ancient times forward, including illustrations. It’s fascinating!