
Sew yourself a magical Halloween!
Y’all know by now that sewing is my favorite handicraft, and I especially love sewing for holidays, so you will not be surprised to see that I have a LOOOONNNNGGG list of favorite Halloween sewing projects–and I think that you’re going to love them, too!
Bat Garland
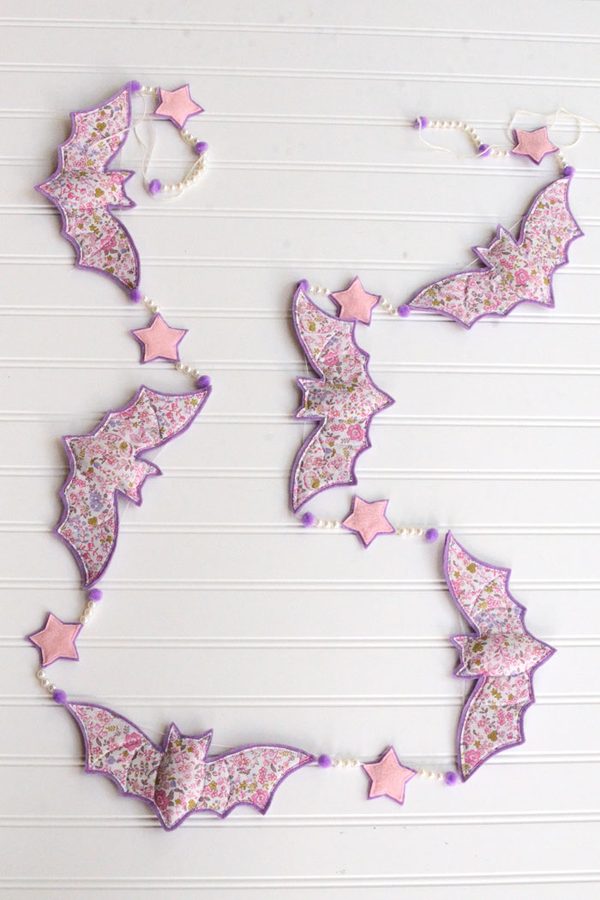
I love that the creator made this garland so cutesy with pinks and purples and florals, AND that it would work just as well with my own Halloween vibe, which leans hard into all things dark and spooky. You can do away with the fusible interfacing for this project, simply tracing and cutting directly onto the back of your main fabric. You could probably skip the freezer paper for the felt, too, but freezer paper genuinely does make cutting felt out super precisely a lot easier.
Bat Pillow
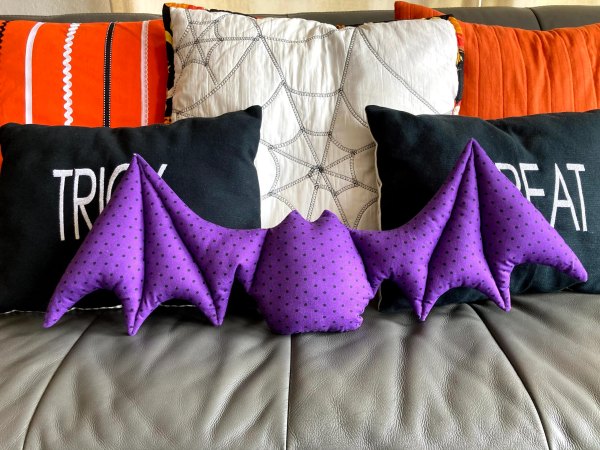
Yes, fine, I friggin’ love bats. That being said, if you ever find a bat in the same room as a small child or a sleeping person, you need to get them the rabies vaccine ASAP, because a bat can bite someone without causing pain or leaving a mark. This pillow will not bite, you, though, unless you’ve seriously messed up something in the sewing process.
Jack-o-Lantern Pillow
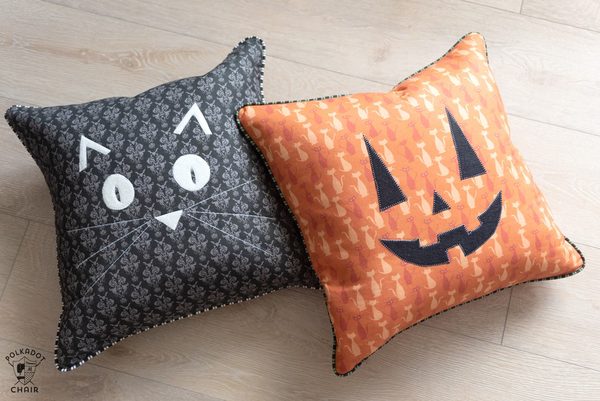
Apparently, what I most want you to do with your Halloween sewing is fully stock your couch with all the comfy pillows and quilts that it will hold. And I am okay with that! I think this Jack-o-lantern pillow is fun because you can get creative with the print for the orange fabric, and you can get even more creative with the face that you applique. The tutorial calls for double-sided fusible interfacing, but if you pin carefully, you don’t need it.
Monster Stuffie
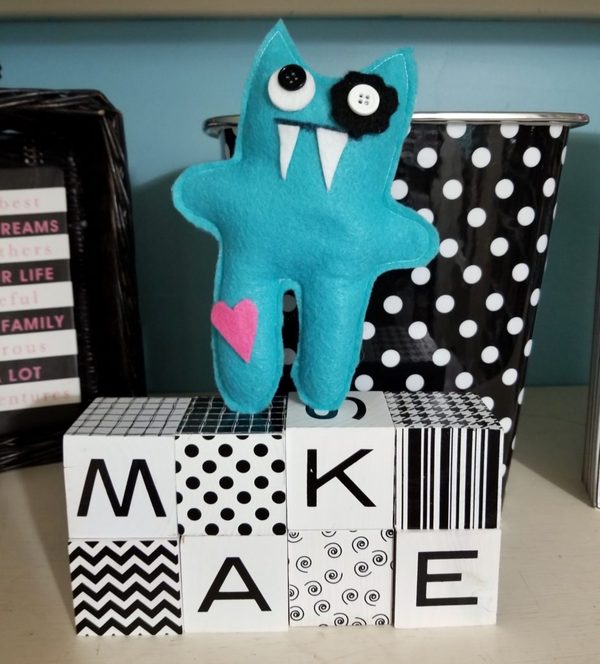
These monster stuffies are a great way to get kids involved in the handmade magic-making, because felt is so easy to cut and sew, and since it doesn’t fray, you don’t have to worry about seam allowances or bother with finishing raw edges. For the most kid-friendly project, combine stitching (by hand or with a machine) with fabric glue.
Patchwork Pumpkin Table Runner
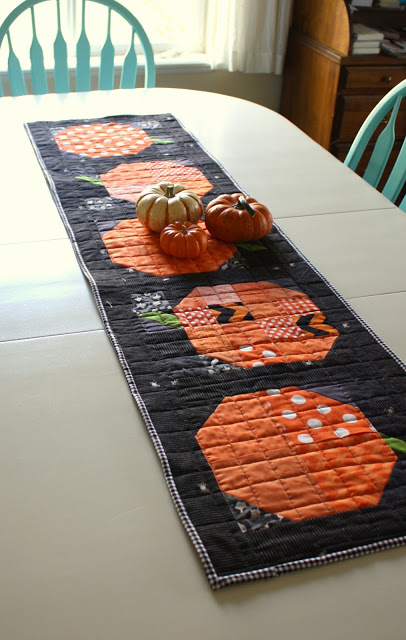
On Halloween, I don’t really set the table with anything more complicated than pizza and a bowl of candy, but it still might as well look festive! If you confined this table runner to simple autumnal colors it could stay on your table through Thanksgiving… but what’s the fun of spending October in a home that’s not spookified to the max?
Pumpkin Hot Pad
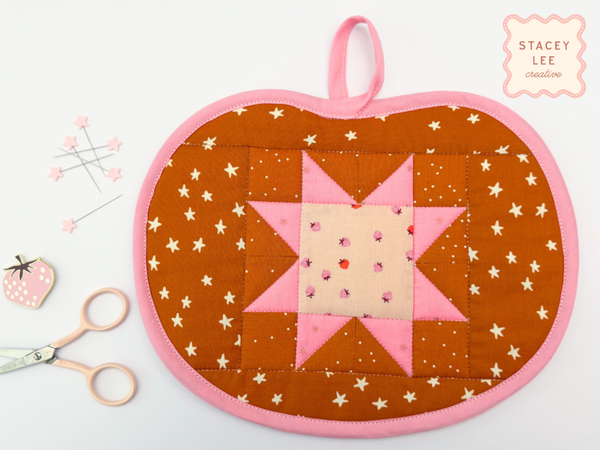
Okay, THIS pumpkin you can sew in cute colors and use through Thanksgiving. It’s too cute to put away at the end of October! I know I like to substitute materials whenever I feel like, but for anything used with cooking or heat, you can’t sub out Insul Bright batting. Burning your hands off is too scary even for Halloween!
Pumpkin Coasters
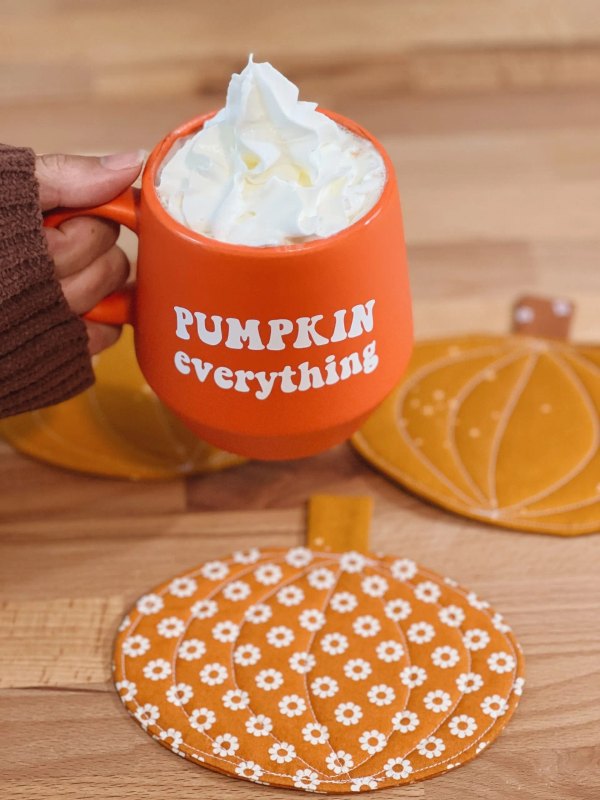
And if you’re already sewing everything Halloween for your kitchen and living room, you obviously need a set of Halloween coasters! You can also use Insul Bright batting just to be super, super safe, but regular batting is okay to use for coasters.
Spiderweb Quilt
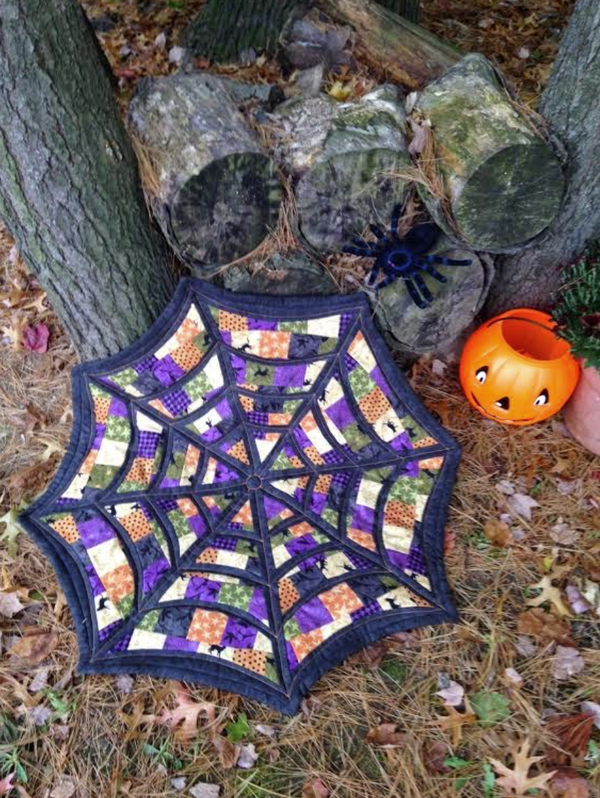
Every autumn/winter holiday needs a quilt, because otherwise, what will you snuggle underneath while you sit on the couch and watch holiday movies? I love that this spiderweb quilt doesn’t require a precise quilt pattern with specific measurements and templates, etc., because I have been doing a ton of that type of sewing lately and I’m kind of over it for a while.
Trick-or-Treat Bag
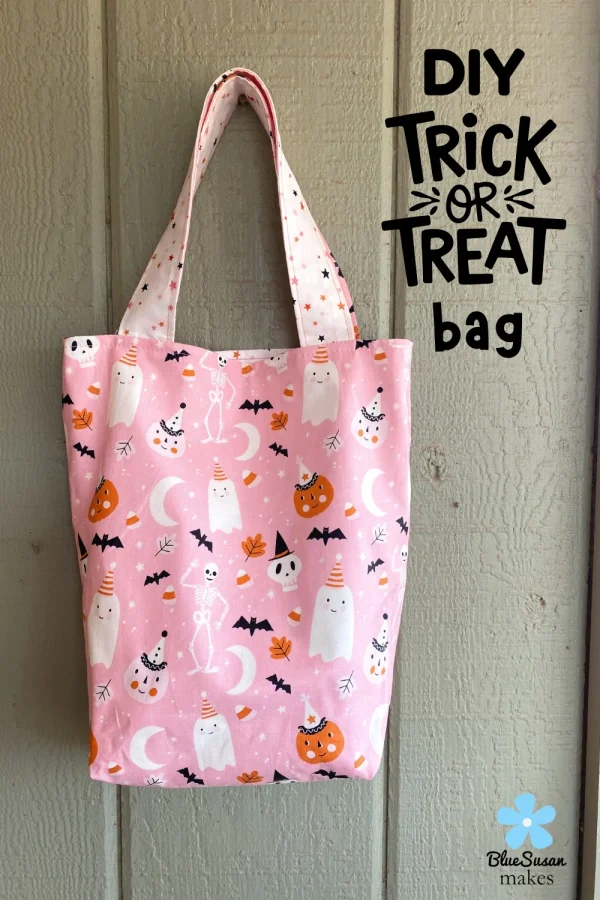
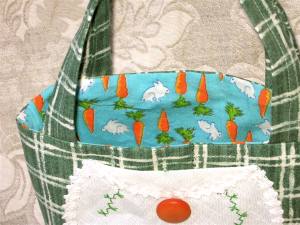
When my kids were little I sewed them actual pillowcases to trick-or-treat with, because 1) I was channeling Great Pumpkin vibes and 2) we went WAY too hard on Halloween night to tolerate going home when an eensy plastic Jack-o-lantern bucket was filled, but this adorable trick-or-treat tote is a very manageable size for an even littler trick-or-treater. And best of all, it’s a chance to bust out your cutest Halloween fabric prints!
Witch Hat
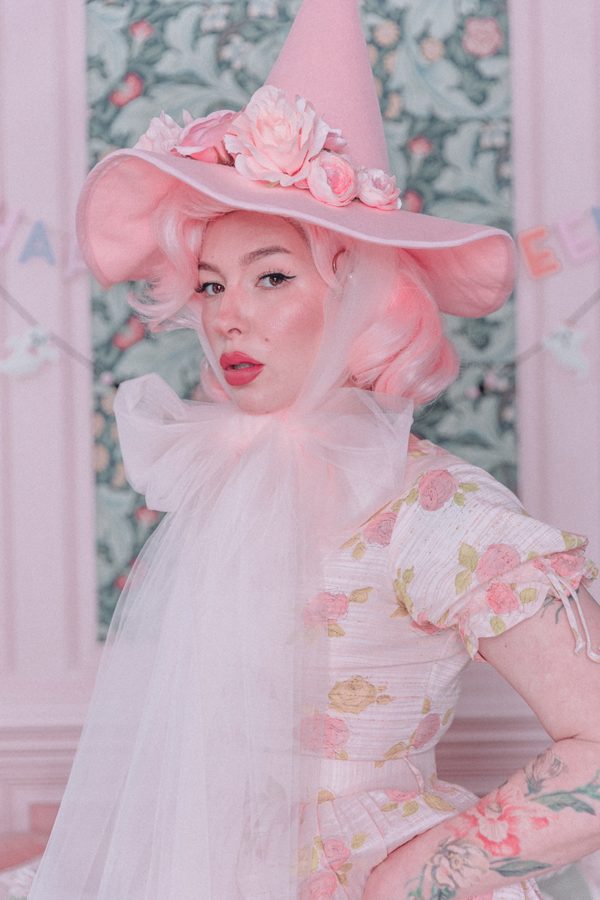
You literally cannot get through October without wearing a witch hat at some point. This is not my rule–it is a universal truth! To help you meet this requirement, here’s a witch hat pattern that’s free to download, and it has sizes for both adults and kids! The pattern is perfect as-is, but to make a fully lined witch hat, cut and sew a second hat, sew them right sides together almost all the way around the brim, leaving a hole for turning, then turn and top-stitch. Add interfacing to both the cone and the brim for a witch hat that holds its shape nicely.
P.S. Prefer cross-stitching to sewing? I’ve got a list for you, too!