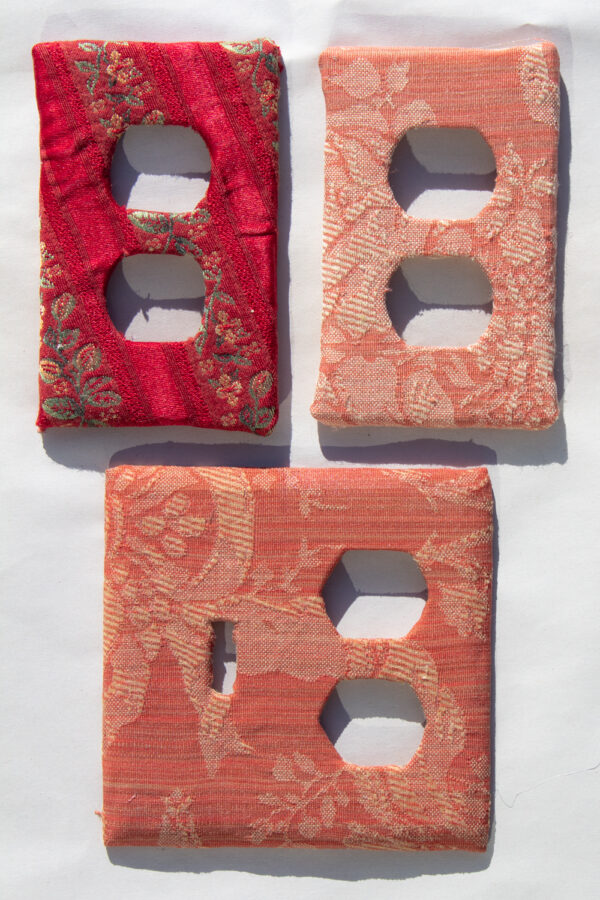
Fabric is an easy way to give a completely new look to your plain switch plates or outlet covers. I really love my paper-covered switch plates for adding a pop of color and a fun pattern to an otherwise boring grey wall, but the lush vintage upholstery fabric that I used to cover the switch plates on the adjacent burgundy wall make me, if anything, even happier. I’m a sewer much more than I am a paper crafter, so I love having beautiful fabrics around me. And the extra texture is a balm to my sensory-seeking soul!
Unlike my paper-covered switch plates, these fabric-covered ones can’t be sealed. That means that they’re not a good choice for an outlet cover that gets a lot of use. They work very well, though, for a couple of particularly hard to reach but easy to see outlets in my family room. I also went ahead and pulled the trigger on redoing a very visible switch plate. If the Covid numbers get high again I’m probably going to freak out and replace that one with something I can scrub, but until then, I’m delighted with it.
Here is what YOU will need to make yourself some delightful fabric-covered switch plates and outlet covers, too!
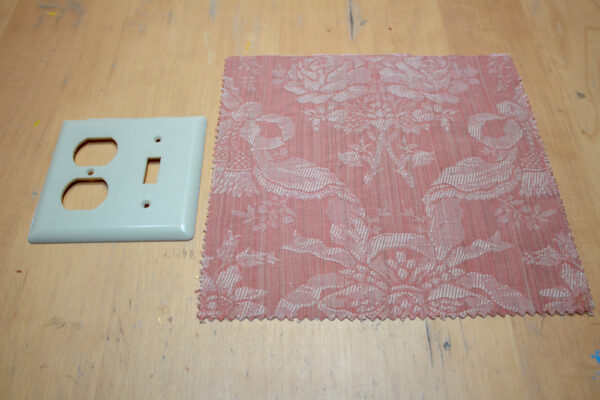
- switch plates/outlet covers. I’m upcycling the cheap plastic ones that I’m pretty sure were made in the 1980s. They’re yellowed and kind of gross, but super easy to embellish!
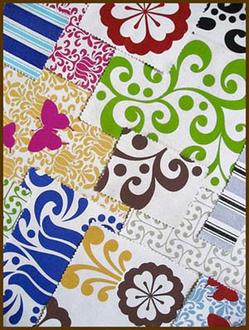
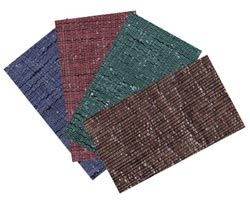
- fabric. I’m using vintage upholstery fabric from an old sample book that I thrifted once upon a time. You could use any weight of fabric, but thinner fabrics, like quilting cotton, might let the Mod Podge seep through. On the other hand–unlike the thick, heavily textured upholstery fabric that I’m using, you actually could seal quilting cotton with a few coats of polyurethane sealant!
- hot glue. Covering a switch plate in fabric is so much quicker than covering it in paper, because instead of painting on the Mod Podge and waiting for everything to dry one edge at a time, you can just hot glue the fabric down and be done with it! This also makes changing the fabric quick and easy. If the fabric does get grimy and you can’t scrub it, you can at least replace it.
- measuring and cutting supplies. I used a metal ruler, self-healing cutting mat, craft knife, and fabric scissors.
Step 1: Prepare and cut the fabric.
If you, like me, are upcycling upholstery samples for this project, you’ll first need to remove the paper backing from each sample. To do this, pop the fabric into a pot of boiling water and let it simmer for several minutes. Then, remove the fabric from the pot and use a dish brush to scrub away the wet paper. You won’t get all of the glue off the fabric or make it look like it never spent fifty years inside a sample book. You will, however, be able to drape and sew with it, so it should work for most crafting purposes.
Lay the switch plate you’d like to cover on the fabric. Then, measure at least .5″ past it on all sides, and cut.
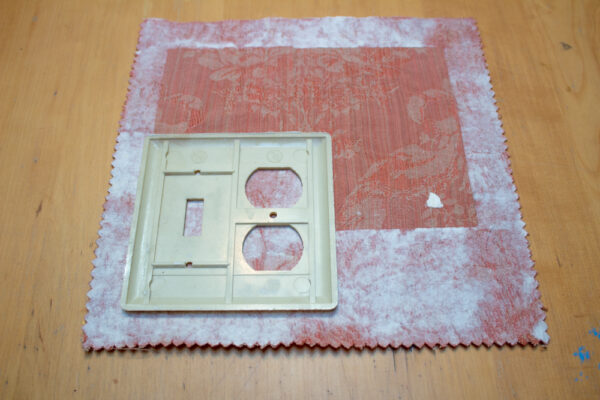
Step 2: Glue the upholstery fabric to the switch plate.
Lay the fabric face down on your work surface, and the switch plate face down on the fabric.
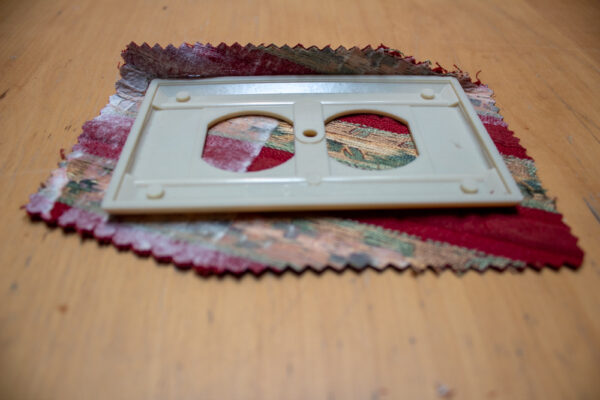
Run a line of hot glue along one back edge of the switch plate. Then, pull the fabric up and over. Since you’re only gluing the sides, make sure you keep the fabric taut so that the front face doesn’t have wrinkles.
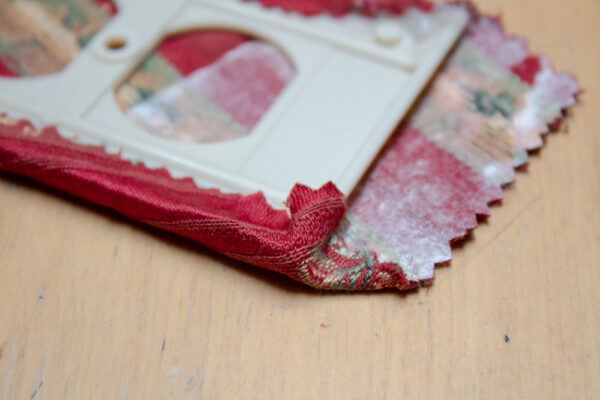
To glue each adjacent side, first add a bead of glue to the back corner of the switch plate. Then, fold the fabric down as if you’re wrapping a gift. The fabric should make a tidy wrapping paper fold, and then you can glue the adjacent side just as you did the previous side.
Step 3: Cut and glue the center holes.
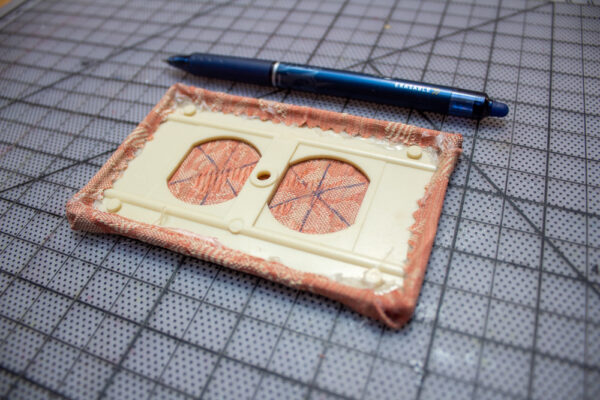
Using a Frixion pen or other fabric-marking pen, mark pie slices on the back of the fabric covering the holes in your outlet cover or switch plate. You’ll need more pie slices if the hole has a lot of curves, like for an outlet, than you will if the hole is straight lines only, like for a light switch.
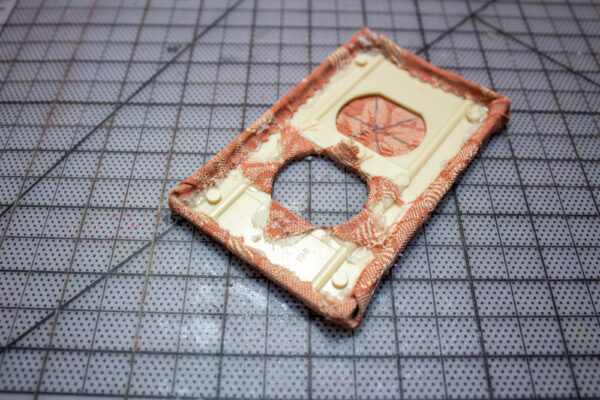
Use a craft knife to cut along the lines you marked. Then, put a dab of hot glue on the back of each fabric triangle in turn, and pull it gently to the back of the switch cover. Be VERY careful not to pull the fabric while you do this, or you’ll make the pattern on the front crooked.
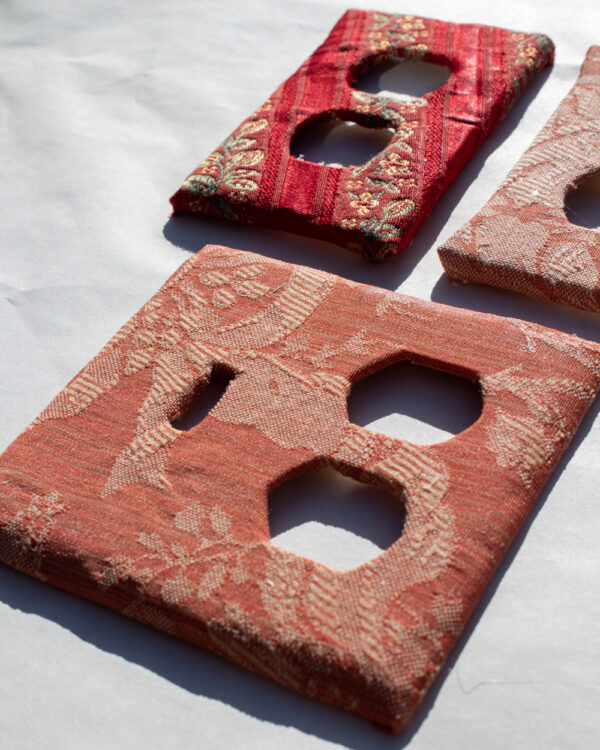
Okay, I definitely pulled the fabric out of whack on those top outlet covers, dang it, so just don’t look at them too closely.
To put the screw holes into the fabric, use an awl or the tip of a craft knife to poke a hole in the fabric from the back. Place the screw in from the front as usual.
I love this fun way to upcycle a bit of my vintage upholstery sample collection! Although I originally did this project to avoid the wastefulness of throwing out a perfectly good old plastic outlet cover and buying a new one, I’m now realizing how fun it would be to change out my decorative outlet covers seasonally.
Because now that I’m thinking of it, I DO have some vintage fabric that would look especially festive for Christmas…