
Obviously, I’m not going to buy brand-new outlet covers and light switch plates for my family room, just because I repainted the walls.
I mean, so what if the current covers are made from plastic so old that it’s started to yellow? So what if not only did they not match our formerly white walls, but they are way more obviously mismatched to our current, freshly-painted burgundy and grey walls?
They’re still completely functional!
Yes, I wanted covers that match my walls, but no, I didn’t want to buy something new and trash something old in the process.
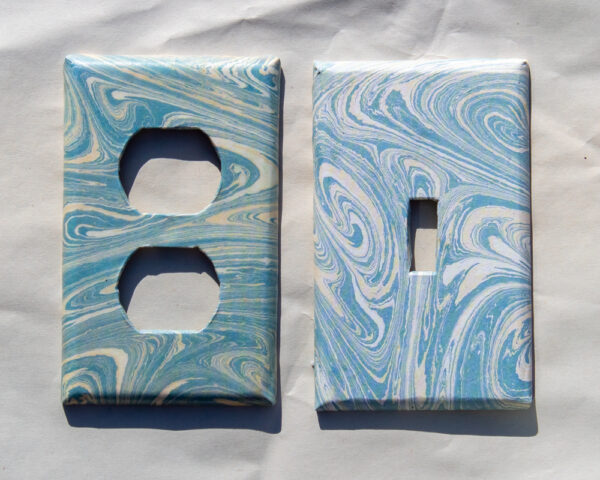
Instead, I sorted through my stash of vintage wallpaper samples to find one that matched my grey walls. A little Mod Podge, a little polyurethane sealant, and my old plastic light switch plate and outlet cover are good as new, with some antique wallpaper street cred, too!
Here, then, is a quick and easy way to have the most mitchiest-matchiest light switch plates and outlet covers EVER:
Just add paper!
You will need:
- well-worn outlet cover or switch plate. Wash and dry the cover, but otherwise it needs no special prep.
- paper, approximately 1″ larger than the cover on all sides. You can use any paper-weight material for this. Scrapbook paper is, of course, a terrific option, but so are magazine pages, coloring pages, or, as I’m using here, vintage wallpaper samples. You can also decoupage a more decorative and detailed piece directly onto your cover. Washi tape is a super easy way to do this!
- Mod Podge. This is all you need to adhere the paper to the cover. I use a foam brush to apply Mod Podge, then I wash the brush and let it dry so I can re-use it for another project. I have possibly been using the same foam brush for a decade now…
- polyurethane sealant (optional): This is not an eco-friendly product, but it will make your paper-covered switch plate durable and washable–which means it will last longer, which IS eco-friendly!
- miscellaneous measuring and cutting supplies. I used a metal ruler, self-healing cutting mat, craft knife, and scissors.
Step 1: Glue the paper to the front face of the outlet cover or switch plate.
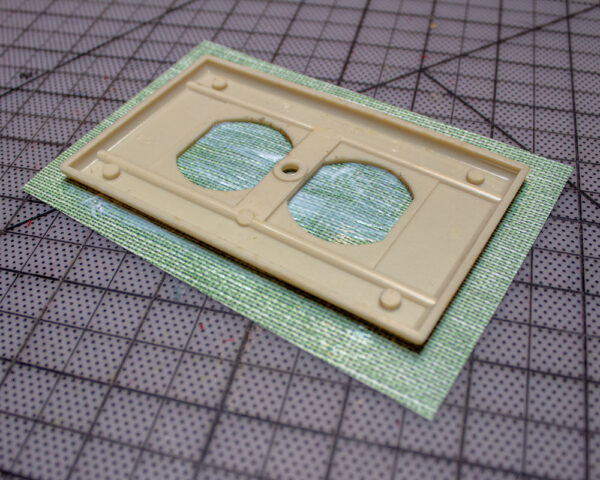
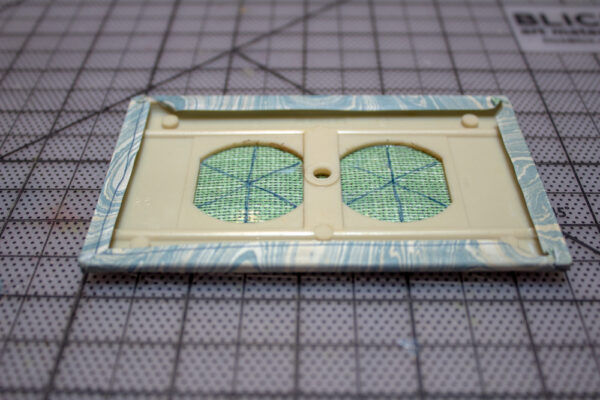
Lay your choice of paper face-down on a self-healing cutting mat, then place the switch plate face down on the paper. Measure an approximate .5″ wider than the switch plate on each side, then cut the paper to size.
Paint Mod Podge over the back of the paper, and again place it face-down on the cutting mat. Again, set the switch plate or outlet cover face-down on the paper, but this time put something very heavy on top of it. May I suggest the giant Webster’s dictionary that you received as a prize for winning the school spelling bee in the sixth grade? No? Was that just me? Hmm. Well, I guess whatever heavy object you own will do just as well!
Let dry completely.
Step 2: Glue the paper to the sides and back of the outlet cover or switch plate.
You can switch to an epoxy glue here, but with a little patience, Mod Podge still works great for these trickier side pieces.
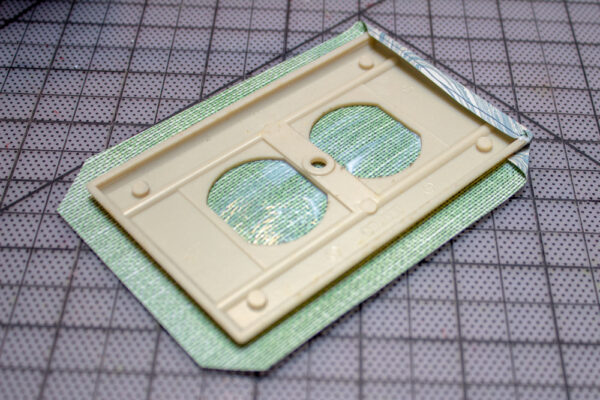
First, clip the paper corners to reduce bulk.
Then, liberally apply Mod Podge to the paper along one side of the outlet cover. Smooth the paper over the side and around to the back, making sure there aren’t any bubbles or creases. Set the outlet cover face-up on your work surface, then lay something heavy on it and let that side dry completely.
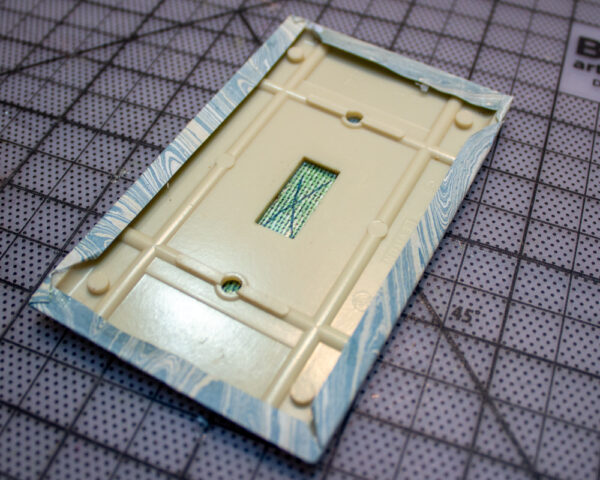
Glue each adjacent side, folding in each corner first, then smooth the paper over the side and around the back and let it dry before gluing the next side.
Step 3: Cut and glue the center openings.
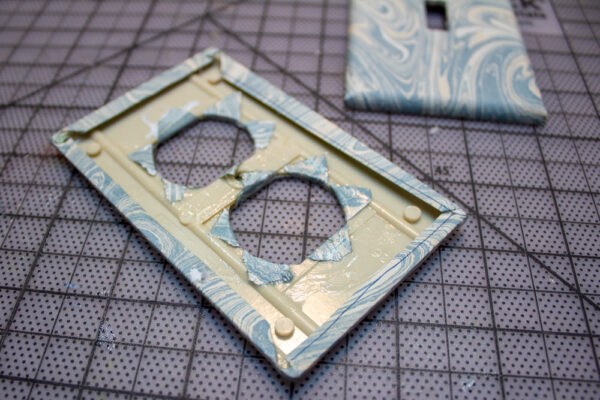
In some of the photos above, you can see that I drew myself lines on the back of the paper covering each hole in the outlet cover. These are cutting guides.
If the hole you need to paper around is square or rectangular, you’ll only need lines from corner to opposite corner. If you’re papering an outlet cover, though, you’ll need a few more, because paper doesn’t like to curve. Dividing it into sixths works well.
Cut down the lines with a craft knife, then glue each triangle and fold it around the side of the opening and onto the back of the cover. This is fiddlier than gluing the sides, because you can’t rest something heavy on it and leave it to dry. Instead, I like to wait a few minutes after applying the Mod Podge so that it’s pretty tacky before I try to smooth the paper over. Even then, I sometimes have to hold a headstrong piece for a couple of minutes while it dries.
When all the paper is glued down and covers your switch plate, leave it alone for 24 hours to dry completely.
Step 4 (optional): Seal the switch plate/outlet cover.
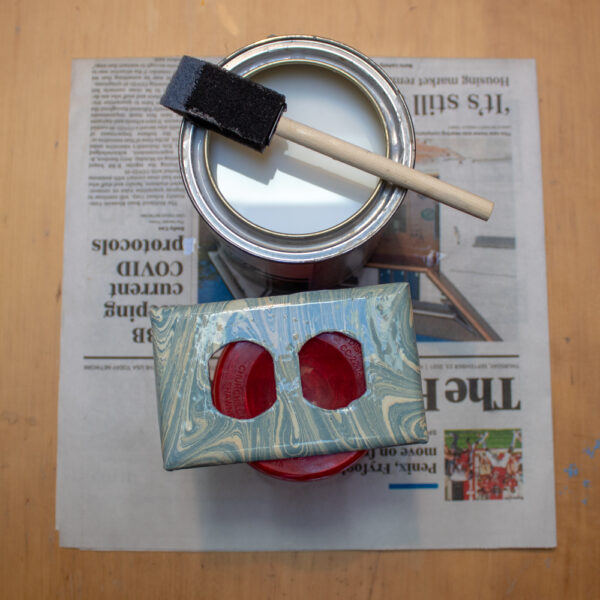
If you want your cover to stand up to wear, and to be scrubbable, you’ll need to seal it. To do this, paint a few coats of polyurethane sealant over the front and sides of your cover. Let each coat cure according to the manufacturer’s instructions.
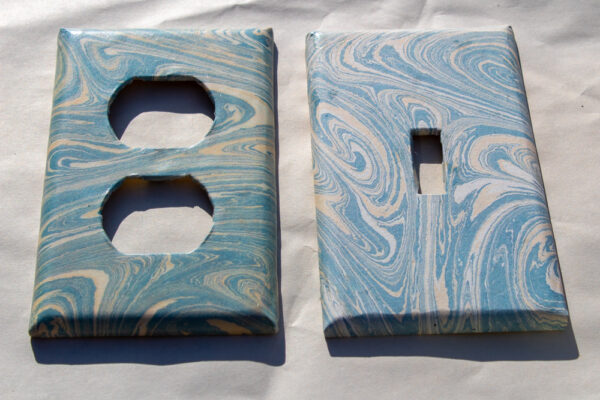
Above, I have one sealed and one unsealed cover, so you can see how sealing the paper darkens it. It also will add a shine, and should stand up to everyday use.
To make the holes for the screws, I used a pin to poke a guide hole from the backside of the paper, then pushed the screw through from the front.
I think my paper-covered outlet covers are super fun, but perhaps you’re someone who likes fabric more than you like paper. If so, you might be interested in my tutorial for next week, when I cover the outlets on my burgundy wall with vintage upholstery samples!


