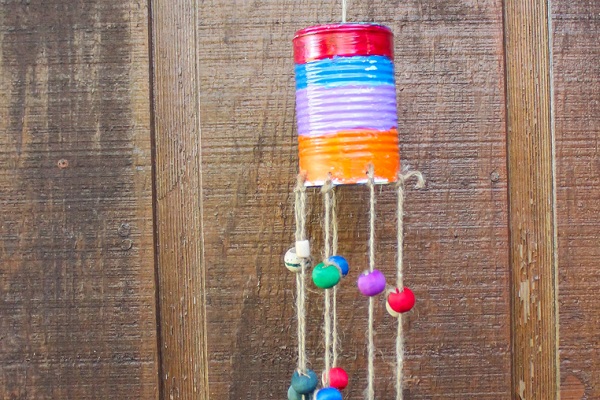
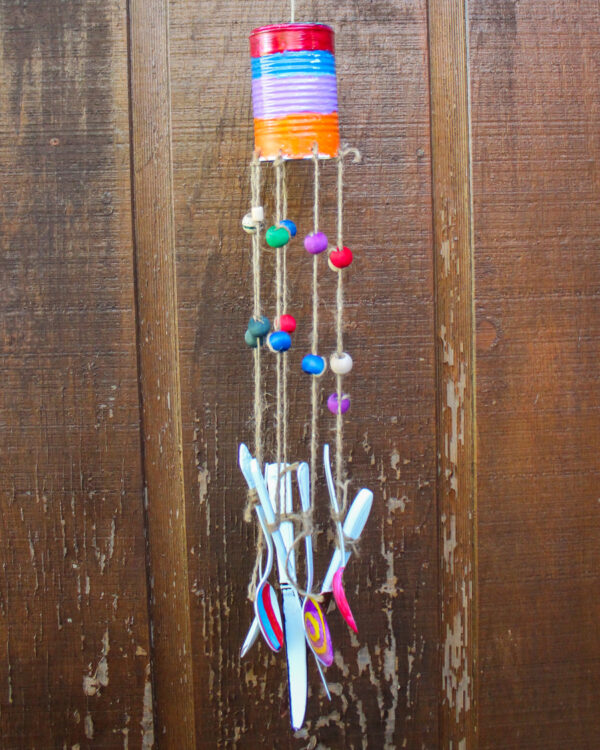
One of my favorite parts of windy weather is enjoying the sound of the wind chimes singing from my front porch and back deck. I love them even more because they’re handmade!
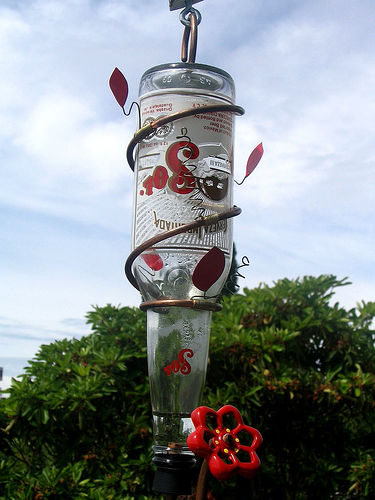
Do you need some handmade singing in your life, too? Here’s how to make your own wind chimes. Mine are upcycled from aluminum cans, silverware, old keys, bottle caps, and metal lids, but feel free to substitute your own stuff needing to be upcycled. I also really like glass bottle wind chimes!
Supplies & Tools Needed
Here’s what you’ll need:
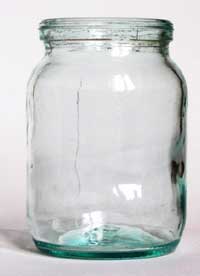
- Aluminum can (empty, no label, clean, and dry)
- Embellishments (silverware, old keys, metal lids, stash beads, bottle caps, etc.)
- Keyring or paperclip
- Twine
- Cordless drill with a drill bit
- Scissors
Directions
1. Drill Holes In The Can

Use a drill bit that’s slightly wider than the width of your twine, and drill a hole through the bottom center of your aluminum can.
Next, drill holes around the rim of the can. I prepped these cans for my Girl Scout troop, and drilled eight holes around the rim of each.
At this time, you can also drill holes through any of the hanging objects that CAN be drilled. The stainless steel silverware that I purchased from Goodwill for ten cents a piece can’t be drilled by my cordless drill (you’ll see soon how we’ll attach those to the wind chime!), but the metal lids and bottle caps can.
2. Prime The Cans
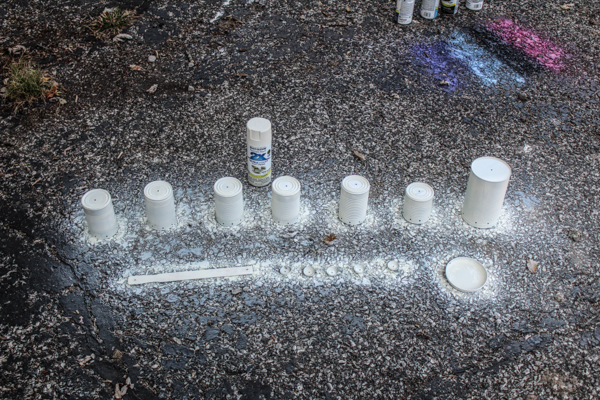
Priming the cans will allow the paint to stick when you embellish them later. Paint-on primer is far more eco-friendly than the spray primer that I used here, but spray primer is a LOT faster when you’re priming enough cans for seven kids!
While you’ve got the primer out, prime anything else that needs it. If you’d prefer a different base color, you can also use a spray paint + primer.
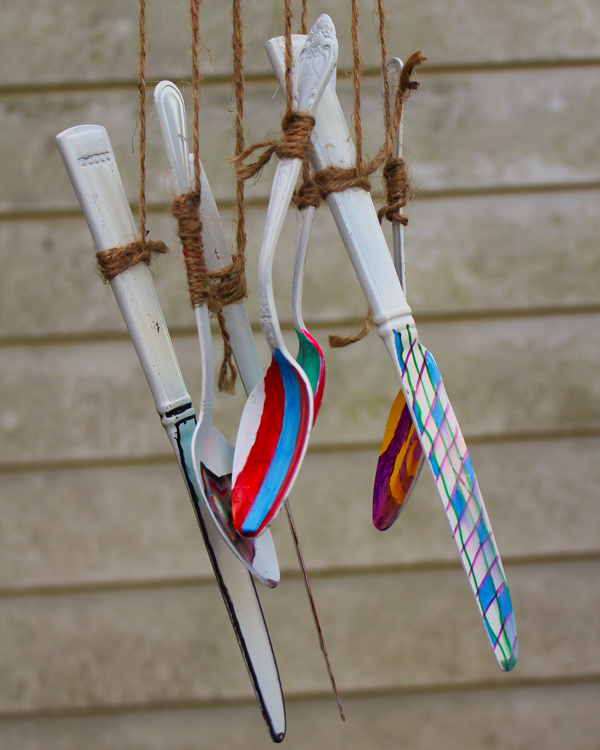
3. Embellish The Can And Silverware

Use acrylic paint or paint pens to embellish any of the hanging elements. You can even decoupage if you seal it VERY well afterwards, or super glue on three-dimensional embellishments.
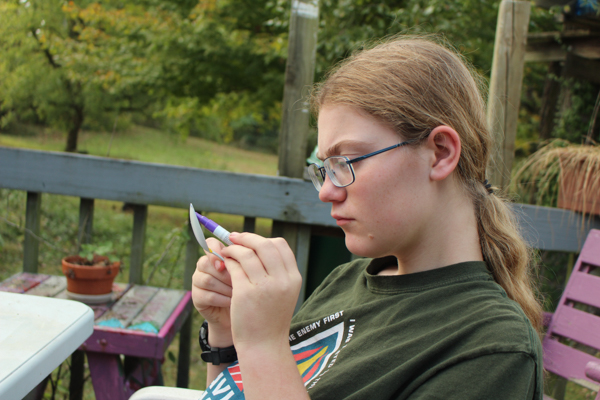
My Girl Scouts especially enjoyed painting the silverware, although next time I do this project with a group of children, I WILL take my own advice and give some of the pieces a different base color. Some kids create better when they’re not faced with all that empty, white space waiting to be filled!
4. Knot The Hanging Cord
To attach a hanging cord, cut a piece of twine, tie a knot to a key ring or even paper clip and pull the twine through the bottom of the can. The keyring will hold the can, and you can hang more wind chime elements from it.
To attach the hanging pieces that have holes, just knot twine around them and tie them to the can using the holes that you drilled around the rim.
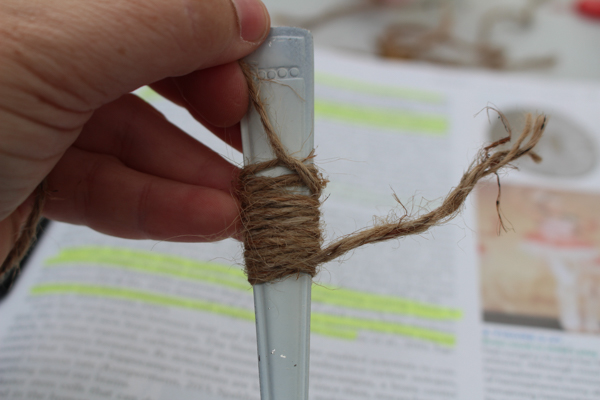
5. Lash All Of The Hanging Piece To The Can
To attach the silverware, however, you get to act like a good Girl Scout and learn how to tie a lashing knot! Use this animated tutorial to walk you through the process, and then go forth with your life, knowing how to tie anything to anything else!
Seriously, the lashing knot is dead useful. You’re going to be thrilled that you now know how to do it.
6. Seal Your Embellishments

Even if your wind chime will be hanging under a protected eave, you still want to seal anything that you painted or decoupaged. A clear sealant does the trick!
If you’re feeling uncertain about any of your knots, you can also hit them with a little dab of super glue.
Pro tip: Noise can also be pollution, and wind chimes should only be mounted where they can enhance nature, not disturb it, so be a good Girl Scout and don’t hang your wind chime anywhere that it can annoy someone else.
We’ve got acres of land and only ourselves to annoy on it, but we still wouldn’t put a wind chime anywhere near our bedroom windows. If you’ve got other people’s bedroom windows nearby, be similarly considerate of them!