
What do you give the recent high school graduate who has a million old high school T-shirts?
Okay, fine. She has fifty old high school T-shirts, not a million. That’s still a lot of T-shirts, though, and she’s not going to be caught dead wearing them at college.
So what do you give the recent high school graduate who has fifty old high school T-shirts, none of which she’ll be caught dead wearing at college?
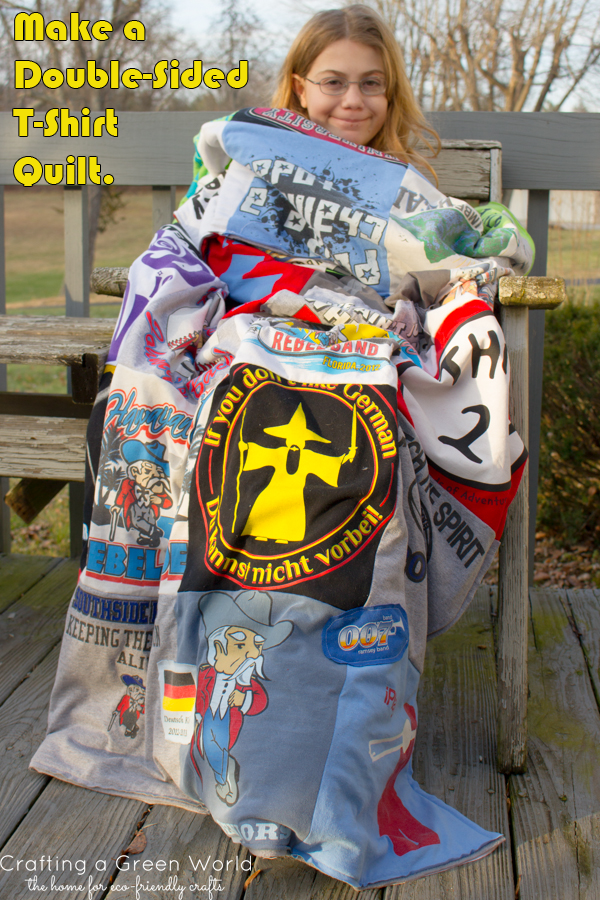
You give her a T-shirt quilt, that’s what. And because she’s sleeping in a dorm on a twin bed, you don’t want to give her a T-shirt quilt that’s ten T-shirts by five T-shirts, because that’s insanely large, so you give her a double-sided T-shirt quilt. It’s warm, it’s comfy, it won’t drape across her bed and also across half the floor, and it contains all of her dearest fifty T-shirts’ worth of memories from high school.
Here’s how to make it:
1. Determine the dimensions of your quilt. To save yourself some work measuring, these dimensions can be approximate. For instance, the dimensions of a twin mattress are 39″x75″, but your quilt does not need to exactly match those dimensions–you’re making your baby cousin happy, not winning first prize at the fair, you know?
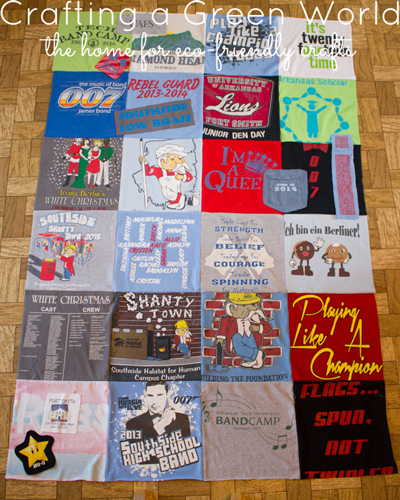
My cousin’s T-shirts were all an adult size medium or large, and almost all with a large graphic on one side. For convenience and the avoidance of much measuring, I decided that I would cut each shirt panel at 12″ square, and would make the quilt six panels by four panels. That’s roughly 48″x72″, although with seam allowances it works out to be a few inches smaller. It doesn’t fit her bed perfectly, but it does fit her bed approximately, so it looks right at home there–and it was dead simple to measure!
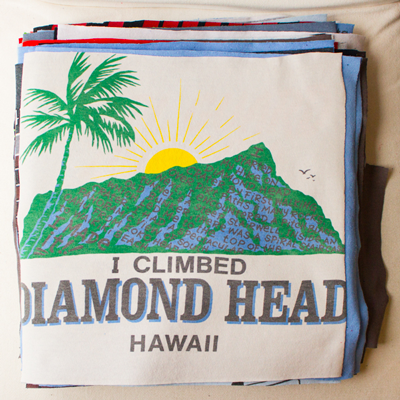
2. Cut and starch the panels. Honestly, this takes by far the most time in this entire quilt-making process. Fussy cut each panel to size, then spritz starch around the entire perimeter of the panel (I turned each panel face-down for this, so that I wouldn’t have to worry about ironing on top of the graphic) and iron it dry. Use a non-aerosol brand of starch, or make your own homemade starch.
The starch will keep the jersey knit fabric of the T-shirts from curling, and it will allow you to sew them without having the fabric bunch up under your feed dogs or needing to use a zig-zag stitch to keep the fabric from stretching. It is THE one thing that will make this project look really, really good, so do not skip it.
3. Sew all the panels together. Sewing fewer and longer seams is less work, so piece each column of the quilt first, and then sew the columns together. I chose to sew these quilt panels right sides together, so that the seams will be hidden on the back, but I have sewn T-shirts before with the seams in front, most notably with my kid’s T-shirt transformation, and I also really love the effect that technique gives, so it’s another option here.
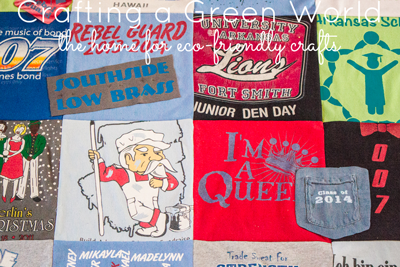
4. Add any applique or other embellishments. Some of my cousin’s T-shirts included smaller graphics or pockets–I cut these out of the shirts, starched them well, then appliqued them right across the top of the finished quilt top. I did intend for the seams to show here, and I think it will add some interesting dimensionality to the quilt. This is also a convenient way to cover the couple of persistent stains that you’ll always find when you’re working with well-worn clothing.
5. Sew the middle fleece layer. Clear off a large space on your floor (good luck!), and lay out a length of fleece that is large in both length and width than your quilt top. Tape it down with masking tape at the corners and at spots along the perimeter to keep it flat and taught.
Lay one of your finished quilt tops over this fleece, right side out, and also stretch the quilt top out so that it’s smooth and taught. Pin it well to the fleece, then baste or sew the pieces together around the perimeter of the quilt.
Trim the fleece so that it’s flush with the quilt top around the complete perimeter.
6. Sew the second quilt top to the quilt. Lay the quilt out again, fleece side up, and arrange the second quilt top on it, right side up. Pin the quilt top to the rest of the quilt, being sure to match the seams to the front and back. Sew the pieces together, carefully keeping the top and bottom quilt pieces matched.
Optional: Tie the quilt. Since this quilt isn’t quilted, it’s technically a blanket, not a quilt, but personally I find those distinctions a bit fussy and pedantic, you know? It’s pieced, it goes on a bed, it’s comfy and snuggly–it’s a quilt.
Anyway, you can make this quilt more structurally sound by tying it, and that’s also fairly easy to do even double-sided. Thread a length of embroidery floss, then draw it through the corner where four quilt pieces meet and carefully up through the other side so that it comes out at the matching corner. Pull it back through, but leave a long loop on one side and both long tails on the other side.
Cut the long loop, so that you have two matching lengths of embroidery floss on each side of the quilt. Tie each of them into a square knot, trim, and you’ll have a matching tie on each side! Repeat for every corner to tie the quilt.
This quilt is light but warm, it’s nice and versatile, and it definitely includes the maximum number of T-shirts that you can possibly squeeze onto a T-shirt quilt. I’m pretty sure that I need to make one for myself, now!


Pingback: How-to: Make a Double-Sided T-Shirt Quilt - Crafting A Green World | StitchBugsStitchBugs
Wow brilliant, I want to make one of these with my son’s t-shirts. I’ve been collecting them for about 3 years so hopefully soon I’ll have enough!! I’m a big fan of upcycling too – my blog ShabbyShe.wordpress.com 🙂
Pingback: Crafting a Green World | The home for green crafts and tutorials!
Pingback: Crafting a Green World | The home for green crafts and tutorials!
Pingback: Crafting a Green World | The home for green crafts and tutorials!
I have a question.??…….you call the middle fleece.. is that polar fleece or is it BATTING>>> As this thru me for a loop… let me know as i got sacks full of tshirts given to me… thanks and I love the starch idea and not interfacing..
It’s really fleece, just the regular polar fleece that you can buy off the bolt in the fabric store. I don’t really love batting–its specific tactility just bothers me–so I tend to use fleece or thrifted blankets in place of it. It doesn’t have the loft that batting gives, of course, but that’s actually something that I prefer, as well. Anyway, you CAN use batting!
Personally, I like to use warm and natural. Doesn’t create the loft of batting, but gives the quilt enough body and warmth to be comfy.
How do you finish the edges? It seems as if you’d see the stitching of the quilt to the fleece on both sides around the perimeter given the instructions.
You’re sewing the right sides together, leaving a hole for turning, then turning the quilt and stitching the hole closed. Sometimes I’ll edge stitch around the perimeter to make a nice border.
It seems that the instructions suggest NOT sewing right sides together when they say things like put the quilt on the fleece, right side out, and again for the second quilt, place the quilt on the fleece, right side up. It seems as if you’re turning it inside out, you’d put the right side down (or inside), with the wrong sideup or out, no? Thanks!
You’re right! I’m overthinking it, especially as I can clearly see the raw edges in the featured photo. That’s probably why you use fleece for the batting, then, since neither fleece nor T-shirt fabric will ravel.