I enjoy working with fabrics made from all kinds of fibers. I like to embellish and sew with lots of different plant-based fibers, like cotton, hemp, or linen, but I also like the challenge of using fabrics made from protein-based fibers.
Protein fibers, like silk and wool, take dye differently than plant fibers do. This means that the materials and techniques that you use to dye cotton, for instance, are necessarily different than what you use to dye silk.
Take tie-dye, which you might have noticed I’m a little obsessed with lately! Tie-dyeing cotton is pretty easy and user-friendly. It’s a great outdoor craft because although it’s messy, it doesn’t require a bunch of supplies.
You’re not going to be able to tie-dye silk in the middle of your backyard, however. Silk fabric requires both an acid dye (not the fiber reactive dye that works for cotton) and heat. This is more of a mad scientist mixing lots of pots of bubbling brew on the stove project than a summer camp craft.
It’s still kid-friendly, though! Kids can draw designs to be tie-dyed, and older kids can even do the tying. Kids can also play with the end results–colorfully-dyed play silks were some of my kiddos’ favorite toys when they were small!
Here’s what you need to tie-dye silk:
- silk fabric. You can dye silk yardage to sew with, or dye ready-made silk pillowcases, scarves, or garments.
- heat-erasable marker. I am ALL ABOUT these Frixion pens, because they’re heat-erasable! I mark my patterns directly onto fabric using these pens, and the marks erase completely with an iron or, in this case, in the hot liquid dye.
- yarn. Six-inch lengths of any plant-based or acrylic fiber yarn should be plenty.
- acid dyes. You may have to look around for these, because most dyes that you’ll see are the fiber reactive ones designed for plant fibers. Here’s a good brand-name starter set.
- large pot.
Step 1: Prepare the fabric and dye.
Wash and rinse your fabric with a free-and-clear detergent, or one designed specifically for fabrics about to be dyed. Leave the fabric wet if you want to get started dyeing right away.
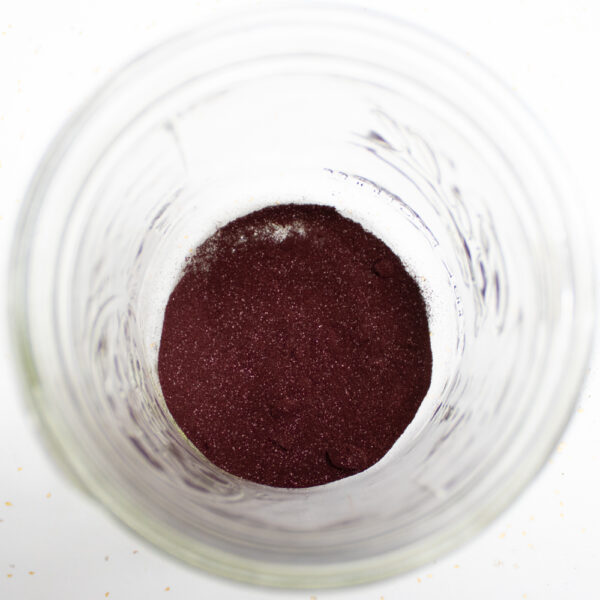
Prepare the dye bath according to the manufacturer’s instructions. For my particular batch of acid dye, this involves heating a pot of water to 185 degrees on the stove while I mix the powdered dye with a cup of boiling water. I pour the dye solution into the pot, stir it well, and I’m ready to go!
Step 2: Tie the fabric.
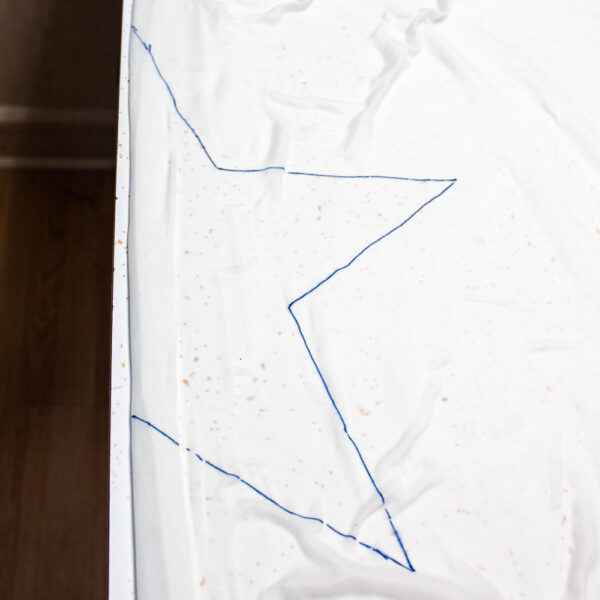
Fold the silk in half and smooth out any wrinkles. With the Frixion pen, draw one half of a symmetrical graphic, using the fold as the line of symmetry.
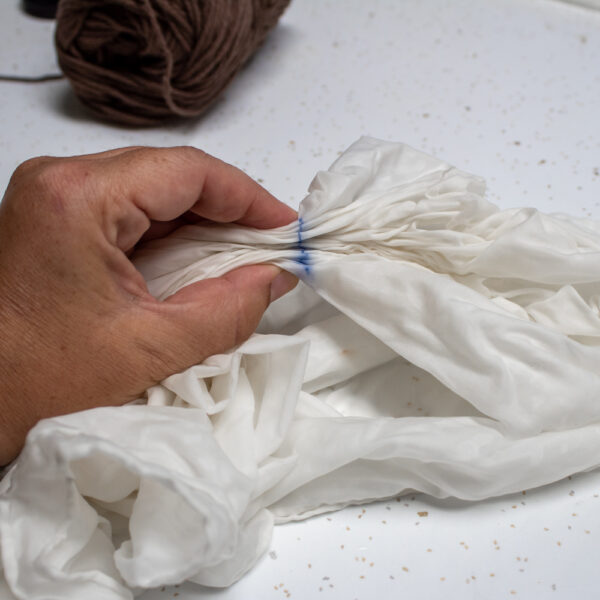
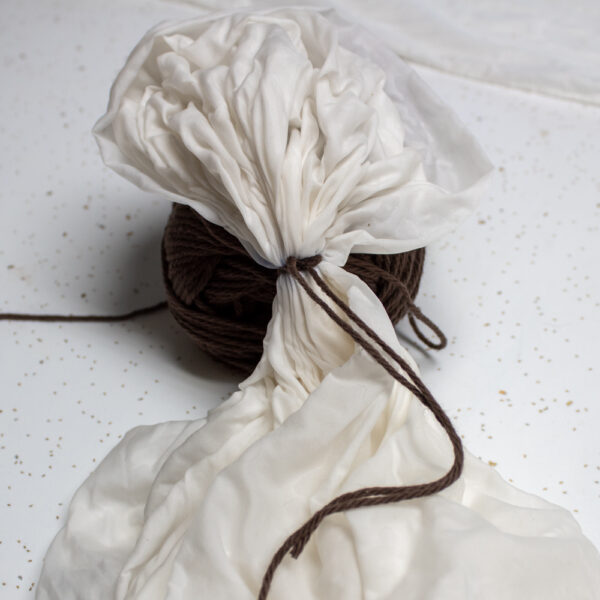
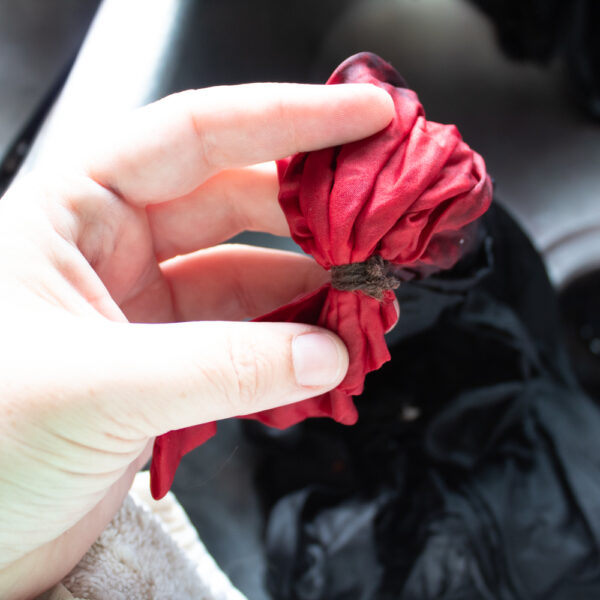
Fold and pleat the fabric along the drawn line, turning the fabric as necessary to maintain your line. When you’re finished, tie around this line as tightly as you can with the yarn. Knot it tightly so it doesn’t come undone.
You can also use more traditional tying techniques with silk. Below, my kid is using a pair of needle nose pliers to help her create a spiral pattern on her silk scarf:
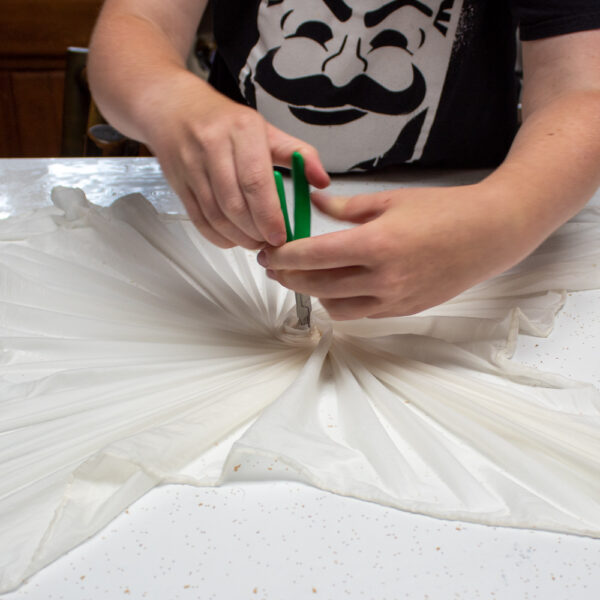
Silk is very delicate, so if I had this to do again, I’d have asked her use a non-metal tool for this technique–a clothespin, perhaps?
Step 3: Dye the fabric a single color.
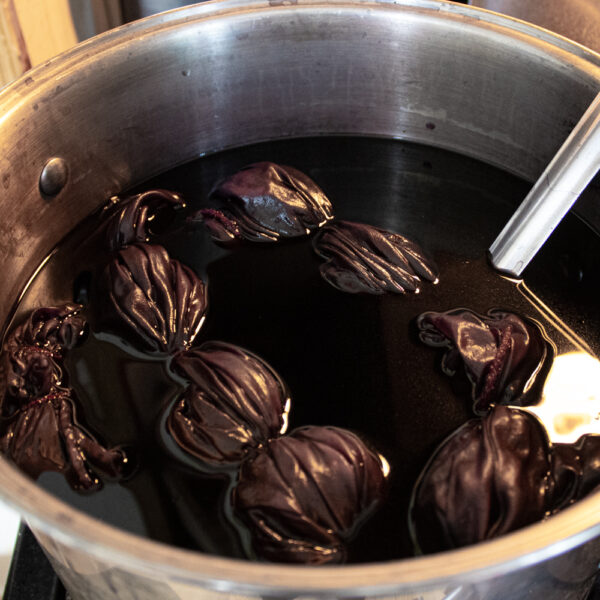
Again following the manufacturer’s instructions, immerse your tied silk into the dye pot and dye it for the required time. Mindlessly stirring a batch of dye is a great time to catch up on your social media!
Afterwards, I like to keep my fabric tied while I put it through the rinse cycle in my washing machine.
Step 4 (Optional): Overdye the fabric a different color.
Just because you’re vat dyeing this fabric doesn’t mean you’re limited to only one color! You’ve got a couple of options for adding additional colors to your project.
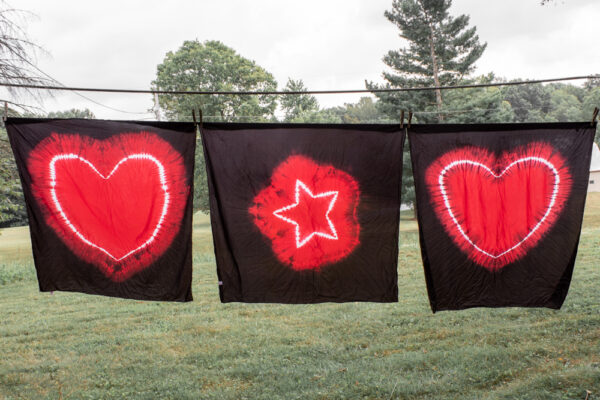
If you want to add a darker color, use my vat dyeing silk tutorial to bag the sections of fabric you don’t want to dye, then overdye the rest a darker color. In the photo above, I bagged off some of the red fabric, then put the entire piece into a pot of black dye. I LOVE this red/black combo!
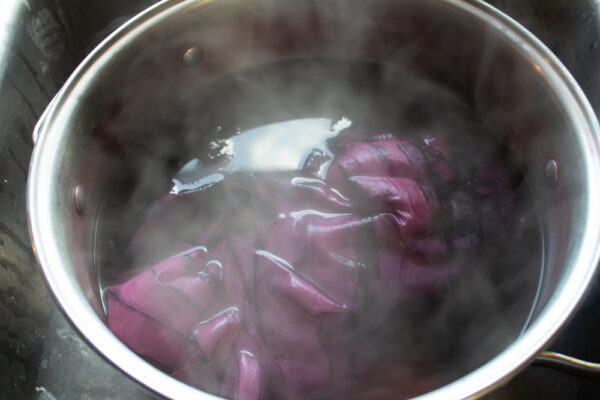
You can dye the tied parts of a piece a lighter color by popping the entire thing (VERY well-rinsed!) into the dye pot. In the photo above, I hadn’t completely exhausted the red dye in my pot after tie-dyeing several scarves, so I wetted a scarf I had previously tie-dyed with black and put it in to finish up the dye. The result was a nice pink-and-black combo!
As you can see, tie-dyeing silk is a much more time-consuming process than tie-dyeing cotton. It’s worth it, though, especially if you want a very specific look or feel to your fabric. I’m really enchanted by how light, flowy, and airy silk is. I love its drape and I love how vividly it dyes. It’s a wonderful fabric for children, for summertime, and for feeling light and free.
And it tie-dyes beautifully!