

You can never have enough ornament hangers!
I hate the cheapo ornament hangers that you can buy from stores, however. They’re flimsy, they LOOK cheap, and if you drop one and lose it in the carpet, it’ll inevitably draw blood from someone’s tender foot.
Ornament hangers that you make yourself are much sturdier and MUCH prettier than the store-bought ones, and they won’t hurt you, either.
And if you’ve got some jewelry wire on hand, and a broken beaded necklace or two, then making THESE ornament hangers won’t cost you even the few pennies you pay for the awful mass-produced ones.
You will need:
*jewelry wire: 18-gauge wire is what I always have on hand, but feel free to try out other wires–if you can bend it easily, and it will hold its shape with an ornament hanging from it, then you can use it.
*needlenose pliers and wire cutters: The pliers from your toolbox work just fine, if you don’t have any jewelry-specific ones.
*stash beads: I collect old beaded necklaces, all thrifted or free, for the beads.
Here’s what to do:
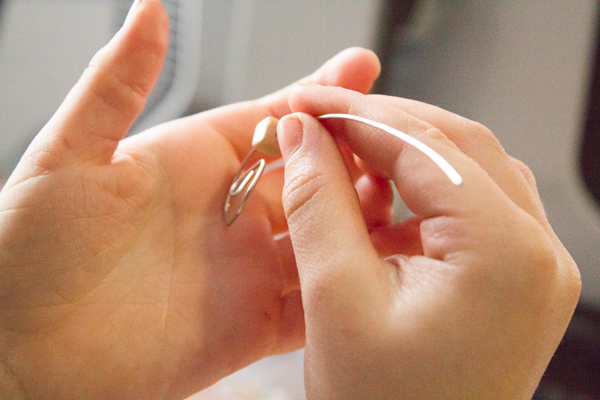
1. Cut off a length of jewelry wire. I use the length of my hand, which is about six inches long, as my guide.
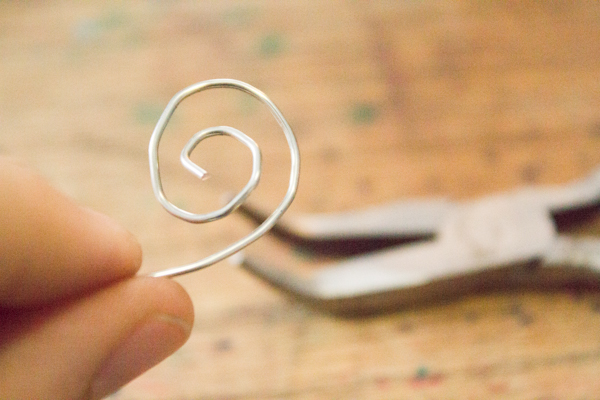 2. Bend one end of the wire into a spiral. Bend the wire around the nose of your needlenose pliers to get the shape.
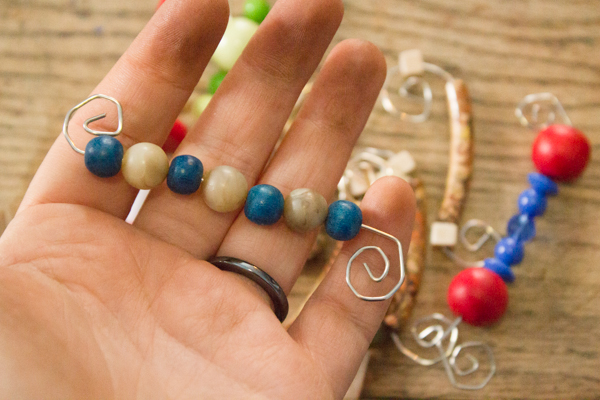
 3. String beads onto the center of the wire. A lot of the fun here is in mixing and matching beads that originally came from different necklaces.
4. Bend the other end of the wire into a spiral going the opposite direction. Fiddle with the wire a bit more in this step, so that the spirals at both ends are approximately the same size and shape, and so that the beads in the middle are roughly centered. You can kink the wire at either end of the beads to keep them from falling down onto the spiral.
5. Thread an ornament onto the spiral. Another thing that I REALLY like about these ornament hangers is that there’s no way that the ornament is going to fall off of the tree with one of these ornament hangers attached to it. These babies are STURDY!
Depending on how you store your ornaments (haphazardly thrown into a box, like us?), you may be able to keep each ornament’s hanger attached to it, making it even easier to hang it next year. But be sure to keep a supply of wire and beads handy, because you can NEVER have enough ornament hangers!


Pingback: Crafting a Green World | The home for green crafts and tutorials!