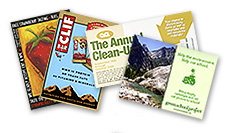
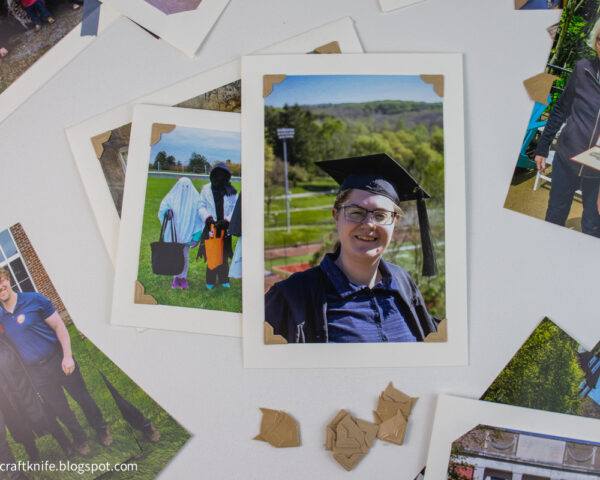
A super cute personalized greeting card is just a photo away!
The season of graduation parties is upon us! I’ve been running the joy gauntlet of 2+ graduation parties every weekend all month, and with my very own brand-new college graduate home for a few weeks, I’ve also been helping (i.e. nagging, prodding, fussing…) her prepare thank-you cards for the generous souls who added her graduation to their own May gauntlet.
I know, I know she’s grown and should be able to write and send her own thank-you cards without me nagging. Just let me get this one last thing off my mental list and then I promise not to care if she never writes another thank-you card again.
For all these occasions (and for most other occasions, too!), photo greeting cards are the perfect solution. They’re adorable as congratulations cards, especially with a photo of the recipient of your congratulations on the front–for a graduation card, ideally one from their toddler years! They also make perfect thank-you cards, especially with a cute photo of the gift-giver and the recipient together. And if you’ve got a hard drive full of Senior pictures, those thank-you notes for graduation checks is a great time to use them.
But my favorite part of these particular handmade photo cards is that the photo isn’t glued or taped to the front of the card, so that the recipient can, if they so wish, simply pop the photo out of its holder and allow it to take its rightful position on their refrigerator door.
Mental note: photo magnets would also be good for this project!
This really is the easiest project, totally do-able even if you’re not a scrapbooker or cardmaker, just as totally do-able if you don’t consider yourself crafty at all. Here’s how!
Materials
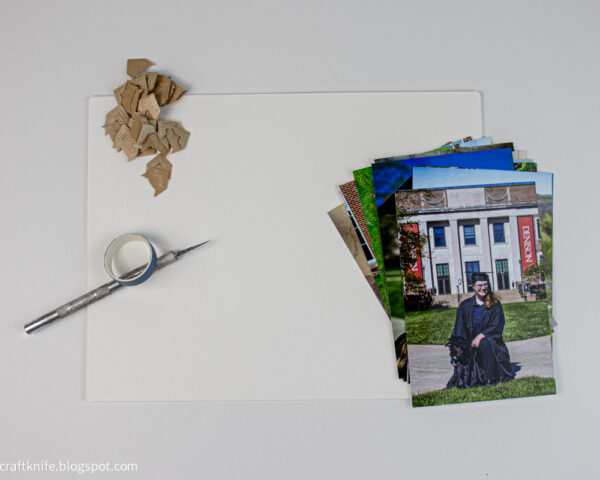
- photos. All the photos in this particular project are 4″x6″, printed via one-hour photo from the cheapest big-box store I could find (and the quality shows it, but whatever), but you can use absolutely any photo of any size here, or a postcard, or original artwork, etc. Just scale the greeting card accordingly, if the photo is larger.
- cardstock. An 8.5″x11″ piece or an 8″x10″ piece would work equally well here.
- photo corners. This is the secret to THE quickest, easiest, and cutest photo cards! Photo corners are cheap as hell, made from paper so they’re not crap for the environment, and come in every color to match any photo.
- measuring, cutting, and folding tools. I used a metal ruler, paper cutter, and bone folder.
Step 1: Measure and cut the card to size.
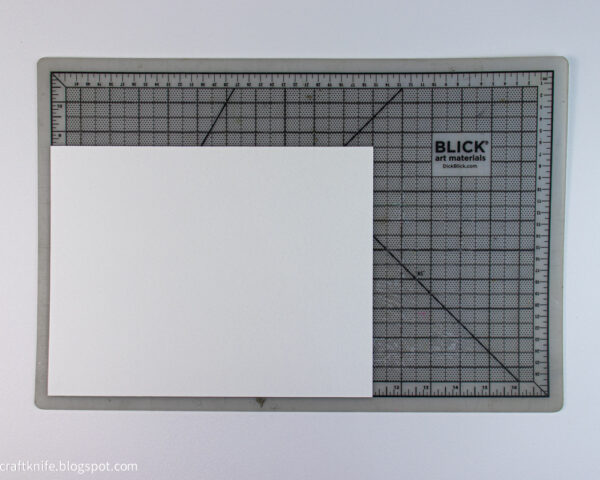
For use with a 4″x6″ photo, your cardstock should be cut to 7″x10″. If you’re using an 8.5″x11″ piece of cardstock, cut 1.5″ off of the short side, and 1″ off of the long side.
Step 2: Fold the greeting card in half.
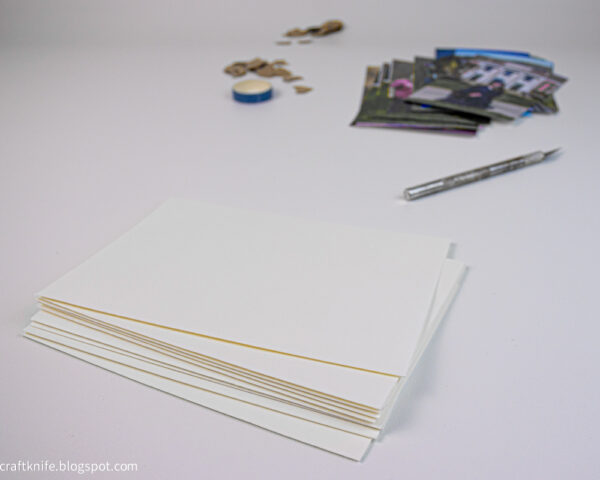
Fold the cardstock in half, making sure the two short sides meet as precisely as possible. Smooth over the fold with a bone folder (or the fat handle of a butter knife!) to make the crease look nice and neat. This is your greeting card blank!
Step 3: Put a photo on the front of the greeting card.
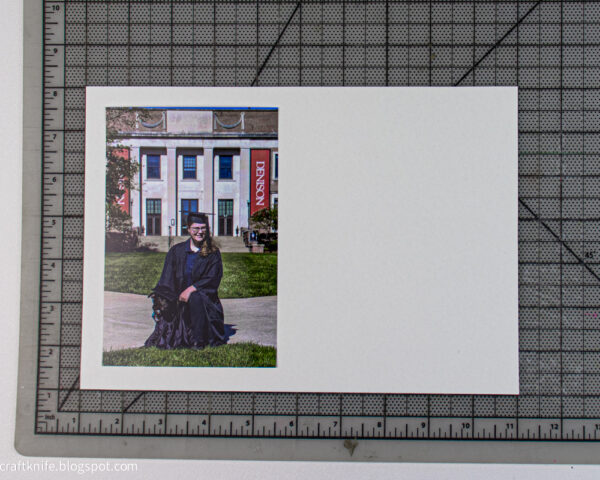
Ignore that my photo is on the wrong side of the unfolded greeting card here, lol. I guess another good thing about this method is that when you realize you’ve put your photo on the wrong side of the card, you can just flip the photo upside down, since it’s not stuck to the card! You can also just as easily make a landscape greeting card instead of this portrait one.
Wrong side or not, the above photo does at least illustrate how the photo should be placed, .5″ from both the top and bottom edges of the card, and .5″ from the left and right edges.
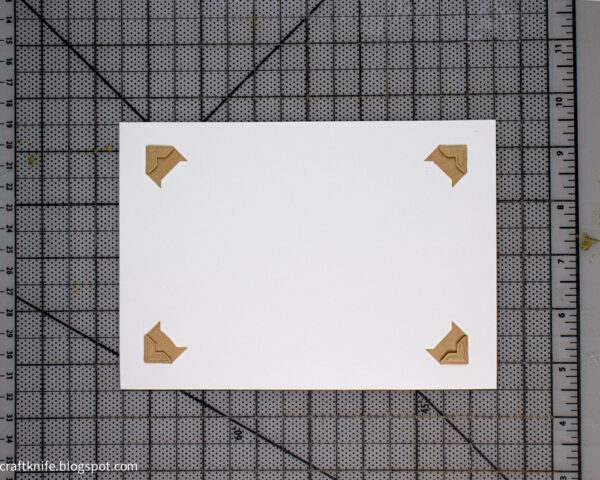
The laziest method for attaching the photo corners is also the easiest method! Instead of doing any additional measuring, just firmly hold the photo in place while you put each photo corner on and stick it down to the card.
If you took the photo off, the photo corners on the front of the greeting card would look like this:
To finish, put your completed gretting card into a standard 5″x7″ greeting card envelope, or do what I do and take five additional seconds to DIY the envelope, too!
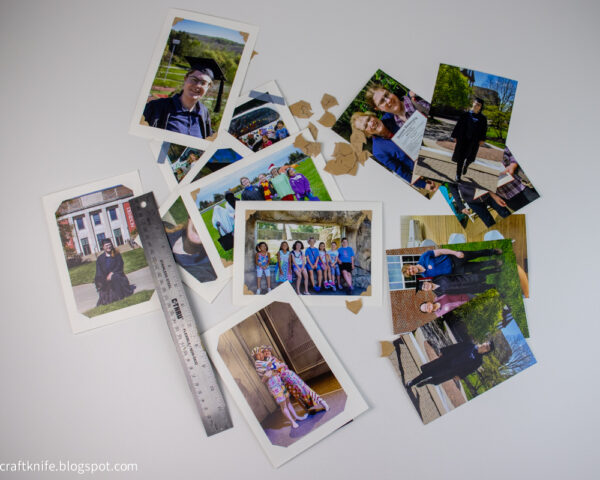
I get bored doing the same thing over and over, and I had a LOT of greeting cards to DIY this month, so as you can see if you look closely at the above image, I’ve got one more easy DIY photo greeting card tutorial to share with you (and it’s not even the washi taped one up in the left corner–that was literally just me wanting to use up the last bit of washi tape on the roll, ahem). Stay tuned for next week, when I’ll show you how to make a photo greeting card that’s approximately 1% more work but 50% cuter!