

 The next step is to find and cut your stencil, and iron it to the necktie.
You can find stencils online and in books; I tend to use my Cricut for most of my stencils, because I can specify exact size and the Cricut handles all the fiddly cutting for me. If you’re freehanding your stencil, however, just remember that the x-acto knife is your best friend. Unless it cuts you, and then it’s not.
Cut your stencil out of freezer paper, which you can find in the grocery store or in specialty fabric crafting stores. We’re going to be freezer paper stenciling onto the necktie; if you don’t know how to freezer paper stencil, feel free to read through some freezer paper stencil techniques and tutorials first, but know that it really is very simple.
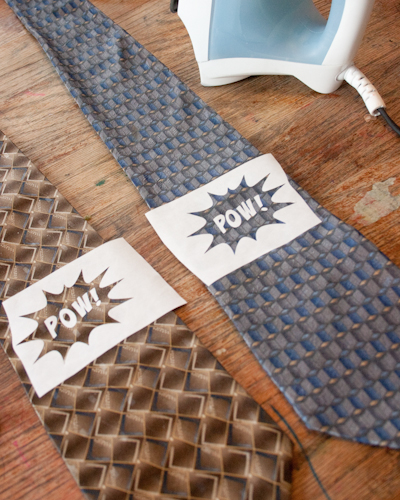
You now need to iron your freezer paper stencil, shiny side down, to your necktie. You may be starting to freak out right now about this, because the neckties are made of silk, after all, but again, do not worry. The difficulty of ironing silk is way overblown, frankly–your iron has a silk setting, for pete’s sake! Set your iron to the silk setting, or to its lowest setting, and press the stencil to the necktie in three-second increments. Once the stencil is stuck down to the necktie, you may stop ironing and start breathing again.
Next >> Paint Your Stencil


Pingback: Geek Crafts: Nerdy Neckties for Father’s Day | FaveCraftsBlog
Pingback: Dollar Store Crafts » Blog Archive » 10 DIY Valentine’s Day Gifts for Guys
Pingback: Feelgood Style | Sustainable fashion reporting, organic beauty tips, DIY projects + tutorials, + natural product reviews.