
Your local wildlife rescue wants your fleece scraps!
Not as-is, of course, because what would be the fun in that? Rather, if there’s an organization near you that rescues orphaned or injured wildlife for rehabilitation, it probably needs as many of these simple, easy-to-sew fleece pouches as you can make.
Wildlife rescues use fleece pouches to contain small and baby animals in a way that keeps them feeling safe and comfortable. It mimics the type of pouch that a marsupial animal will be familiar with, and recreates the feeling of a nest for other animals. It helps keep animals comfortably contained while they recover, and gives them a sense of security that a cage doesn’t.
Requiring only four straight seams, these fleece pouches are also incredibly easy to sew. If you’ve got a beginner or young sewist, this is a great first project!
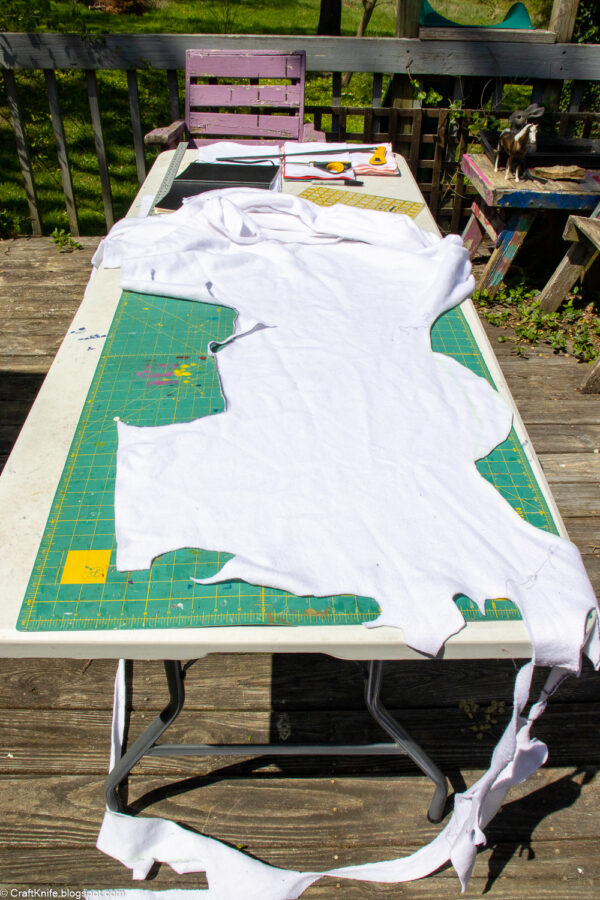
The potential for scrapbusting, though, is my favorite part! I don’t usually like to work with fleece, so the scraps from my few and far between fleece projects tend to linger. This latest batch of pouches, though, helped me usefully get rid of all the last scraps from the mermaid, shark, and mermaid skeleton snuggle sacks that I sewed for my kids last Christmas. That mermaid skeleton, especially, required a lot of inconvenient cuts into a giant length of white fleece, so I am THRILLED that it is now out of my fabric bin for good!
Here’s what you need to make your own fleece pouches to donate:
- scrap fleece. The smallest pouch that my local wildlife rescue uses is 4″x4″, which means that the smallest fleece scrap that I can use are approximately 5″x9″. The largest pouches they need are approximately 12″x12″, so my largest scrap cuts are approximately 13″x25″. You can generally use any size between those two dimensions.
- measuring and cutting tools. After catching my teenager, the most responsible person in the family after me, in the act of using my favorite fabric scissors to cut a price tag off a shirt, I recently bought a new pair of fabric scissors and I changed my family scissors rule to forbid ANYONE ELSE FROM USING THESE SCISSORS. I don’t care what you need them for–you cannot use my scissors! You want to beat up a pair of scissors? Buy yourself a pair to beat up, because you’re staying far away from mine.
- sewing supplies. Because the orphaned baby raccoons don’t care, I like to use this project to finish up half-empty bobbins and my grossest neon orange thread.
Before you begin, contact the wildlife rescue that you have in mind and ask them if these pouches are an appropriate donation and if so, what sizes they prefer. These are the pouches and sizes that MY local wildlife rescue always wants, but your rescue may want something different depending on the types of wildlife they commonly encounter. It’s very bad form to burden a non-profit with stuff they don’t want, so do your research!
If your local wildlife rescue doesn’t need any fleece pouches, I’ve included the mailing address of my local rescue at the end of this post.
Step 1: Cut fabric scraps to size.
For each pouch, you will need two pieces of fleece that are the same size. Here are the dimensions of pouches I most commonly sew, based on what my local wildlife rescue requests:
- 4″x4″ pouch: two pieces of fleece that are 5″x9″.
- 6″x6″ pouch: two pieces of fleece that are 7″x13″.
- 6″x8″ pouch (opening on the long side): two pieces of fleece that are 9″x13″.
- 8″x8″ pouch: two pieces of fleece that are 9″x17″.
- 12″x8″ pouch (opening on the short side): two pieces of fleece that are 9″x25″.
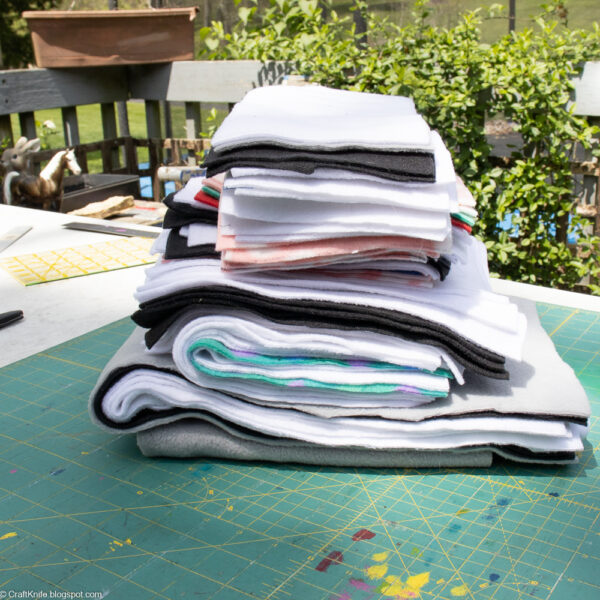
Because my local wildlife rescue tends to need the larger sizes more, I like to start cutting the largest sizes I can first, then gradually move down the list as my scrap sizes also diminish.
Since the sizing also only needs to be approximate, you can also eliminate waste by cutting pieces between any of these sizes.
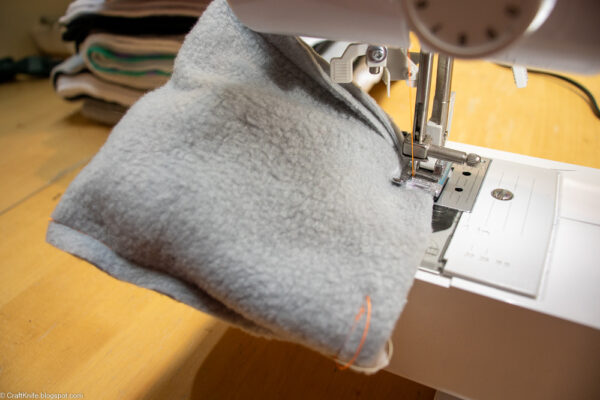
Step 2: Sew each piece into a pouch.
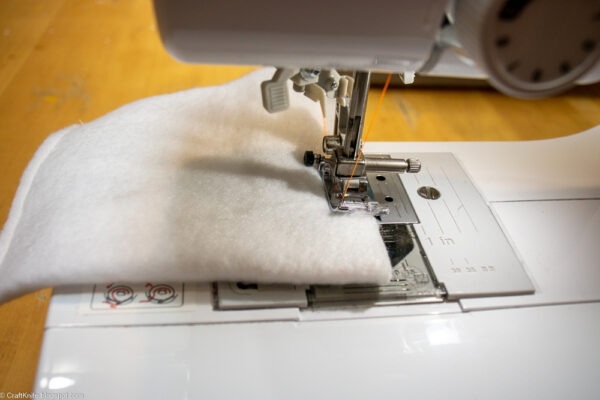
Fold each fleece piece in half (halve the long side of each piece), then sew down each of the two sides adjacent to the fold. Trim all thread.
You’ll have a simple pouch with an open end opposite the fold. You’ll need two of these for each wildlife rescue pouch.
Step 3: Sew the pouches together.
Turn one pouch right side out, then place it inside a second pouch. The right sides of the pouches should now be facing each other, but the pouch on the outside should still be inside-out.
Sew around the top edge to sew the pouches together, leaving a few inches unsewn for turning.
Turn the pouches right sides out through that hole.

Fold the pouch that you’d like to be on the inside to the inside, and straighten the seam around the top edge by hand, finger pressing the raw edges of that unsewn opening to the inside.
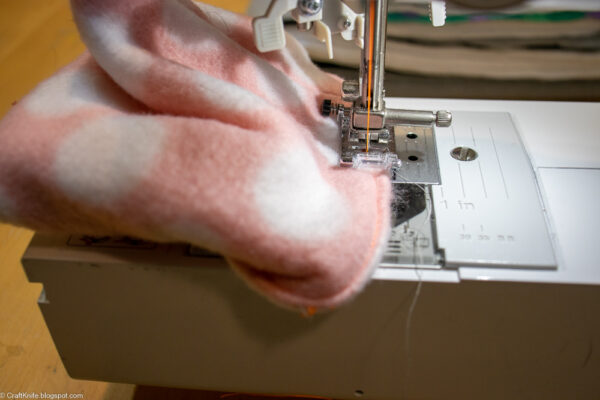
Top stitch around the top edge of the pouch, sewing closed that unsewn section as you go.
Give the entire pouch another look, making sure there are no loose threads for a tiny animal to tangle in or skipped stitches that would leave a hole for a tiny animal to get stuck in.
This is optional, but I like to wash and dry my finished pouches before I donate them, just to make sure they’re squeaky clean and free of skin oils and dust and dog fur.
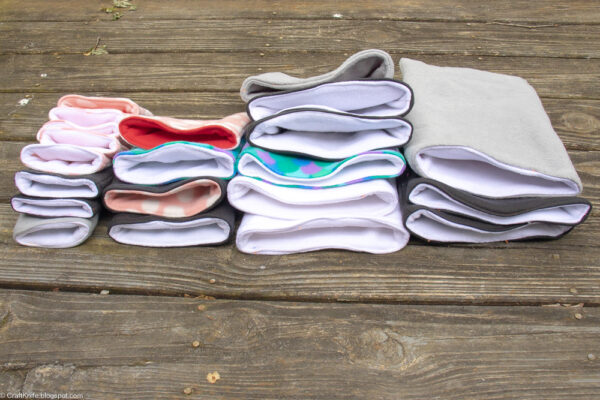
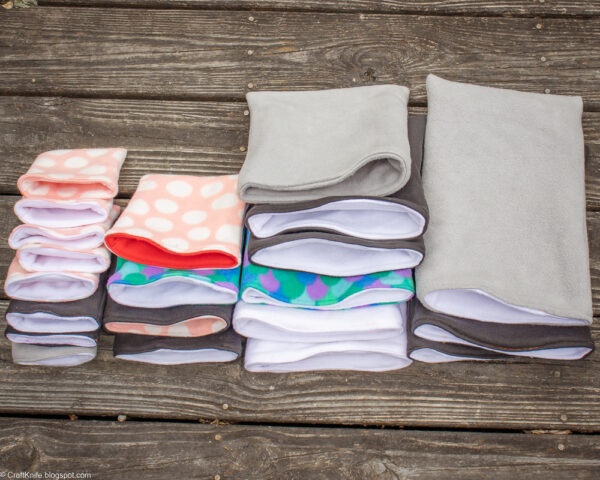
Above is my recent donation–not bad for a couple of hours and a bunch of scraps I was thrilled to get rid of!
If you don’t have a wildlife rescue organization near you, you’re welcome to mail your pouches to my local wildlife rescue! Here’s the address:
WILDCARE, INC.
198 N. HARTSTRAIT RD.
BLOOMINGTON, IN, 47401
P.S. Want to make a pouch but you’re a knitter, not a sewist? This is for you!


Hi! Do you think these could be made with hand sewing instead of machine sewing?
I do! The main things you’ll need to watch out for would be keeping a good thread tension and short stitch length so that animals can’t get snagged on anything. Depending on the fabric, you might find the end seams a little bulky to get through, so wear a thimble to protect your precious thumb!
Thank you! Hoping to do this with my Girl Scout troop