
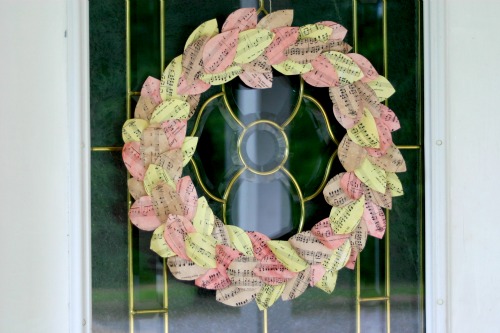
I’m so excited for fall that I’m already coming up with fall craft projects. My first mission this week was to make a fall wreath for our front door!
What You Will Need:
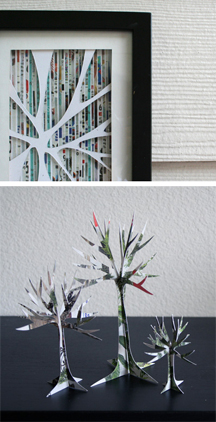
1. Recycled paper. As usual, I used sheet music. I used the same sheet music I used in my Sheet Music Tree tutorial and Music Wall Art tutorial. You could also use book pages, magazines, or junk mail!

2. Scissors
3. A pencil
4. Something to dye your paper with. I used watered down paint because that’s what I had on hand. However, if you can, use natural dyes– they’re more eco-friendly! For more information on natural dyes check out the DIY: Make Natural Non Toxic Dye tutorial or Julie’s tutorial on coffee staining paper for an antiqued look.
5. Hot glue/hot glue gun
6. A wire hanger
How To Do It:
1. Dye your paper. I dyed mine three beautiful fall colors–red, brown, and yellow. I dyed 3 sheets of sheet music per color (using 9 sheets for the entire project).

2. Fold your sheet music and draw a leaf on it like so:
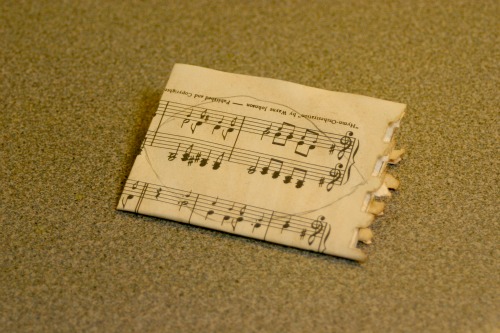
You don’t have to fold your paper like this, but it will make cutting out all of the leaves faster and easier.
3. Cut out all of your leaves.

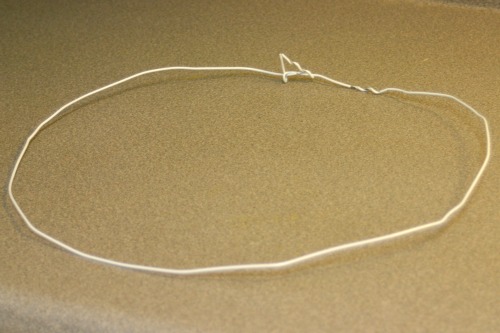
4. Form your wire hanger into a circle.
5. Hot glue your leaves onto your wire hanger. Start in one spot and work your way around so that the leaves all point in one direction.

6. After you’ve covered the entire wire hanger, go back through and fill in any empty spots you might have.
Once everything is dry, hang up your beautiful fall wreath! I would only recommend hanging your wreath on your front door if your door is covered by a porch/patio or overhang. Otherwise, your paper leaves might get ruined. Our front door is covered, so I hung ours there!


I love these! Maybe this is finally the Fall Season where I make one! Recycle, Recycle, Recycle!
Pingback: Mindful & Sustainable Things To Do This Fall | Wholesome Culture