These photo projects are cute AND eco-friendly!
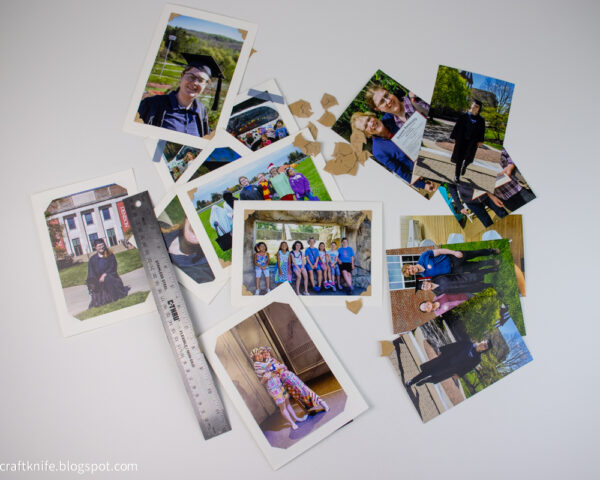
Ever wonder what to do with extra photos? I print a lot of photos for display and scrapbooking and card-making, but I still manage to regularly over-order. Because of that, I’ve collected a lot of ideas for how to use up those extra photos in ways that are nevertheless cute and meaningful.
Here are some of my favorites!
Charms
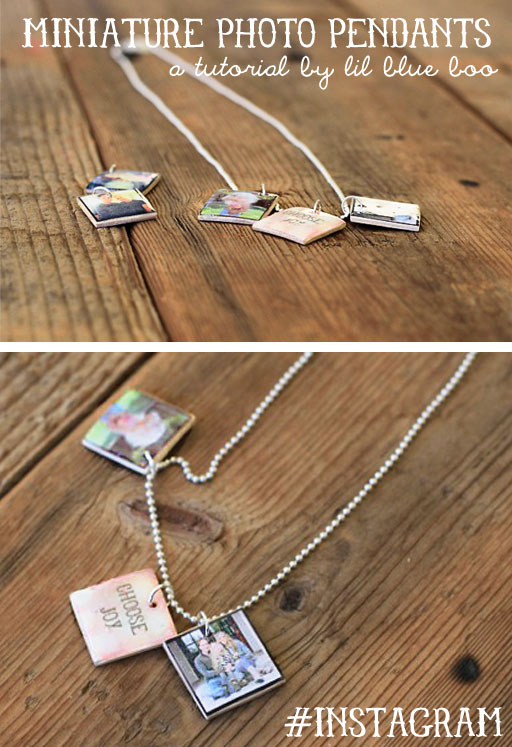
Little charms and pendants are a cute way to upcycle a photo, since you can fussy cut out your favorite part of the pic and recycled the rest. Scrabble tiles are a good size for a charm backing, but you can also DIY a backing from a popsicle stick!
Collages
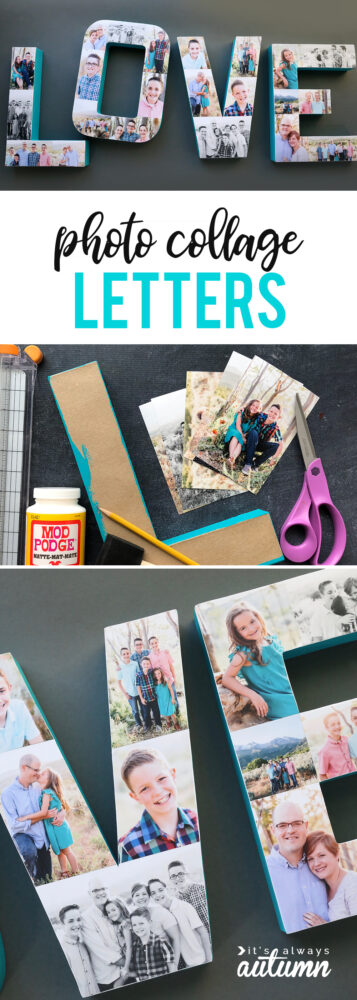
A collage is a great way to upcycle all kinds of images, and you can combine them with book pages, magazine pages, and other graphics. It can be decorative, like the monogrammed pictured or this vintage suitcase, or something useful like this decoupaged flower pot. Or you can make something holiday centric, like this pumpkin!
Handmade Greeting Cards
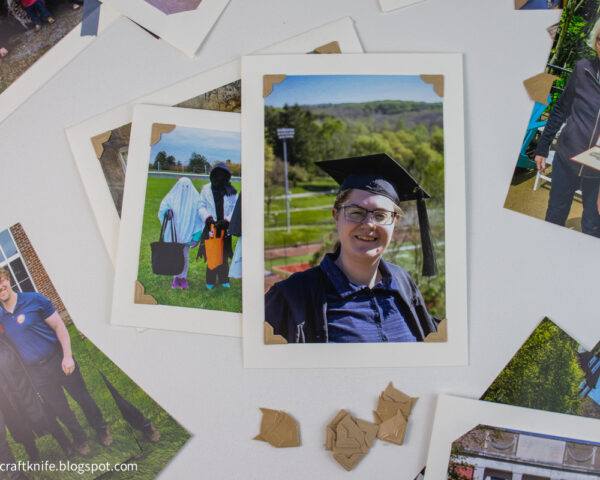
Use extra birthday or graduation photos to make custom thank-you cards, and anything Christmas- or winter-themed immediately lends itself to Christmas cards. More general photos, like cute animals or flowers or landscape shots from your vacations, work well as all-occasion cards. Here’s how to make a photo greeting card using photo corners, and here’s how to make a card with absolutely no additional supplies at all!
Coasters
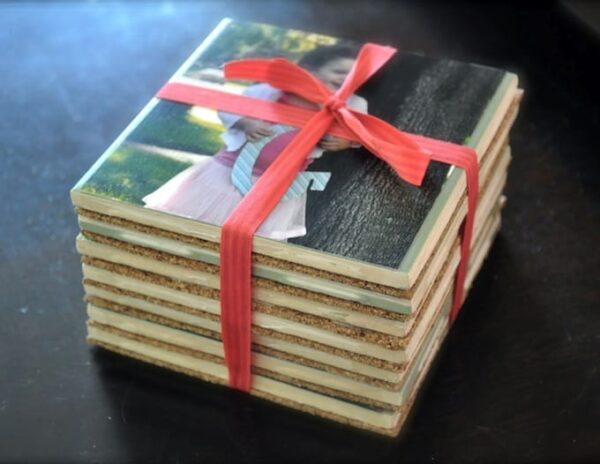
This would be an especially fun way to upcycle a group of shots, perhaps from a vacation or holiday. You can bring your set of coasters out every year at the same time to remember that special occasion!
Embroidered Prints
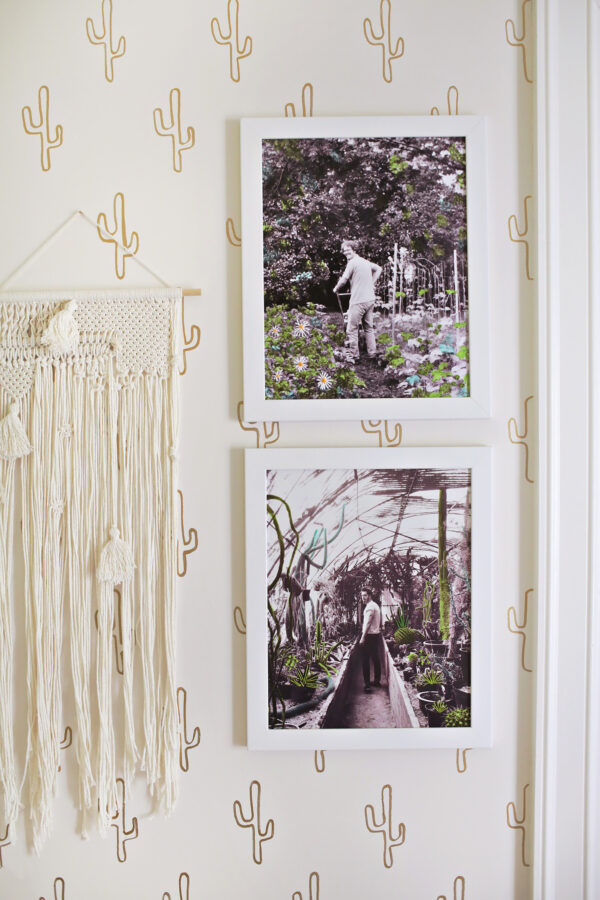
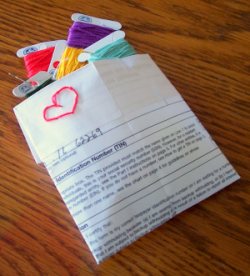
Having extra prints on hand is the perfect excuse to play around with new embellishment techniques. Since these are surplus prints the project can be all about the process, not the product, so a beautiful result is just a bonus!
Gift Wrap
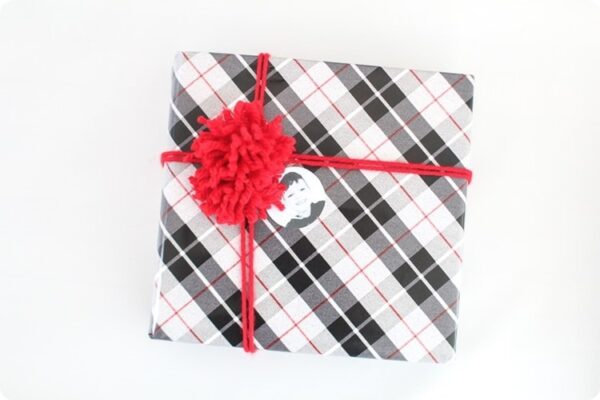
It’s particularly fun to use photos in gift wrapping when you don’t have to worry about keeping them safe, since they’re just extras! Whether you use them for gift tags or embellishments, you can simply recycle them with the rest of the wrapping paper.
Garlands

With some creative cutting and plenty of colored cardstock, you could make a garland for any occasion! I made these Thanksgiving turkey garlands for home and for my younger kid’s dorm room (complete with turkey photos of all her friends, lol), and I’m already thinking about what would work for Halloween this year. Maybe cute and colorful monsters? Or should I go the other direction and do body photos with construction paper Jack-o-lantern heads?
Stickers
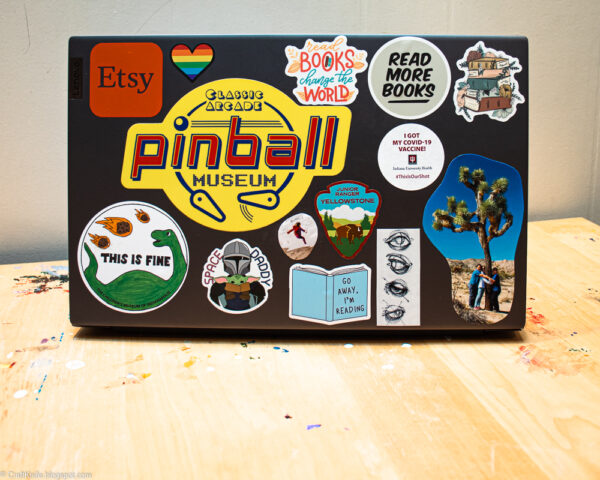
Here are three ways to upcycle photographs into stickers. My kids are big into stickers on their laptops, but these would also work for water bottles and the outside of your favorite journal.
Magnets
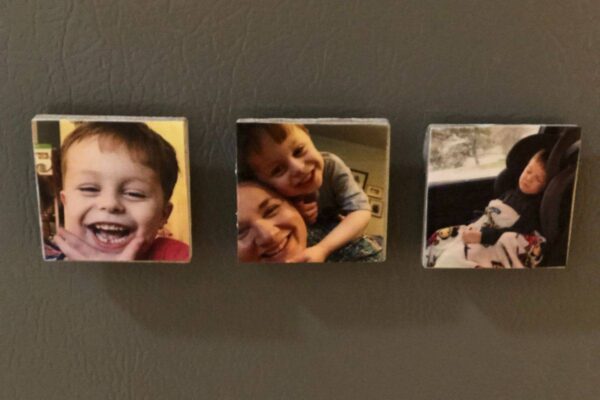
Magnets are almost as easy to make as stickers are–and they’re just as easy if you use something like adhesive magnet sheets as a shortcut! For button magnet projects, a small tile makes a perfect backing and frame. An upcycled Scrabble tile photo magnet would be super eco-friendly!
Kid Crafts
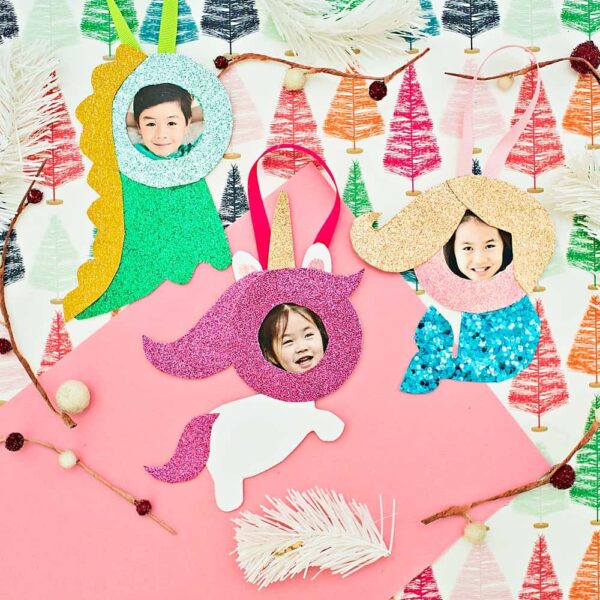
Kids LOVE crafting with old photos, and having surplus photos on hand is the perfect excuse to let them give their creativity free reign. Kids love adding their own pictures to projects, especially when they get to turn themselves into a dinosaur or a unicorn. Holiday decorations are also fun–and useful!–to let a kid craft themselves.
Bookmarks
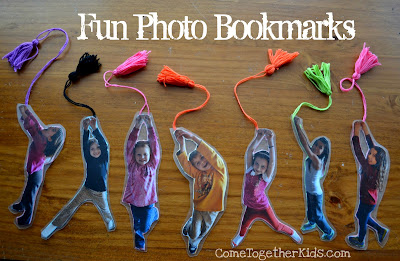
This project requires full-body pics, so is a great way to upcycle vacation, sports, or other activity prints. I think that you could get away without the lamination unless you think that the bookmark will be heavily used.
Pinback Buttons
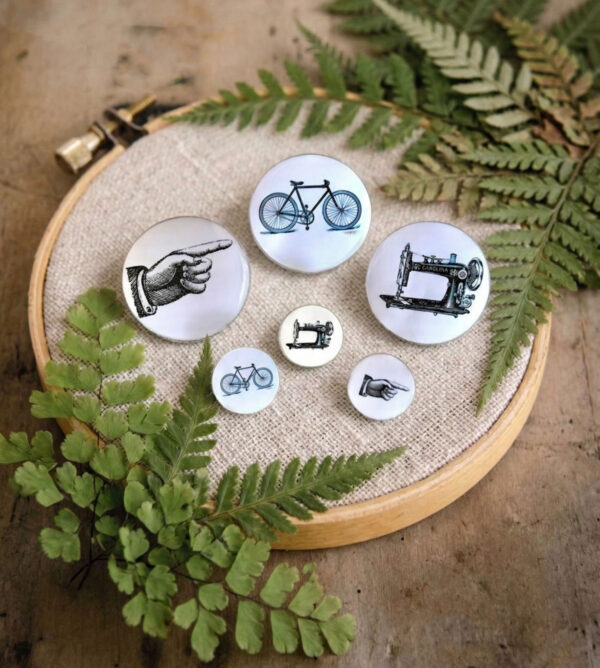
This project uses clipart, but you could do the exact same thing with pics, fussy cutting the perfect image for a button. My adult kids love putting pinback buttons on their bags and jackets, and they’d love to see something like this in a care package or Christmas stocking.
Word Art Background
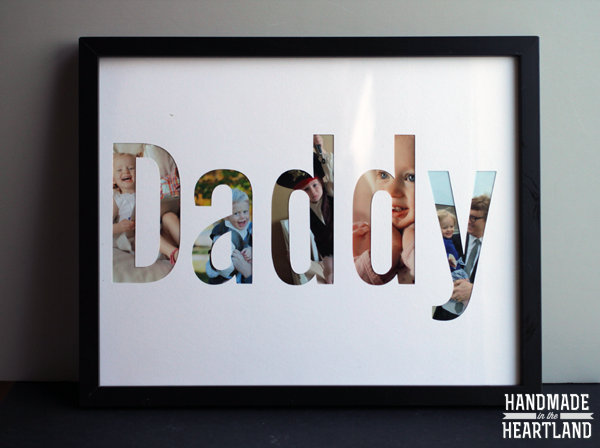
How cool is this project? This is a great way to use up images that aren’t perfect, but still have perfect components to them. The tutorial uses a programmable cutting tool to create the word cut-out, but you can get the exact same look–with a bit more of a time commitment!–using a craft knife.
P.S. Do you have a favorite way to upcycle extra photos? Tell us about it in the Comments!