
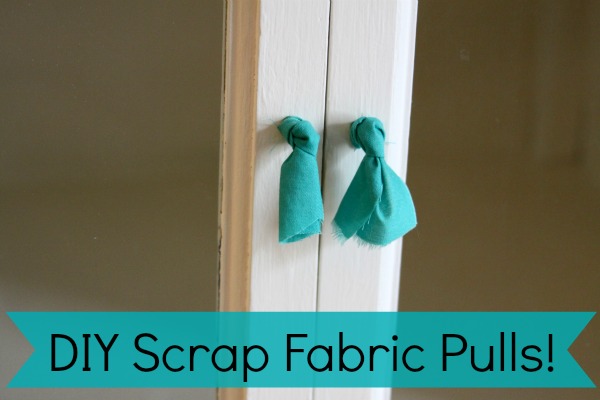
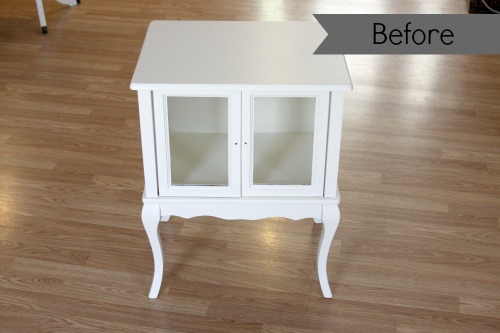
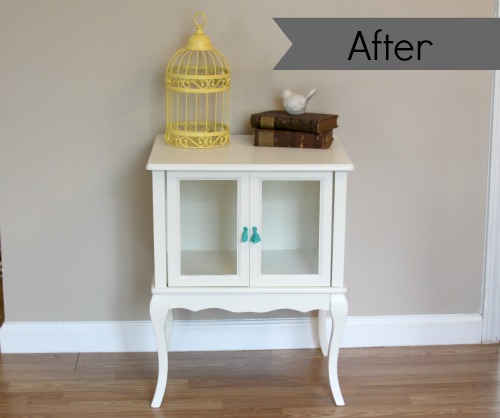
This week I finished a fabulous little side table for my craft and furniture booth. I bought the table without knobs and it was hard to find new ones because the doors are so close together. I saw Primp’s tutorial on fabric pulls on Pinterest and decided to make my own single pull version! Here’s what I started with:
What You Will Need:
1. A scrap of fabric
2. Scissors
How To Do It:
1. Cut out a small strip of fabric.
2. Knot one end of the strip. You can leave a little bit of fabric on the end to have something to “pull.”
3. Then, place the other end of the strip in the hole of your door/drawer.
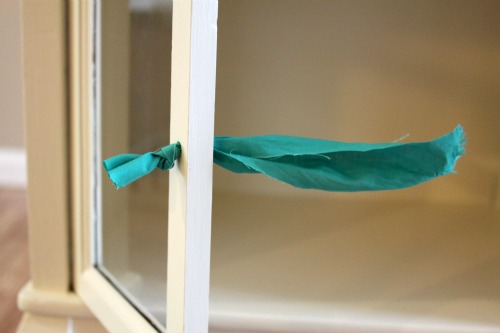
4. Knot the other end of the strip. Make sure the knot is as close to the door/drawer as possible.
5. Cut off any excess fabric from the back.
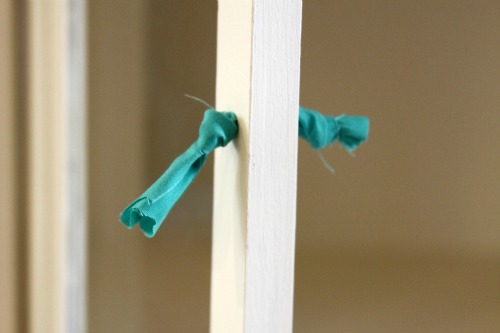
Don’t the pulls make such a huge difference? I love the pop of color, as well!


Pingback: Crafting a Green World | How To: “Scrapbook” Coffee Table | Crafting a Green World
these are great! I’ve got some slightly broken yellow tassels that would be perfect for this!
Pingback: Crafting a Green World | The home for green crafts and tutorials!