
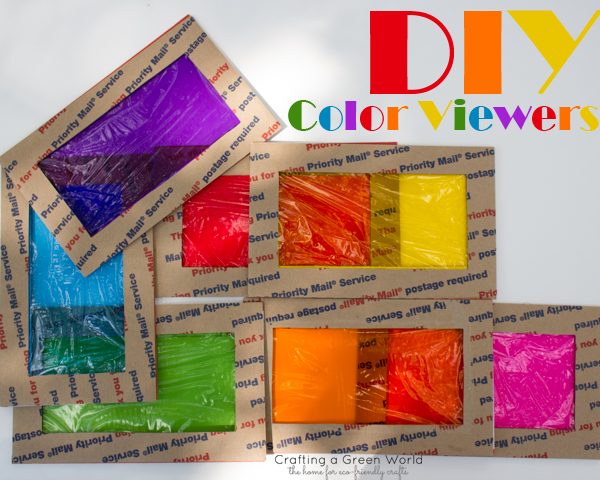
Got a kid who’s in love with color? These DIY color viewers will help her see the world in a whole new light!
These color viewers are a project that is suitable for a wide range of ages. Toddlers and preschoolers will incorporate them into their sensory play, while older kids (who do still love their sensory play, of course!) will be able to use them for a variety of scientific observations and experiments–colored shadows, color mixing, the properties of light, the properties of the eye, etc.
Also? They’re just plain fun!
Here’s how to make your own set of color viewers:
1. Gather ample cardboard to upcycle. You’ll need two pieces of cardboard for each color viewer. I have a horrifying collection of used shipping boxes that I was pretty thrilled to raid for this project, but cereal or cracker boxes, moving boxes, or my most common go-to, cardboard record album covers, will also work well.
2. Cut cardboard to size. This size will depend on the size of the cardboard pieces that you’re using; to minimize waste, I cut my cardboard to the largest size that I could–about 5.25″x8.5″. Cut two pieces for every color viewer that you want to make.
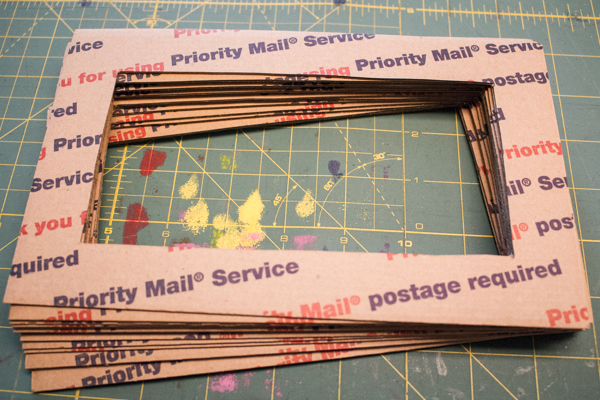 3. Cut a window into the cardboard. Measure 1″ in on all sides, and cut out to make a frame.
4. Cut the cellophane to size. As with my DIY 3D glasses tutorial, it’s the colored cellophane that really makes this project. Measure the window that you’ve cut into the cardboard, then cut each piece of cellophane, one per color viewer, 1″ longer than that measurement by both length and width.
5. Glue the cellophane to one cardboard frame. Lay one cardboard frame wrong-side-up (for instance, I put the outsides of my scuffed and labeled shipping boxes to the inside of my viewers), then run a line of hot glue along the entire perimeter of the window. Carefully center and set the cellophane down over the window, and press in place.
 6. Glue the second cardboard frame to the first. Run another line of hot glue around the frame, then center a second cardboard frame and set it down on top of the first, right-side-up.
These color viewers are sturdy enough for even toddler play, but if you’ve got a smaller kid who still likes to gnaw, you’ll probably want to cover the outside edges of the cardboard frame with clear packing tape so that the kid’s saliva doesn’t soften and wear away the cardboard. Older kids will mostly do this, though:
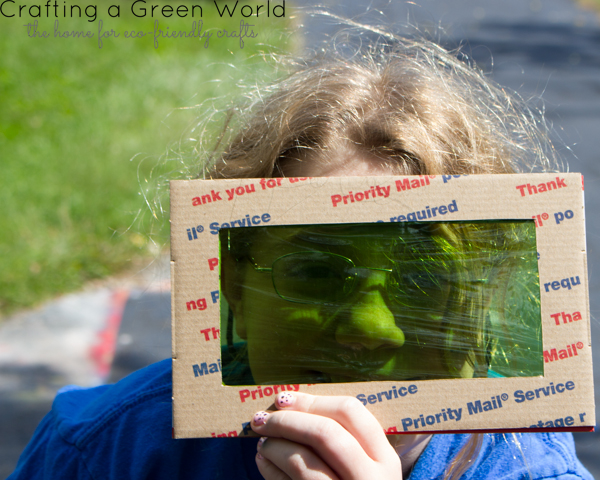
Then she looked at her sister through it, informed her that she was green and therefore made of puke, the sister screamed in outrage and began to chase her, and I might have possibly gone inside and locked the door.


fantastic! I have some old index dividers I was thinking of using for something similar. love all the recycling and happy colors!
OOH, index dividers would be good. Sometime I want to figure out how to incorporate the colored window into a building block.
Blocks! I’ve seen diy that uses dollar store jenga-style blocks to create cello window blocks. Let’s see…picture frames could work…embroidery hoops….adehering the cello onto clear plastic boxes..