
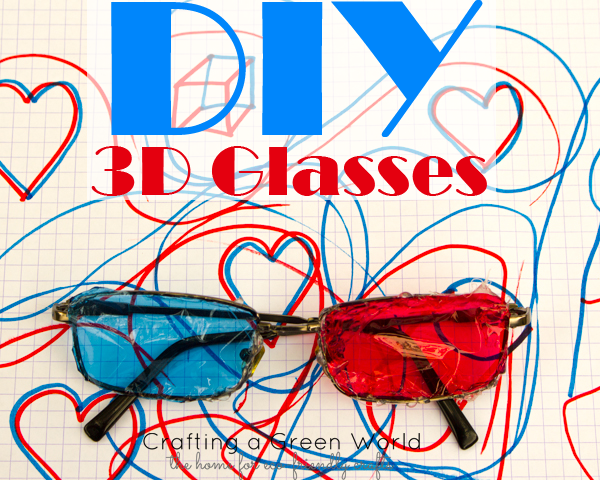
Got some scratched sunglasses, or an old pair of prescription glasses with a cracked lens? Pass them over to your kids, because this is a project just for them! Here’s how to make 3D glasses from an old pair of frames.
How to Make 3D Glasses
These DIY 3D glasses are an excellent kid-build, and really fun for kids to play with afterwards. Here’s what your kid should do to make them:
1. Remove the lenses from the frame. You may have to help your kid bust the plastic lenses out of plastic sunglasses (or just give her a hammer!), but all old prescription frames should require are a teeny-tiny screwdriver and the assertion of your kid’s fine motor skills:
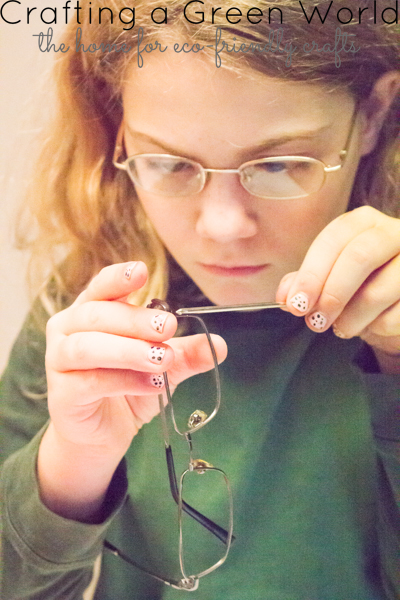
Screw the little screws back into the frame after the lenses are removed. Save those lenses for telescope-making!
2. Trace each lens onto colored cellophane. Colored cellophane is the real trick pony here! Have your kiddo trace around the outside of the lens, so that it will fit over the frame, not inside it:
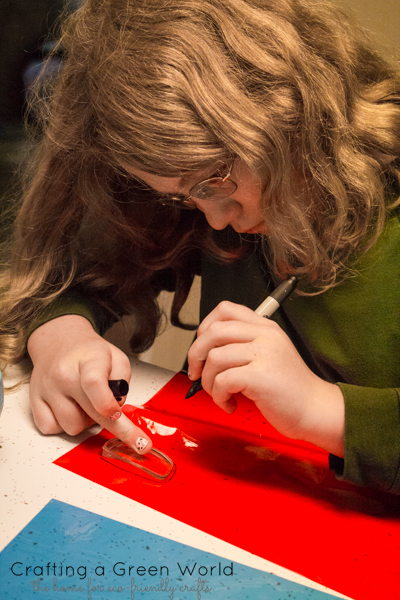
The traditional order is red for the left lens and blue for the right, but there’s nothing to prevent an interested kid from experimenting–how would a yellow/blue combo work? A purple/green?
4. Glue the cellophane to the front of the frames. Hot glue can be a little messy (as you can tell from the pic of the finished glasses!), but it holds well and dries quickly, perfect for my kid who likes to see results right away!
 5. Play with drawing. Let the kid choose marker colors that closely match the cellophane, then experiment with drawing images that will be perceived as three-dimensional. My kiddo first tried taping two markers together, but now prefers to simply hold the two together. You can also play with drawing the red and blue lines not as parallels, but as different elements of a single drawing–this works especially well if you draw a 3D cube, for instance, making some lines blue and some lines red.
Your kiddo can also experiment by trying different papers–plain typing paper, graph paper, or graph paper with red or blue lines.
6. Troubleshoot. After making a set of glasses using a single layer of colored cellophane for each lens, my kiddo spent some time goofing around with the extra cellophane pieces and discovered that doubling or tripling each piece, to make the color darker, improved the 3D effect, so she glued a couple more layers of cellophane to each lens, and now her 3D glasses REALLY pop.
Another variable that might make a difference is marker color. Play around with brands of markers or shades of color to see what works the best.
Because there are so many interesting variables to explore, this is a terrific STEM-enrichment activity for an interested kid, and could also make a stellar Science Fair project. Just have your kid write up her hypothesis and procedure for how to make 3D glassses, paste up a diagram of an eyeball, draw a couple of pictures to look at through the glasses, and BOOM! Blue ribbon.


Julie, this is so awesome. I can barely stand it! What is the bare minimum age Darrol has to be to do this?
Oh, my gosh, I totally know what you should do! I’m going to make it today!
First, when did you update your bio? I like it.
Second, those are awesome. I think we actually have everything needed for this. Once I am done rearranging (I really want to move, but rearranging is cheaper), I think I might set this up and let Emma got to town.
A few months ago, I think? We all had to incorporate those links to our other stuff into our bios so that people could, you know, actually find us. But that actually reminds me to ask you–are you on G+? You should be on G+!
I’m trying to give up social media, not add more! I actually really like instagram right now, so that is where I spend most of my time. Well, here and Pintrest. Although, I am suppose to be getting ready to job hunt at the end of next summer once I graduate, so it might be a good idea to have a strong social media presence. Whatever that means.
Pingback: Crafting a Green World | The home for green crafts and tutorials!