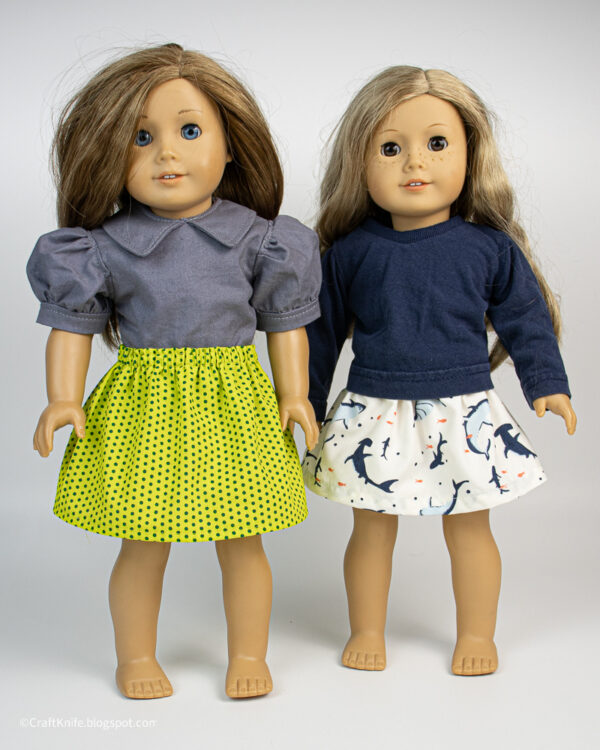
This doll skirt is SO easy to sew!
When I first started sewing doll clothes, I thought that the process was super complicated–all those tiny seams on all those tiny bits of fabric!–but it turns out that I was just picking out super complicated patterns. Like, I don’t even sew clothes with that many complicated construction techniques and fussy embellishments for myself, much less for a toy!
Fortunately, after lots and lots of sewing lots and lots of picky patterns, I got a lot more comfortable with winging it, and I figured out how to apply the elements of flat construction used in doll clothing to my favorite simple methods of sewing quick clothing pieces.
And now I’ve got all kinds of fun pieces that a kid can mix and match for the doll and that I didn’t have to spend an entire evening cussing down the house to sew!
This doll skirt is particularly easy to sew, even more so with the flat construction method that doll clothing uses. Although my photos here show me making skirts for my niece’s 18-inch doll, you can use this method to sew a skirt for any doll.
Here’s how!
Materials
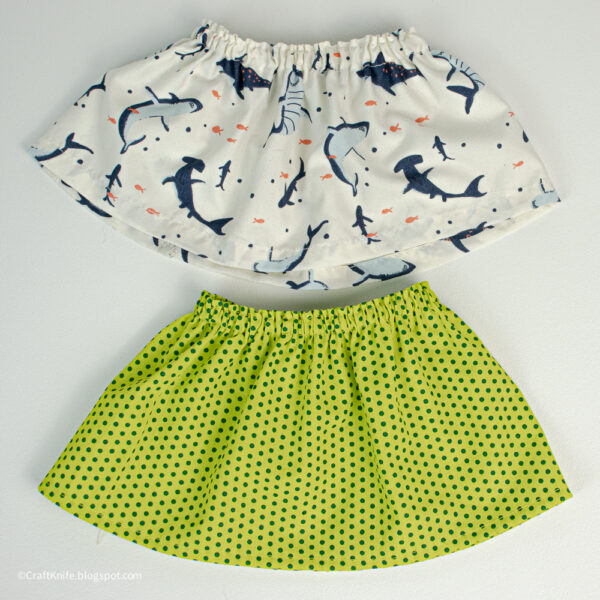
To make a doll skirt for any size doll, you will need the following:
- fabric. Scraps and stash work great for this project–if you can fold the fabric over twice and still stitch through it, you can use it! For the skirts in these photos, I used one of my kid’s old bedsheets for one skirt, and some stash quilting cotton for the other skirt. See Step 1 for dimensions.
- elastic. You can use most types of elastic for this, so definitely prioritize what you’ve got on hand, but I use 1/4″ elastic for pretty much every doll clothing project, so that’s what I’ve got here. If you use a different width, you’ll want to recalculate the width of fabric you cut and the width of the fold for the elastic channel.
- measuring, cutting, and sewing supplies.
Step 1: Measure and cut the fabric and elastic.
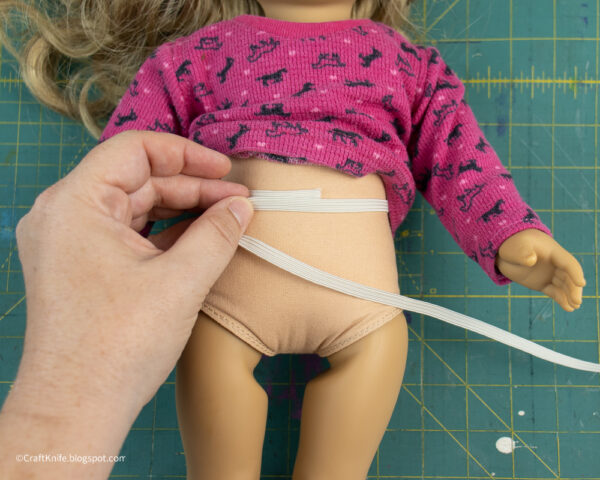
First, measure and cut the elastic for the skirt’s waist. Measure around the doll’s natural waist, and cut elastic to that exact measurement. You’ll lose .5″ from the length of the elastic when you sew the skirt, and that will provide plenty of snugness for a good fit.
For the skirt, first measure from the doll’s natural waist to the spot where you want the bottom hem of the skirt to hit. If you need to add a stitched hem, add .5″ to this measurement, but there are lots of circumstances in which you wouldn’t need to! For instance, I really liked the selvedge of the fabric that I used to make the skirt in the photo below, so I used that for the skirt’s bottom edge and didn’t hem the bottom at all.
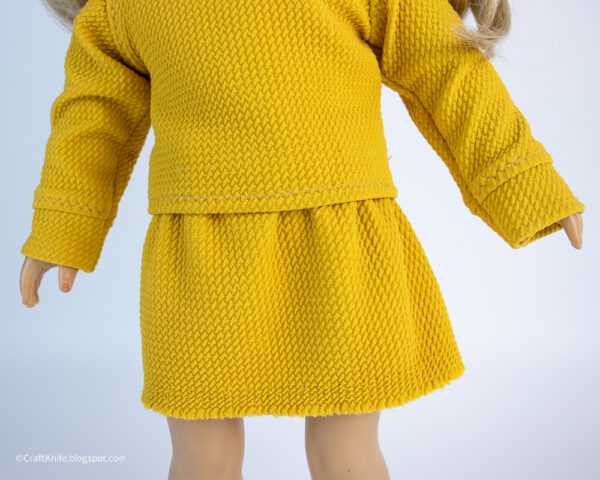
For the sharks skirt that I’m sewing in these photos, I similarly used the finished edge of the sheet as my bottom hem–again, no extra sewing needed! The polka dot quilting cotton skirt is the only one in these photos that needed the extra .5″ for the bottom hem.
Assuming you’re using 1/4″ elastic for the waistband, add another .5″ to the measurement to accommodate the waistband casing.
The width of the skirt should be at least twice the length of the elastic, but you can go even longer, especially if your fabric is thin or drapy.
And for all of these measurements, since I’m explicitly trying to use up my stash, I fudge my measurements as necessary if it helps me use up a bit more stash. Would a skirt that’s 1″ longer or 2″ puffier let me avoid tossing a bit of scrap into the garbage? If so, that skirt is going to be a bit longer or puffier!
For a standard American Girl doll, my elastic measurement is 10.5″. My skirt measurement is 5.5″ long with a pre-finished bottom hem, and 6″ if I need to hem the bottom myself, and at least 21″ wide, but I’ll go up to 24″ if it helps me not have to toss a scrap.
Step 2: Measure, fold, and stitch the bottom hem and waistband casing.
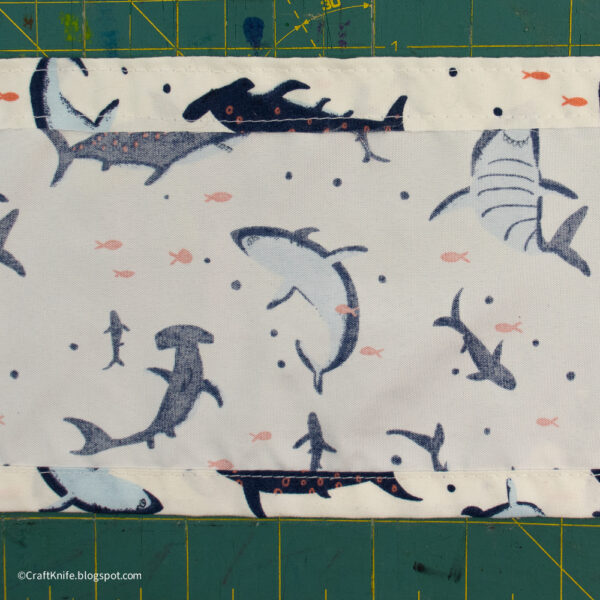
If you’re hemming the bottom yourself, fold it over 1/4″ to the inside, then fold it again to hide the raw edge. Stitch along the folded edge to hem.
For the waistband casing, assuming you’re using 1/4″ elastic, fold the top edge of the skirt over 1/2″ to the inside. We’re not minding the raw edge, but if you do, just add enough length to the original skirt measurement to accommodate a double fold here, too.
For the tidiest waistband casing, you’ll be stitching twice: stitch one line along the raw edge, then stitch another line along the fold.
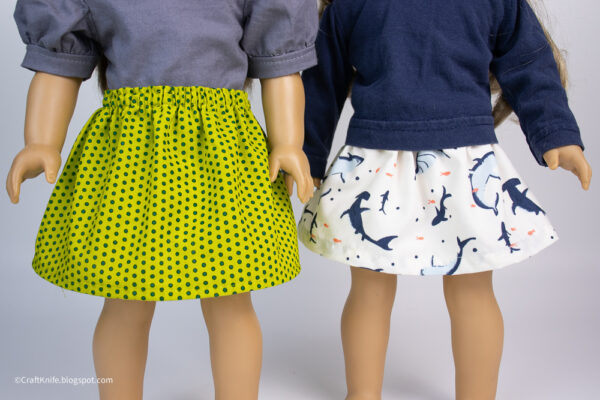
I think this makes the top edge of the waistband look just a little crisper. It’s a tiny detail, but surprisingly noticeable!
Step 3: Insert the elastic and stitch.
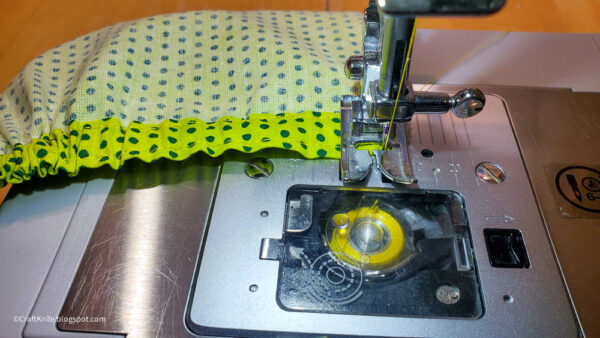
Pin a safety pin to one end of the elastic, then thread it through the waistband casing.
At each end of the casing, stitch back and forth to secure the elastic. This is different from circle construction, in which you’d sew the two sides of the skirt together, then insert the elastic, etc. Flat construction like this is often reserved specifically for doll clothing, but I don’t know why, because it’s genius!
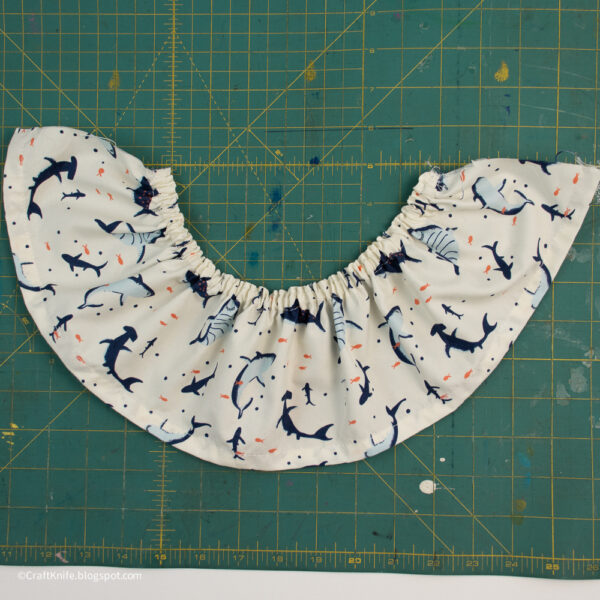
Your skirt should now have a finished bottom hem and an elasticized top hem.
Step 4: Stitch the two sides of the skirt together.
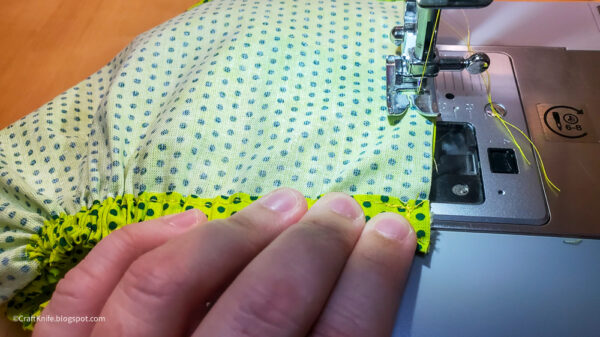
Using a 1/4″ hem, stitch the two short sides of the skirt together, right sides together.
Iron the raw edges of the hem to one side, then stitch along the raw edge to make it tidy and flat.
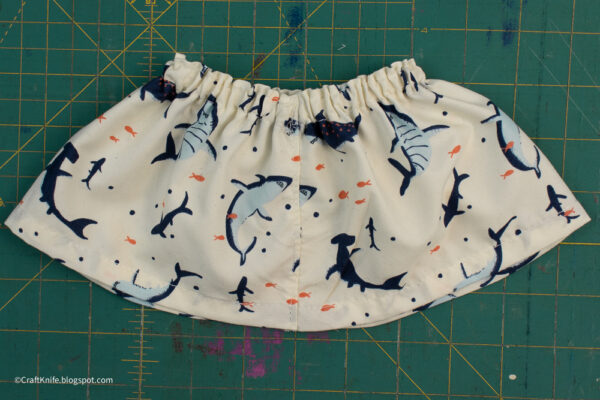
In the above photo, you can see that the line of stitching is barely noticeable, but it’s one more little detail that makes this simple skirt look really nice.
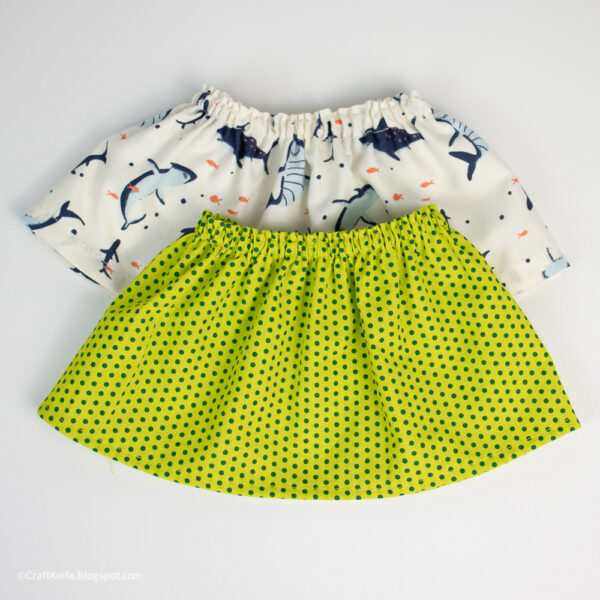
These skirts are so quick and easy to make that they’re honestly kind of addictive. I had to force myself to stop at two so that I could write this tutorial, but just between us, I’m probably about to pop back into my studio and make just a few more.
And then maybe some shirts to match. And maybe a little sweater. And if I’m making a sweater, I should probably make a hat to match!
P.S. Can’t get enough of sewing doll clothes? Here are twelve more doll clothing patterns to try!