Upcycle your old print photographs into stickers, and you’ll unlock a whole new way to display and enjoy those magical memories!
I don’t do a lot of crafting with print photos anymore, so I was a bit dismayed recently when I found a huge stack of 4″x6″ photos leftover from my scrapbooking days. Gotta clean out my closets more often, I guess!
I recognized all these photos as ones that I have digital copies of (I’m still not ready to talk about The Terrible Hard Drive Erasure of 2017…), so I could have just tossed them all into the recycling. But yikes, how wasteful would that be?!?
Mind you, I have no problem tossing stuff that I truly want to toss, but Past Julie clearly spent time and money on this photo order, and all the photos are of my adorable babies, now almost all grown up, and our fun traveling adventures. As far as I know the Jedi Training Academy no longer even exists at Walt Disney World, so that photo of my tiny padawan winning a light saber battle against Darth Vader himself deserves a fate much more exciting than the recycling bin!
Also, there is genuine terror in her eyes in that photo, and I laugh every time I look at it. Kid was pretty sure she was fighting for her life up there!
I have fun crafting plans for most of these surprise photos, the first of which is stickers!
Here are three easy methods for upcycling print photos (and book pages, wrapping paper… just about any paper works for this!) into stickers, along with the pros and cons of each method.
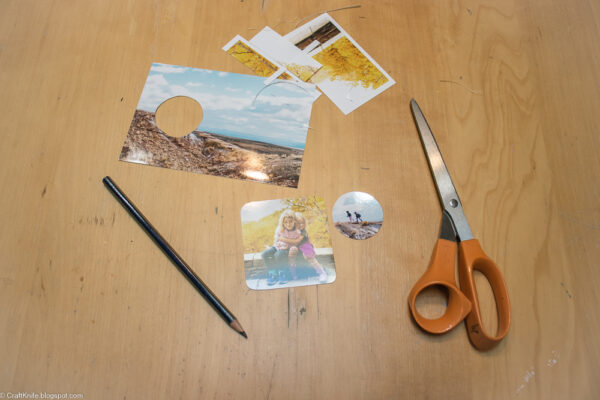
Method 1: Adhere a photo to an existing sticker.
Pros: Quick, materials are easy to obtain.
Con: Stickers are low-tack.
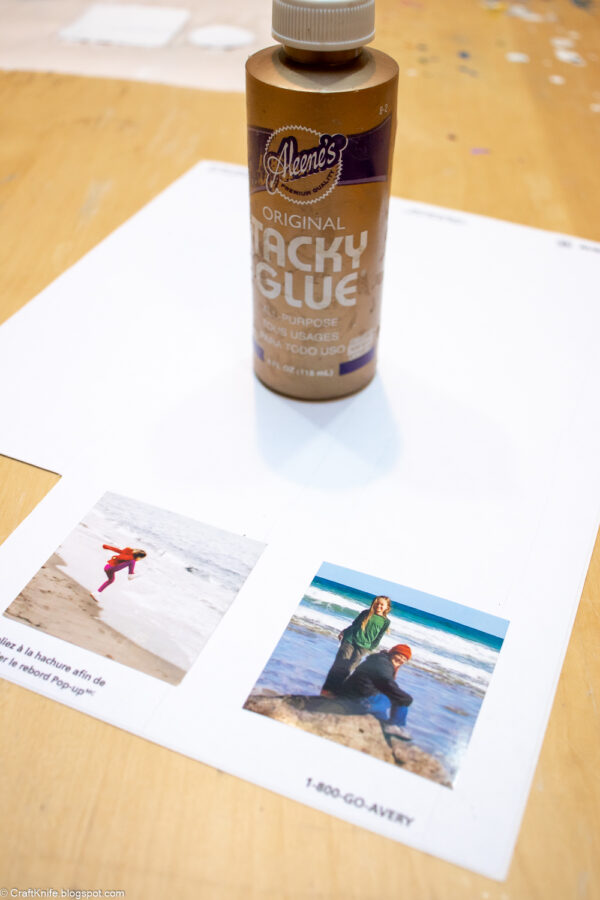
If you’ve got a sheet of printer labels on hand, you can have your own photo stickers ready to go in minutes.
These stickers will be pretty low-tack, so cutting the photos down a bit will reduce their weight.
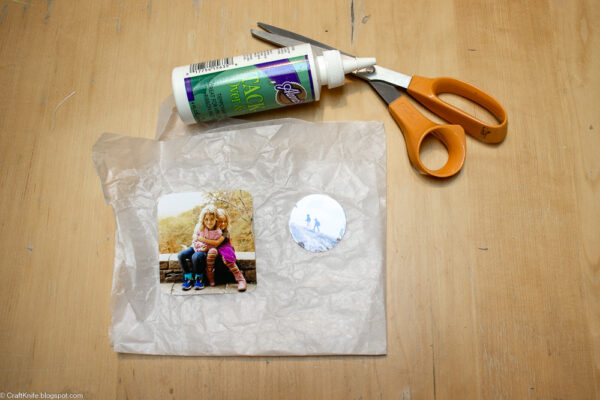
Use an excellent white glue, like Aleene’s Tacky Glue, to adhere the photos to the front of the label sheet. Let the glue dry, then cut out the photo stickers.
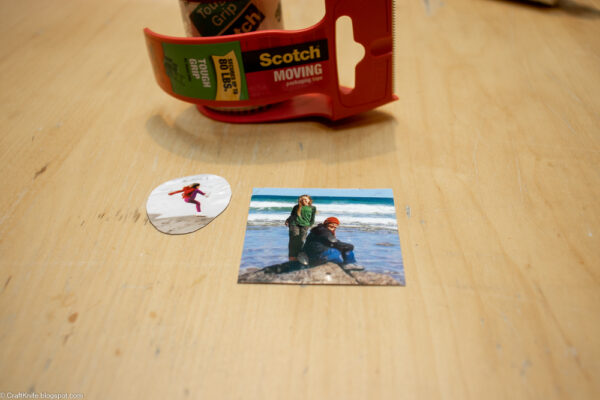
Glossy photos don’t make the best stickers right out of the gate because of how easily they show smudges. To solve this, laminate the front of each photo by sticking a piece of clear tape to it.
Fair warning: I, personally, am MISERABLE at jobs like this. One of my teenagers even installs all my screen protectors for me because she can’t stand looking at the state of my phone screen, all bubbles and trapped lint, when I do it myself. I had to cut down that photo above right because I somehow managed to trap a giant cat hair under the tape, sigh. So be super careful with your own tape lamination!
Method 2: Paint the back with Aleene’s Tack it Over and Over Again glue.
Pros: Most eco-friendly, least use of additional materials, stickers are repositionable.
Cons: Most time-consuming method, requires a specialty supply.
This is my favorite way to make stickers. It’s super easy, and I used to do this to make re-usable stickers for my kids from old book pages, toy catalogues, and our drawings all the time–tbh, I think the bottle I used for these stickers is the same bottle I was using way back then!
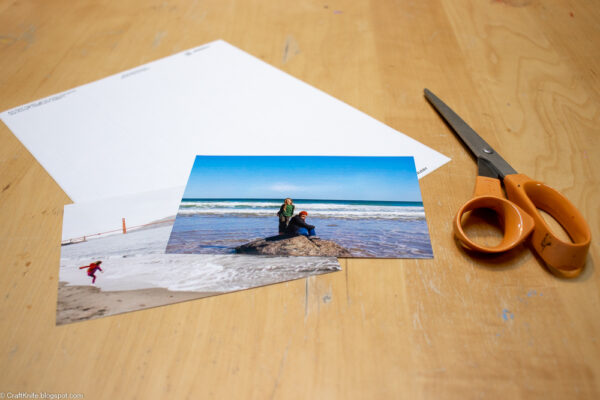
To make these re-usable stickers, cut your photo to size, then coat the back with a VERY thin coat of Aleene’s Tack It Over And Over Again glue. I like to do this on top of parchment paper, so I can brush excess glue off the edges of the photos and onto the paper:
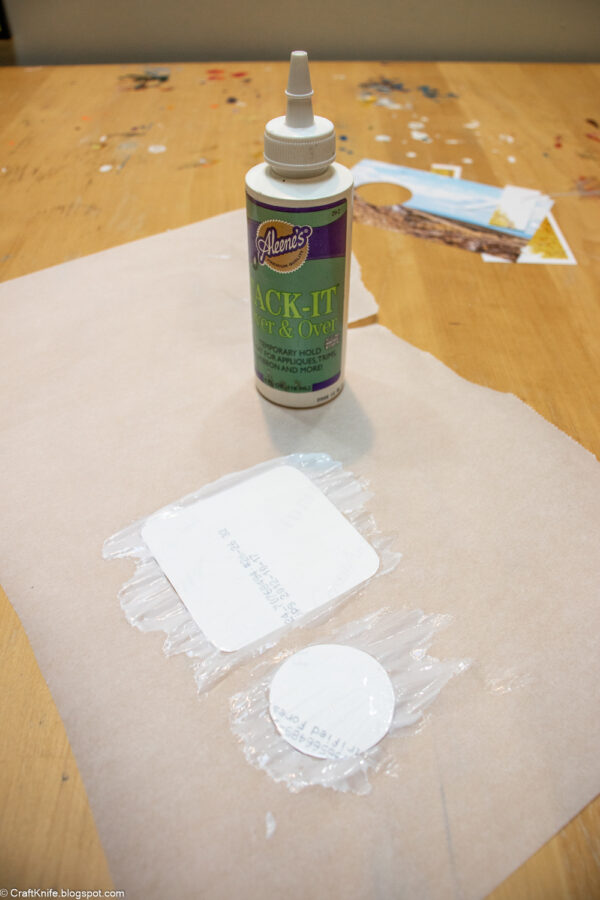
Let these photo stickers dry for about 24 hours, then peel them off the parchment paper. Even though they are repositionable, I like to stick them to wax paper to store them.
Method 3: Use a store-bought sticker maker.
Pros: Makes the highest-quality stickers by far.
Cons: Most expensive, least eco-friendly.
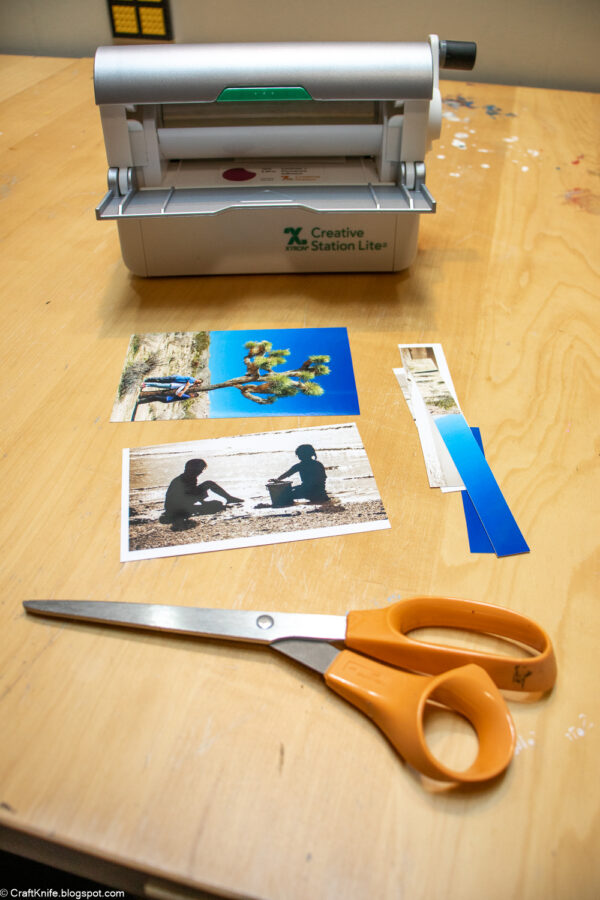
I wouldn’t buy one of these for myself, but I do use the snot out of the Xyron Creative Station Lite that I bought for my kid back when she was a tween. She creates a lot of art, and I thought that she might like to make stickers and magnets out of her own little art pieces… and she does!
But yikes, this machine is made entirely of plastic, and each cartridge is made from more plastic. Please feel free to spam me with suggestions for more eco-friendly models!
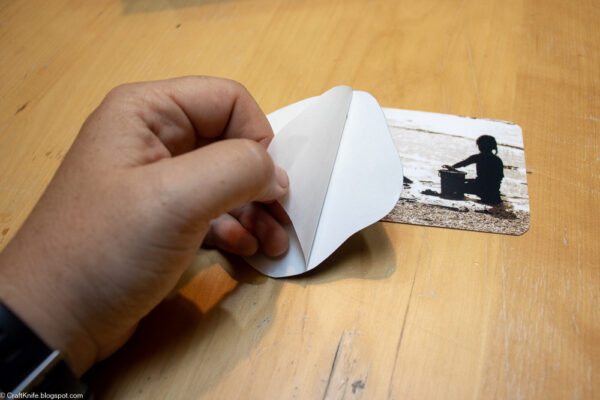
I will say, though, that the stickers this machine makes are WONDERFUL, easily equivalent to good store-bought stickers. We’ve worked with materials as thick as food packaging cardboard, and the stickers always come out well. This cartridge even laminates the top of the sticker, so glossy photos remain smudge-free.
Ugh for all that plastic, though!
I wasn’t excited to find these photos in the back of a closet, true, but I have to say that I am excited to have a fun little way to display some of them! It definitely brings a bit of magic into my daily grind to catch a glimpse of a happy memory and a sweet kid or two.