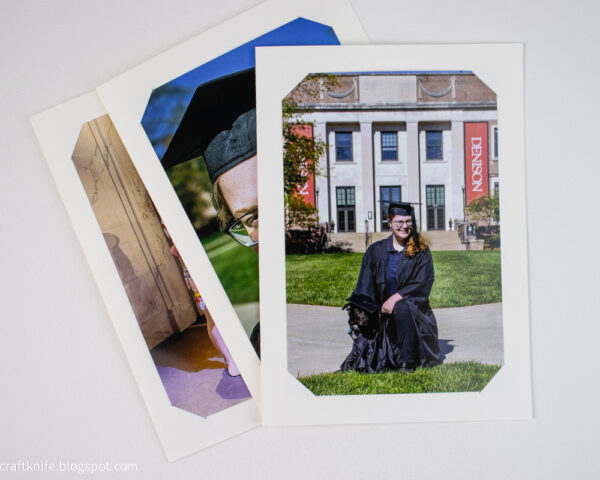
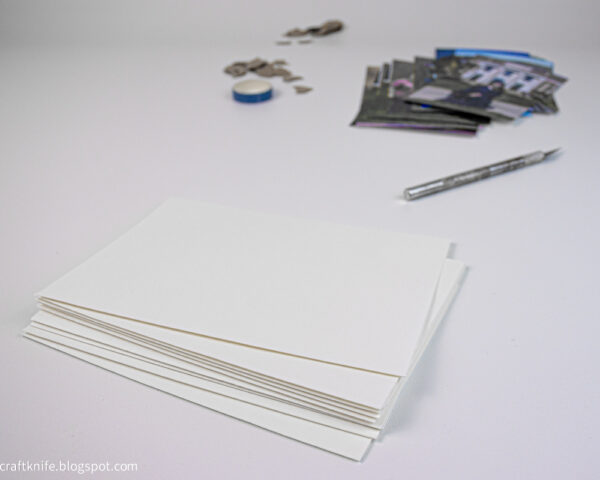
This greeting card doesn’t require anything to make it beautiful other than cardstock and a photo!
I’d tell you that this is the easiest greeting card ever, but the one that I showed you last week is ACTUALLY the easiest greeting card ever. With that one, instead of a knife, you get to use stickers, so it’s probably also a tiny bit more fun to make (depending on whether or not you like knives or stickers better, lol!). This greeting card, however, is in close second place!
This is an easy greeting card to make in batches, especially before all the various congratulations card and thank-you card seasons of life–with a college graduate of my own, I can’t tell you if I’ve made more congratulations cards or thank-you cards so far this year! This card would also work great for Christmas cards (you could even write the sentiment inside using a Cricut, for the ultimate lazy crafter hack), with a cute holiday or family photo on the front.
If you’re a minimalist crafter, you’ll also appreciate how few supplies you need to make this card. You need cardstock and a photo, obviously, but that is literally it! The only essential tools are a craft knife and metal ruler, although I also utilized a paper cutter, a self-healing cutting mat, a bone folder (plastic, of course), and an awl.
Normally, I’d also offer you lots of suggestions for alternative materials to use if you don’t have cardstock, but in this case, you really do need proper cardstock. If you don’t want to buy a whole ream brand-new, check out your local arts and crafts thrift store. Mine almost always has exactly what I need–and about a dozen other things that I didn’t realize I needed until I got there!
And here’s how to turn those couple of supplies into someone’s favorite greeting card that they’ve ever received!
Step 1: Cut the cardstock to size.
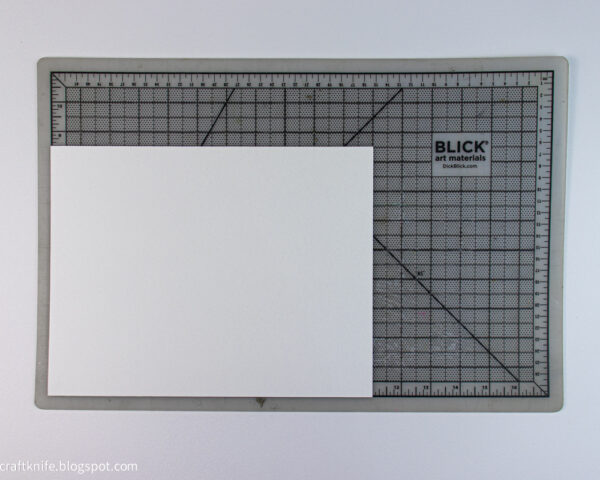
If you’re using a 4″x6″ photo for the front of this card, you’ll want a piece of cardstock with the dimensions of 7″x10″. Seven inches covers the height plus .5″ margin at top and bottom, and 10″ covers twice the width plus two .5″ margins at the left and right.
For the easiest conversion from an 8.5″x11″ piece of cardstock, cut 1″ off the long side and 1.5″ off the short side.
Step 2: Fold the cardstock in half to create the greeting card.
You want to be as precise as possible here, because a sloppy fold is the main difference between a card that looks professional and a card that… doesn’t. I mean, don’t despair if your folds are sloppy, because it’ll still be a sweet, thoughtful, and appreciated card, but if you’ve got the choice between sloppy sentimental and well-crafted sentimental, always choose craftsmanship!
The folded card should measure 5″x7″.
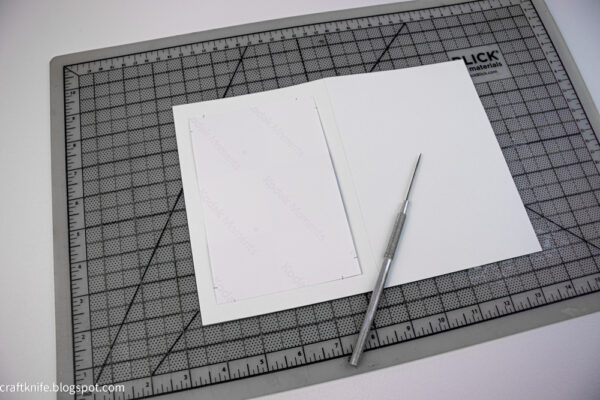
Step 3: Cut slits in the card for a photo.
This requires a tiny bit of math, so be brave.
This card works by cutting slits that you slip each corner of the photo into. This holds the photo securely on the front of the card, but also makes it easy to slip the photo out to display it elsewhere.
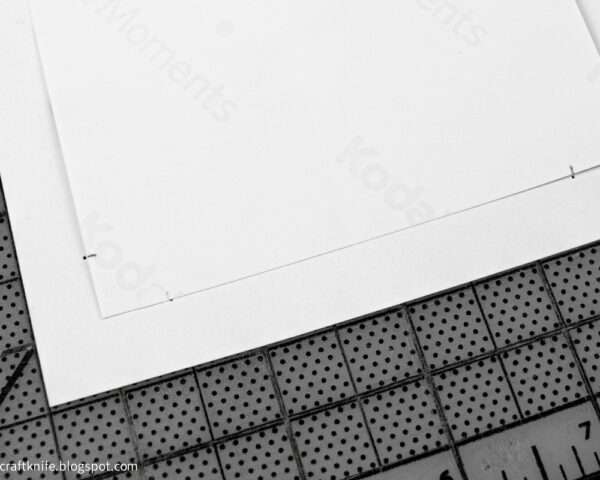
Because the slits are cut on the diagonal, I think the easiest method is first to mark the end points of each diagonal line. You can do this with a pencil, but an awl is cleaner.
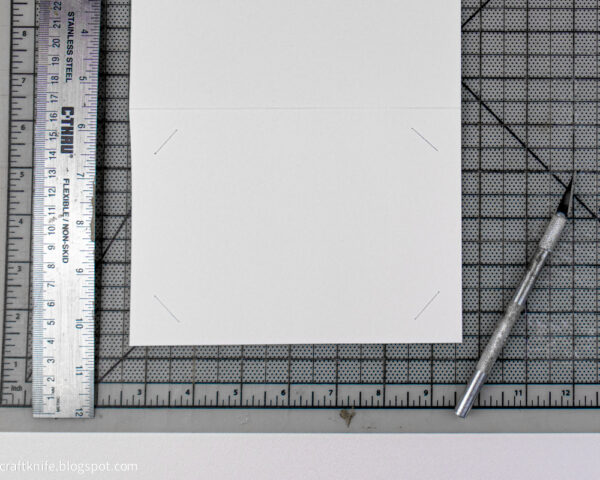
On the front of the 5″x7″ card, you will mark two end points for every slit–one that is 1″x.5″ from each corner, and one that is .5″x1″ from each corner.
If you’re making multiple cards, you can save yourself a lot of time by taking an extra photo and marking .5″ from each corner on all sides. Then you just have to center that photo on the greeting card face and copy its marks to the card:
Use a metal ruler and a craft knife to cut a diagonal line that connects each pair of corner points. Don’t forget to unfold the card before you cut it, because you only want these slits in the front of the card!
This is genuinely my favorite kind of greeting card to make. It’s so simple and lovely, and it’s so easy to be funny, or thoughtful, or romantic, just from the choice of photo. I’ve been making a lot of congratulations cards for high school graduates whom I’ve known since they were small, and sorting through all my old photos of little kids in Girl Scout Brownie vests, looking happy and grubby and so, so young, has me fighting back nostalgic tears with every single card. And then I turn to helping my own older kid with her own thank-you cards, and now I’m looking at photos I took of her in her cap and gown, looking happy and proud and suddenly so, so grown-up, and oops, there are the tears again!