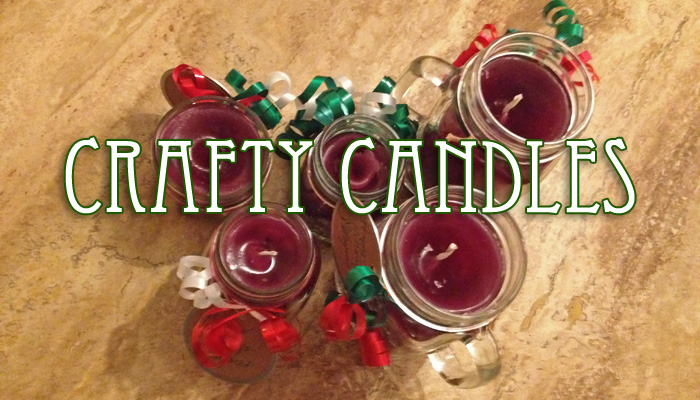
After a little too much time on Pinterest this past weekend, the wife and I decided to try our hands at making a few DIY gift candles for some of our friends and family. I can’t say the project was a complete success (more on that in a minute), but we were able to put a bunch of our saved-up mason and jam jars to good use and ended up with more than a dozen cute gift candles. Not bad, I thought, for a first attempt!
Here’s how we did it.
First, we did some research. We checked out this how-to article that Julie Finn wrote back in 2012, and then compared that to some of the projects that crafters on Pinterest did. There were a few issues – almost everyone who reported using essential oils had a horror story associated with them, for example – but, for the most part, we were in sync.
Research completed, we took our “gift candles” project to the crafts store. We ended up buying:
- an aluminum pitcher (in the candle-making section)
- 8 lbs. of soy candle wax
- wax thermometer
- soy-waxed wicks
- candle scents
- candle dye
As before, we had a ton of mason jars, glass jam jars, etc. to re-use for our gift candles, so we didn’t need to buy any of those for the project. If you’re like me, though, you probably have a bunch of similar jars from farmer’s markets, other friends giving you jam they made after reading about it on our sister site, EDB, or just because old jars are cool.
1. Melting the Candle Wax
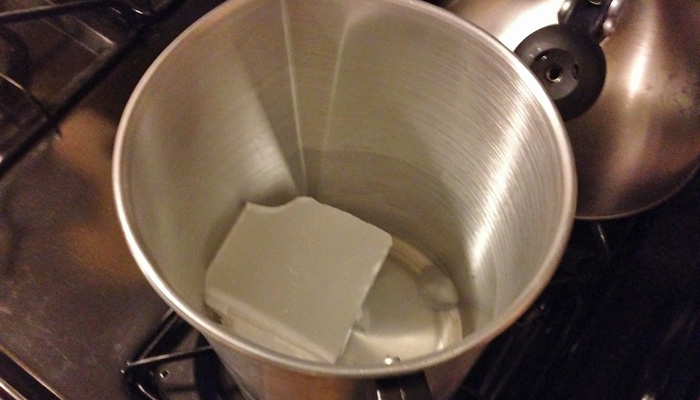
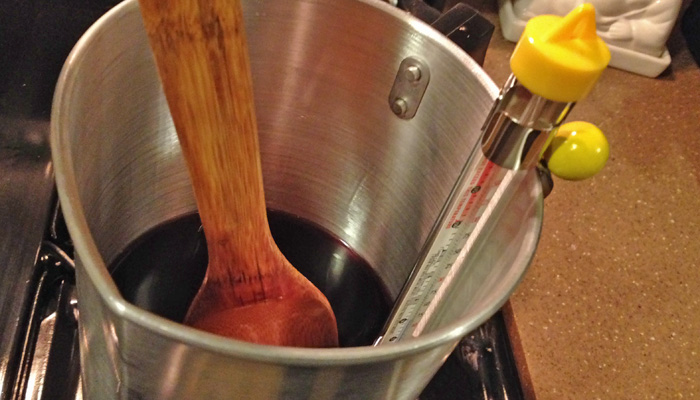
After cutting the blocks of wax into manageable chunks with my terrifying, zombie-ready machete (did I mention I also write for a zombie apocalypse survival blog?), we started melting them down in the aluminum pitcher. The main ideas here were “keep stirring” to help keep the liquid wax at the bottom of the pitcher from boiling, and “use super-low heat” to help keep the liquid wax at the bottom of the pitcher from boiling. Boiling, flammable candle wax bubbling and spurting all over you is super-bad. Take your time, enjoy the experience, and avoid boiling candle wax.
2. Adding Dyes and Scents
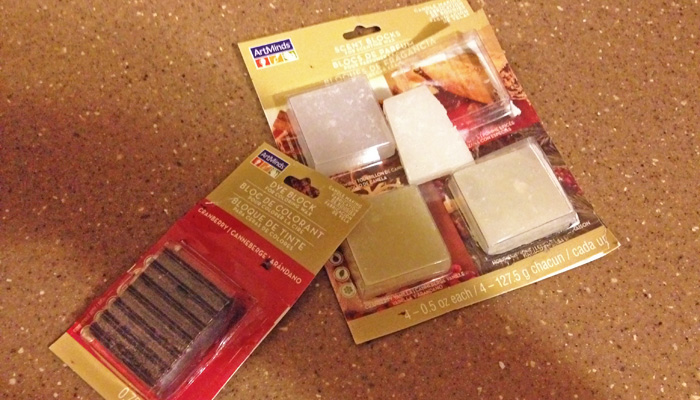
Step 1., above, takes longer than you might think it does. When we got bored of stirring, we started slowly adding dye blocks until we got the right color, then added the scented wax squares. It broke up the monotony of the constant stirring.
3. Let it Cool, but Keep Stirring
Once you’ve stirred your melted, non-boiling candle wax, scented wax, and dye block into a uniform solution, stick in the thermometer and turn off the heat. If you’re like me, the wax was way too hot. You’ll want to be patient in letting it cool down to a thicker, syrup-like consistency. Use the indicators on the thermometer to guide your decision-making on this. For my part, I was too impatient, poured the wax too hot, and that first batch of candles ended up with weird air bubbles. Patience, in this case, is a virtue- and the recipients of your holiday gift candles will end up appreciating it, I promise.
4. Pour the Wax, but Keep the Wick Straight
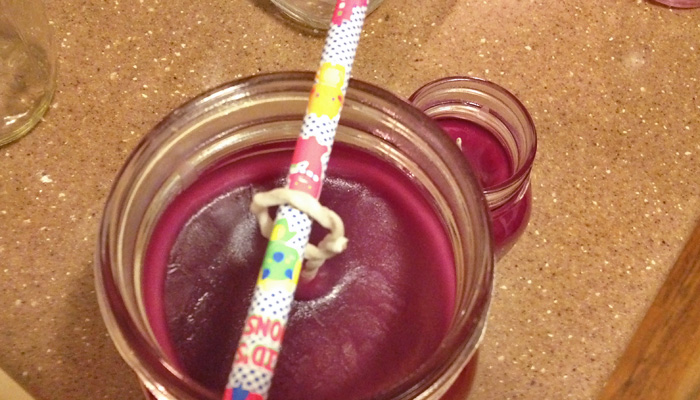
This next step caused much controversy in our home. Should we glue the wicks down to the bottom of our gift candles? Should we pour a tiny bit of wax first to “set” the wick? We tried both methods, and they were both equally mediocre at keeping the wick straight. Wrapping the wick around a pencil to keep it straight was the method we read about, and it work OK – by the end of the project, though, we’d switched to small locking pliers. The pliers were a little better, but not especially “crafty”, and I was told they were “cheating”.
5. Pretty Them Up
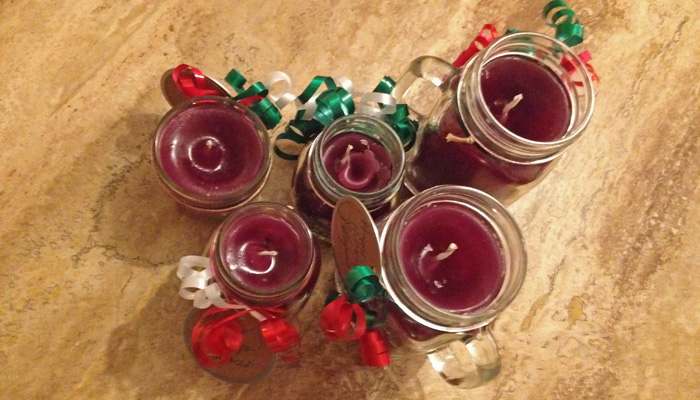
You’ve made some candles! We added some ribbons and gift tags to this first batch of cinnamon-scented holiday gift candles. If you look closely, you can see the “air bubble thing” I was talking about, earlier. Later batches didn’t have that problem (as much) because we were properly a bit more patient.
6. Light Your Ugliest Gift Candle
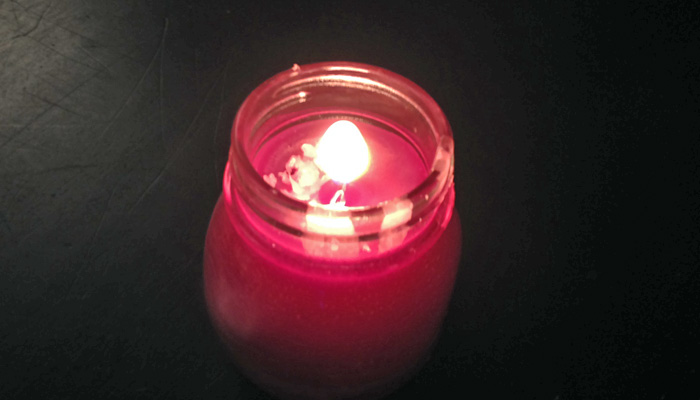
Being the selfish pig that I am, I was a little disappointed that we’d done all this work and didn’t have anything of our own to show for it. The deal I made with the wife was that we’d keep the ugliest candle for ourselves- and, once we lit it and it melted down a bit, it was glorious!
7. Make More
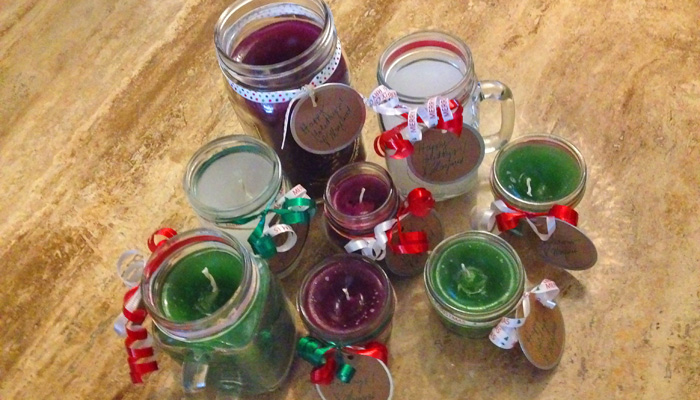
The first batch of gift candles we made used up about 2 lbs. of wax, which made a huge mason jar candle, a regular-sized mason jar candles, and a small jam jar-sized candle. That left us with about 6 lbs. of wax left, so we made a few more in some traditional Christmas colors and wintery-type scents, and ended up with 16 home-made holiday gift candles. We could have ended up with 20, easily, but we had a few that (because we were impatient) ended up too ugly to give as gifts … they sure do smell nice, though!
What about you? Have you made your own candles before? How’d that go? Let us know what you thought of our weekend craft project – and what you’d do differently! – in the comments, below.