

My favorite stashbusting projects are the types of useful accessories that you can never have too many of. You can never have too many zippered pouches, cloth napkins, fabric baskets, or pillowcases, and once you’re used to making them, you can whip them out quick as lightning without having to refer back to the instructions.
Scrunchies are one of my favorite stashbuster projects. Like the other projects that I mentioned, scrunchies are very forgiving, so you can fudge fabric dimensions as needed to fit your scraps. Scrunchies look cute in a wide variety of patterns and prints, from the classic to the novelty. And, for those of us with long hair, scrunchies are EMINENTLY useful! Toss a couple in every bag you own (bonus points if you store them inside a zippered pouch!) and a couple more in all your glove boxes, and you’ll be set for any scenario. I lead a Girl Scout troop, and I keep spare scrunchies in my troop first aid kit and my troop campfire kit, too. Long hair will never keep MY Girl Scouts from adventure!
To make a scrunchie from your stash fabric, you will need the following:
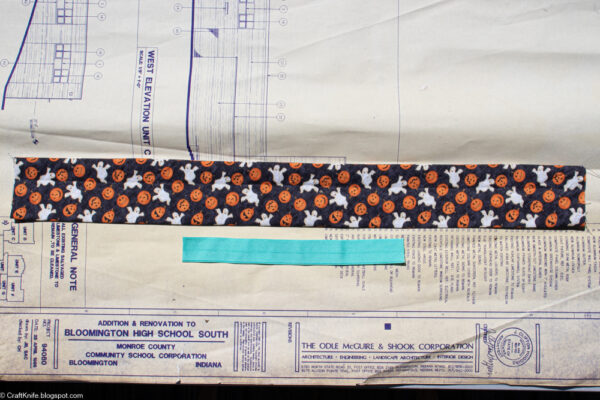
- fabric piece, approximately 24″x4″. Remember how I said that you can fudge fabric dimensions as needed with this project? I did not lie! I’ve gone as short as 18″ to use up the last bit of Halloween print, and as narrow as 3″ to squeeze one last project out of a favorite dinosaur print.
- elastic, approximately 1/4″ by 7″. Again, though, use what you’ve got! I’ve made scrunchies using everything from FOE to 1/2″ elastic to buttonhole elastic. You may need to adjust the length of the elastic if you’ve altered the length of the fabric piece. If your elastic can be tied by hand, reserve an extra inch for knotting it. If your elastic is too wide to hand-knot, you’ll use that inch to stitch the two ends together.
- measuring, cutting, and sewing supplies. Don’t forget the safety pin!
Step 1: Measure and cut your fabric and elastic pieces.
Novelty prints are the best for scrunchies! My teenagers think that scrunchies are so silly (I lived through the 1990s, and I know that they’re right!), and they’re happy to lean into the silliness when I surprise them with scrunchies made from the last bits of their favorite novelty prints.
But other types of fabrics also make surprisingly successful scrunchies. I adore using thrifted sheets to back quilts, and the folded and hemmed top of a thrifted sheet makes an excellent scrunchie. Dress shirts and skirts are other good fabric options.
My favorite dimension for the perfect scrunchie is, as I mentioned in the Materials section, 24″x4″. But I’d go as short as 18″ to use up a good scrap, and I’d absolutely rather go longer than toss a couple of inches of fabric in the trash.
Cut your elastic to about 7″, which allows for a .5″ overlap on each side to either tie or sew the two ends of elastic together. I’m using up the last of some stash FOE for the scrunchies in this tutorial, but any elastic approximately 1/4″ wide should work well.
Step 2: Make a fabric tube.
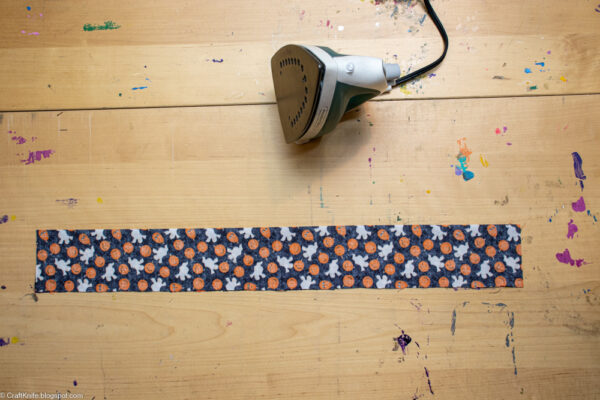
Fold the fabric in half lengthwise, and iron to crease.
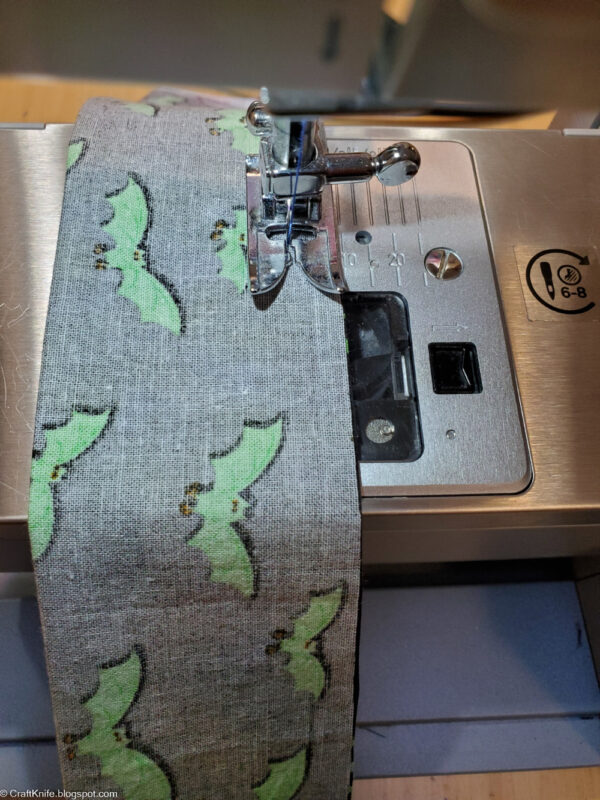
Sew the open long edge shut using a 3/8″ seam to create the tube.
Iron the seam open.
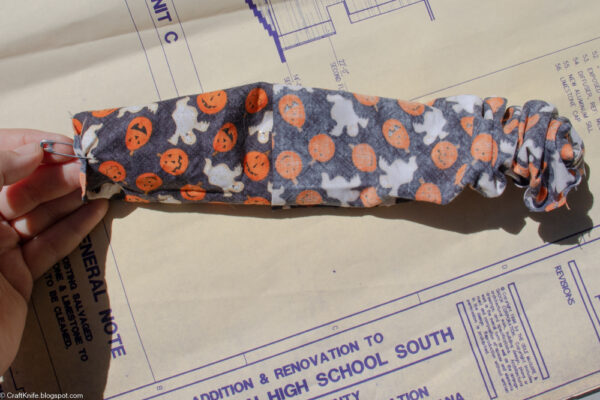
Fasten a safety pin to one end of the tube. Use the safety pin as a bodkin to turn the tube right side out, then iron again so that your tube is tidy and flat.
Step 3: Insert the elastic.
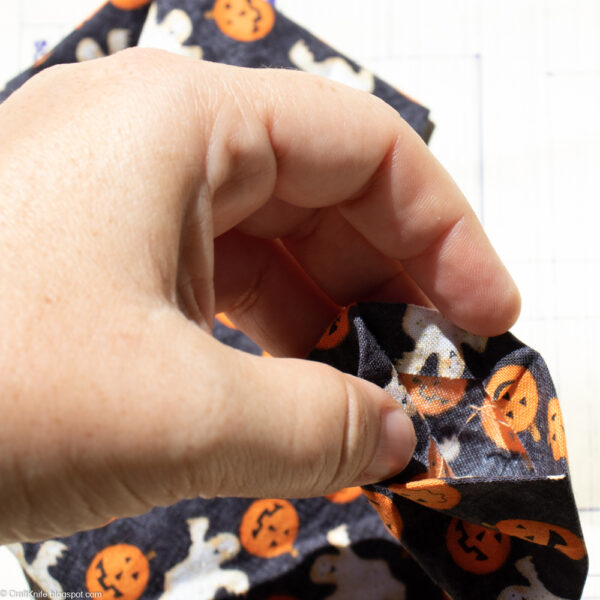
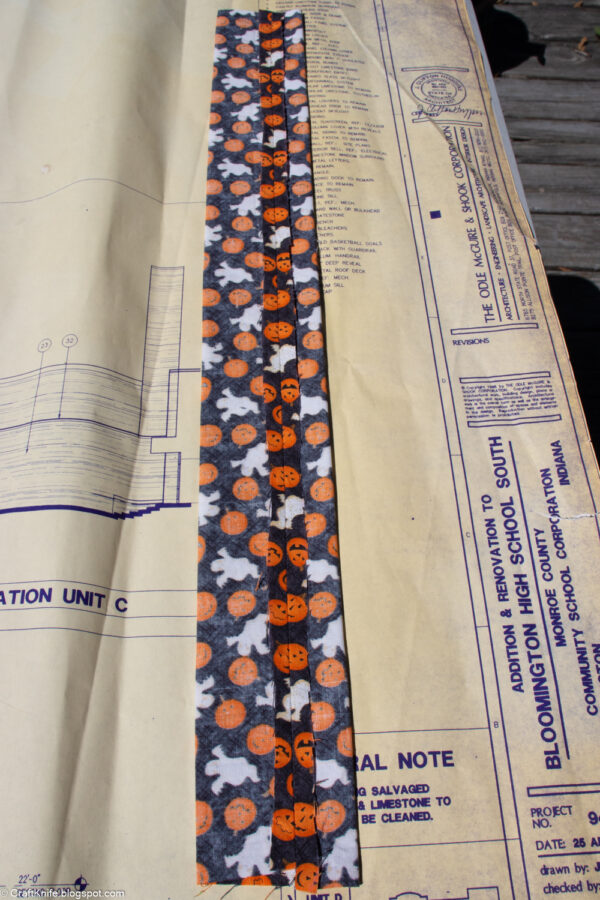
Fold one end of the tube to the inside about 1/2″, and iron to crease.
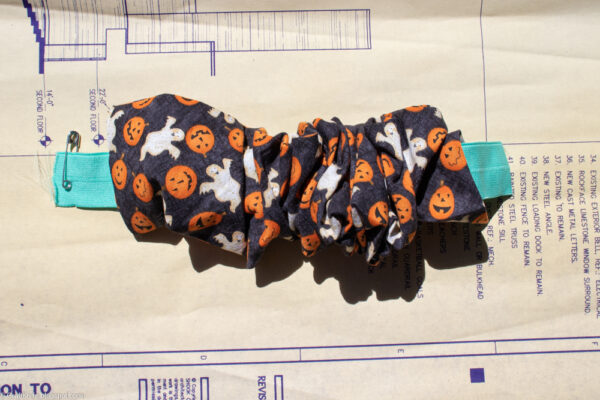
Fasten the safety pin to one end of the elastic, and use it as a bodkin to pull the elastic through the tube. Scrunch the fabric as you go so that it’s scrunched into the middle, leaving both ends of elastic clear.
If the elastic is narrow, you can sometimes get away with tying an overhand knot to connect the two end pieces. Otherwise, overlap the two ends by .5″ and sew them together with the stitch of your choice.
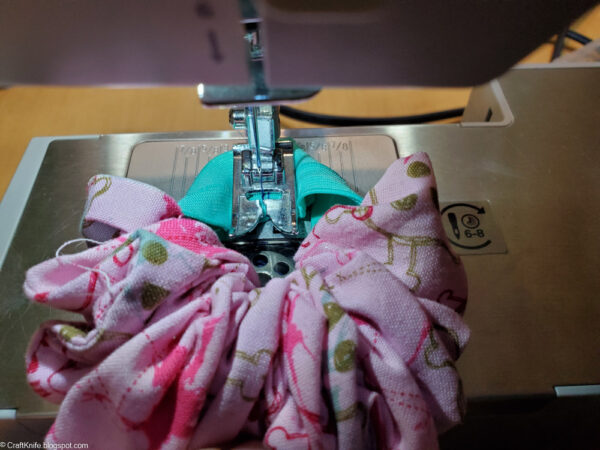
Step 4: Close the tube.
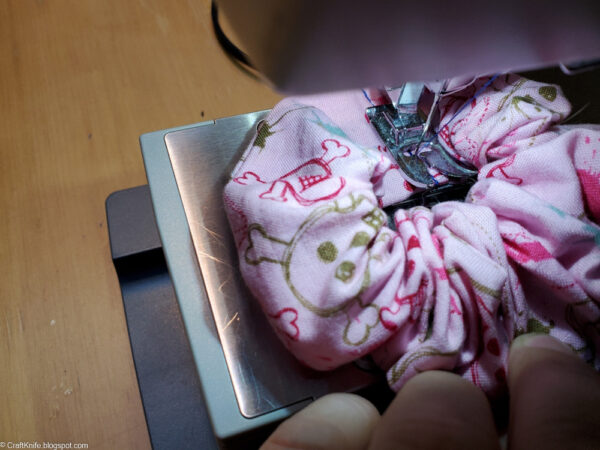
Overlap the two ends of the tube, with the cuffed end on the outside. Sew them together with a sturdy straight stitch. Fluff up the scrunchie until all the scrunches are evenly distributed around the circle.
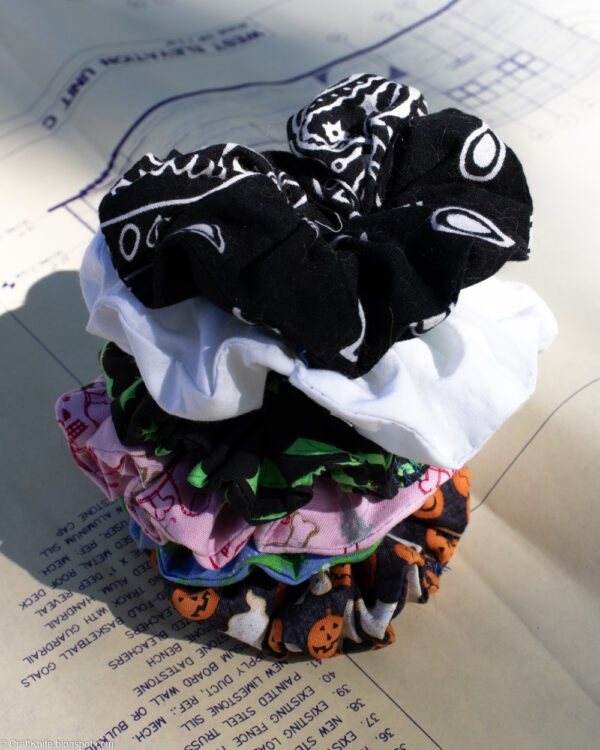
DIY scrunchies make fun additions to Christmas stockings and Easter baskets, and care packages to your favorite young adult. Out of the six scrunchies that I made in this short afternoon’s work, two are for my teenagers to wear as Halloween accessories (in my family, Halloween season starts in September!), two are going into their Christmas stockings, and two are going to hang out in my secret bin of presents, waiting for a special occasion yet to come.


