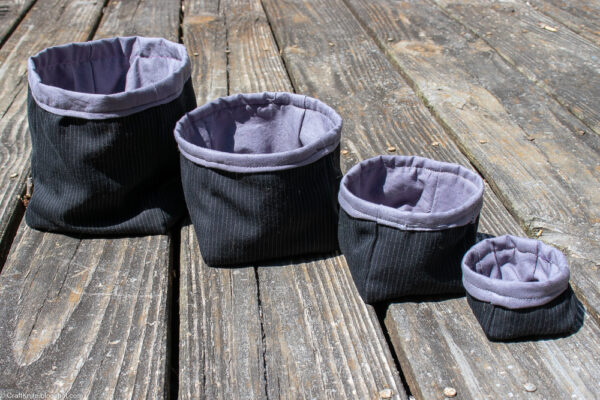
Nesting fabric baskets make sorting and storing all your stuff super easy!
I’m willing to admit that I have too much stuff. But I mean, everyone has too much stuff, right? Please tell me that we ALL have too many books and mugs and LEGO sets and gel pens and plastic dinosaur figurines and interesting rocks… and they’re all important!
Other than getting rid of some of my stuff–which I am NOT willing to do!–I feel like keeping stuff contained and organized goes a long way towards making my house look only charmingly cluttered. Pile of interesting rocks on the bathroom counter? Put them in a cute fabric basket, and now they’re decorative! Soda can pop tops all over the kitchen table because the teenager “collects” them? That little fabric basket is the new pop top holding area!
Last week, I showed you how to sew a single fabric basket. These nesting fabric baskets sew up just the same, but give you a lot of storage options. Sew a set in the same colorway from the same fabrics, and they’ll all match each other and your decor. Since they nest, they don’t take up a lot of storage space, but when you need them, you’ve got four whole baskets’ worth of storage!
To make a nesting set of four fabric baskets, you will need:
- five squares of outside fabric for each basket. You’ll need a set of five squares in each of the following dimensions: 6″x6″, 5″x5″, 4″x4″, and 3″x3″. I generally use quilting cotton for this, although I’ve also upcycled some curtain fabric that was definitely some kind of polyester, and it turned out beautifully. The outside fabric for the set of baskets in these photos is an old pair of dress pants.
- five squares of lining fabric for each basket. You’ll need a set of five squares in each of the following dimensions: 6″x6″, 5″x5″, 4″x4″, and 3″x3″. Quilting cotton is also great for this, and it’s what I’ve used for the linings of these baskets, but I’ve also used old bedsheets or other random yardage in my stash.
- cutting and sewing supplies. Fancy supplies like a gridded cutting mat, clear gridded quilting ruler, and plastic sewing clips are fun to have, but you can work with any ruler, straight pin, and sharp scissors.
Step 1: Measure and cut the fabric for the four nesting fabric baskets.
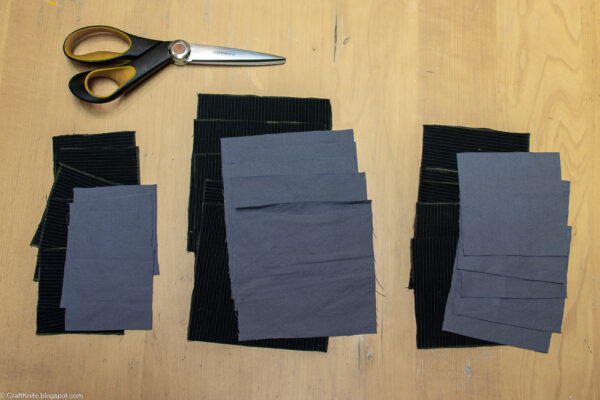
For the 6″ basket, cut five 6″x6″ outside pieces and five 6″x6″ inside pieces.
For the 5″ basket, cut five 5″x5″ outside pieces and five 5″x5″ inside pieces.
For the 4″ basket, cut five 4″x4″ outside pieces and five 4″x4″ inside pieces.
For the 3″ basket, cut five 3″x3″ outside pieces and five 3″x3″ inside pieces.
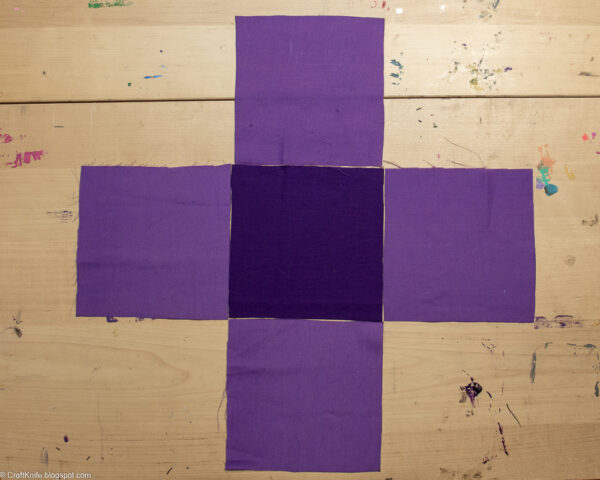
Step 2: Sew the pieces of each basket into a T-shape.
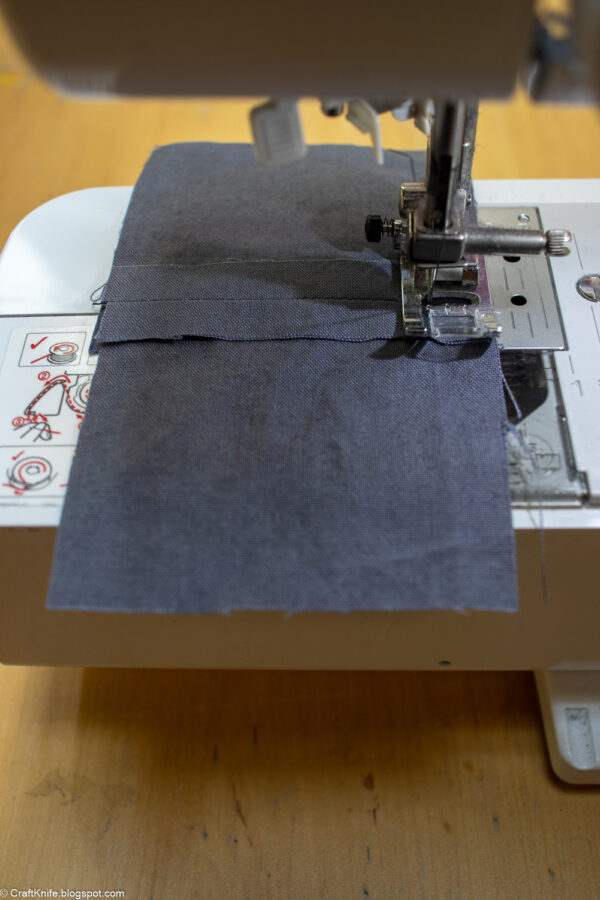
In order to make these baskets look the best, you need to be REALLy precise with your seams here. If you have trouble sewing a perfect seam, consider drawing yourself a sewing line in washable ink.
You will sew each piece with a precise .5″ seam, and you will start and stop precisely .5″ from the end of each edges. I know it’s fiddly, but your baskets will look soooo nice this way!
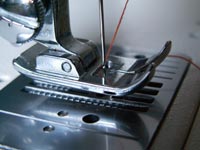
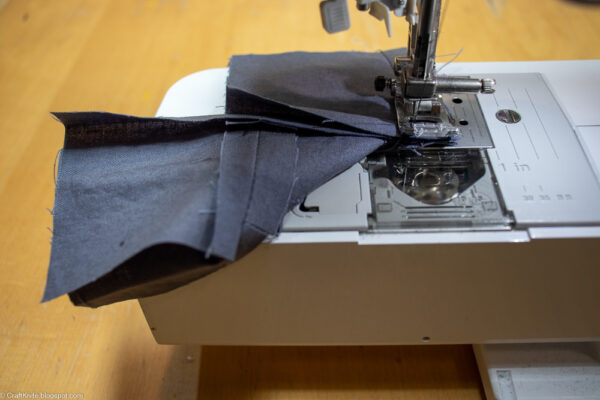
Check out the photo below, in which I’m sewing one of the cross pieces of the T:
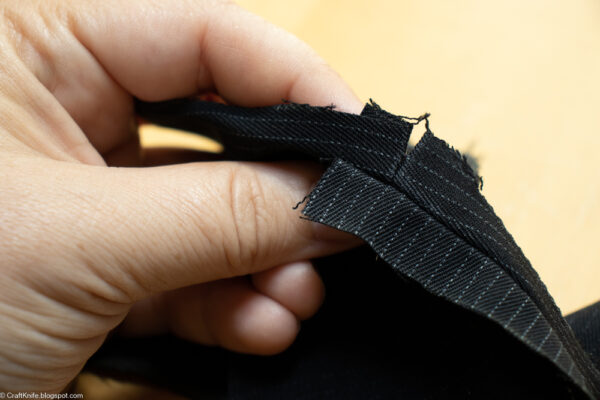
Here’s a zoomed-in view of where I stopped my needle:
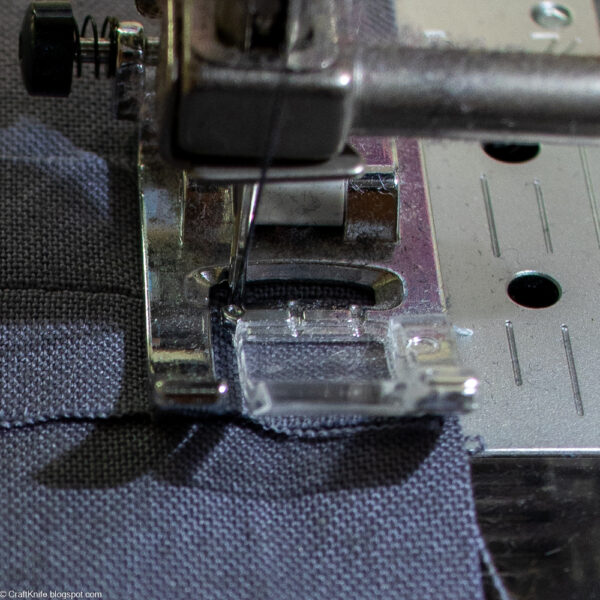
Those precise .5″ seams allow you to use the stitching lines as your starting and stopping points for the cross pieces.
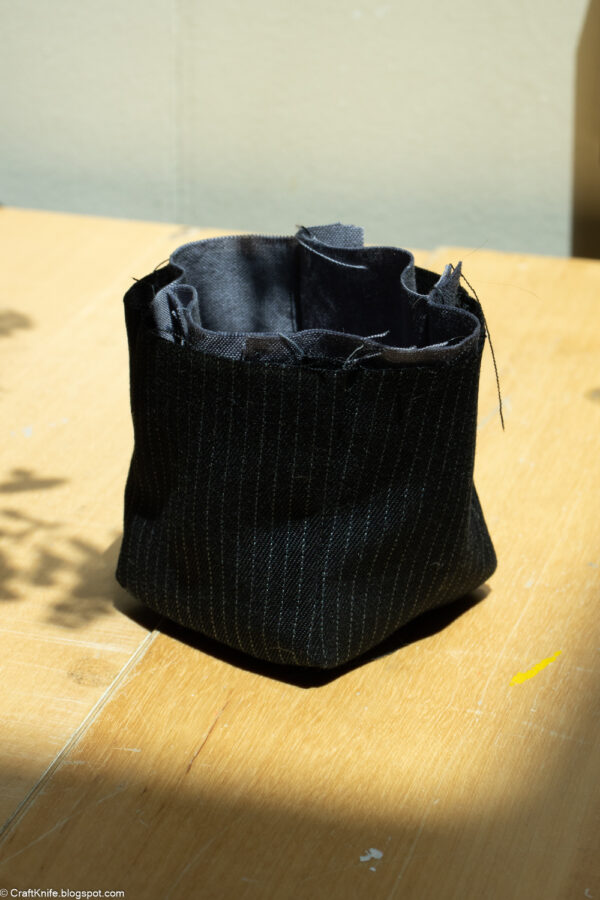
Step 3: Sew adjacent sides together to form a cube with an open top.

Sew each adjacent side together, again with a .5″ seam allowance. You can start sewing right at the top of each seam, but down at the corners, stop again .5″ from the end.
If you’ve been really precise sewing your T, you will see exactly where to stop stitching, because that’s where all the stitch lines will meet. If you overshot on a piece or two, though, just snip the stitches that went too far:
Step 4: Insert the lining into the outer fabric and sew a fold-over binding.
Turn the outside basket right side out, but leave the inside basket inside out. Insert the inside basket into the outside basket, and line up all the corners and side seams.
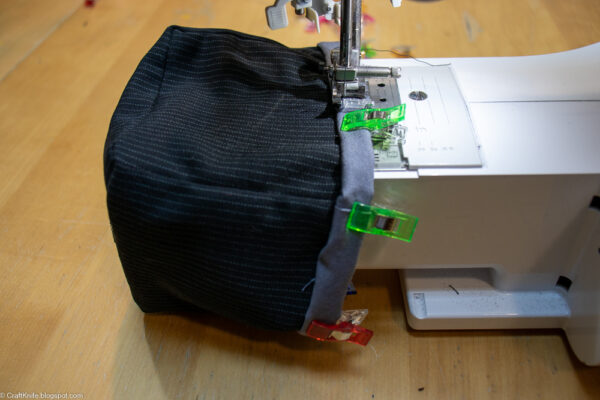
Fold the top edges down twice, so that the raw edge is encased. Pin or clip the fold in place:
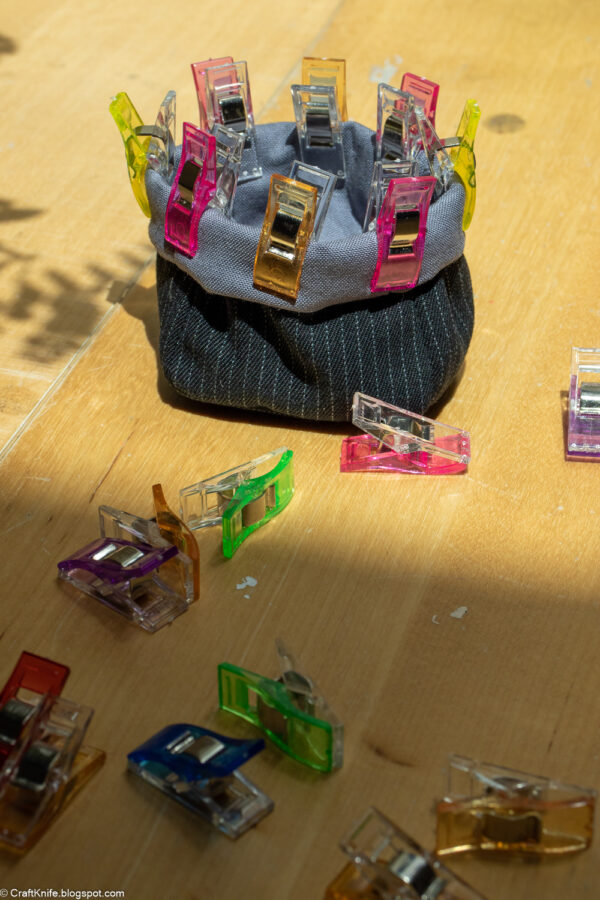
Edge stitch around the binding to secure it. It gets trickier the smaller the basket is!
That’s one of the reasons why 3″x3″ is about the smallest you can go.
I especially love how great these baskets are for sorting projects in progress, like toys, puzzle pieces, and sewing supplies while I work. And when they’re not needed, they look so neat and tidy nested together!
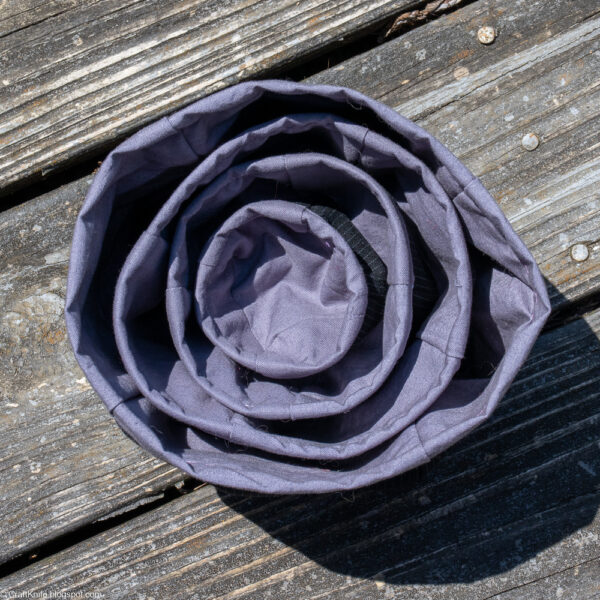
These basket sets are a great stashbusting project, because you can make a set or two for every room. I used up that entire pair of dress pants making cute, useful fabric baskets for my house. My stash fabric bin is thrilled!