
Due to a regrettable incident while bleach painting some T-shirts, I was left with a bleach stain on my second-favorite but most precious Samoas hoodie. My teenaged Girl Scout had to sell an unholy number of Girl Scout cookies to earn that hoodie as a reward. And because she is generous (and a minimalist), she gave that awesome hoodie to me.
It took me a few days to process the unhappy accident. But once my distress had some time to settle, I realized that the situation really wasn’t as bad as I’d first thought. The stain was small, and should be easy to patch.
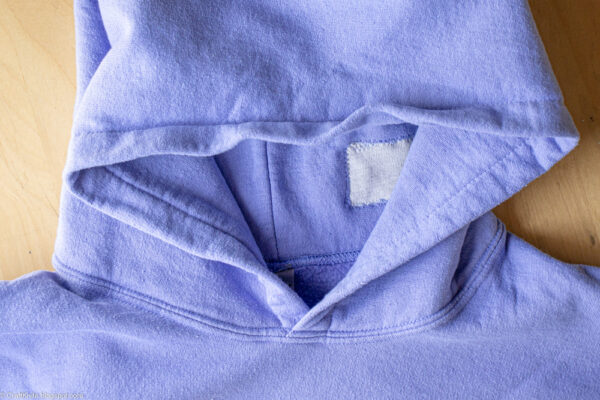
And the fabric to patch it with? Why, the hoodie’s hood is double-layered! And you rarely see the inside of a hood! If I cut some fabric from the inside layer of the hood, I could use that to patch the stain. Then I could use any old sweatshirt fabric to patch that little-seen place inside the hood.
So that’s exactly what I did!
If you’d like to try the same trick on your own hoodie, here’s how to do it!
You will need:
- hoodie, washed and dried. Wash your hoodie and dry it completely before you patch it. If any other weird stains are going to show up, you might as well know about them now.
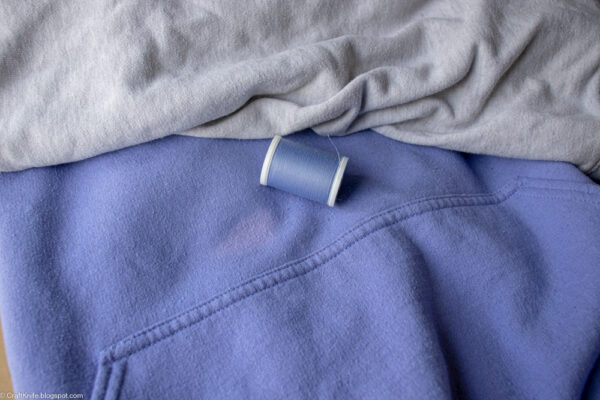
- matching thread. I wore my hoodie to the fabric store so I could match it to my thread. I did look for matching sweatshirt fabric while I was there, as that would be the easiest patch. But nothing came even close to this periwinkle Samoas hoodie.
- scrap sweatshirt fabric. If you don’t care about the fabric color matching the patch, you can patch your hoodie with this fabric. Otherwise, use it to patch the spot inside the hood after you cut your fabric patch out of it.
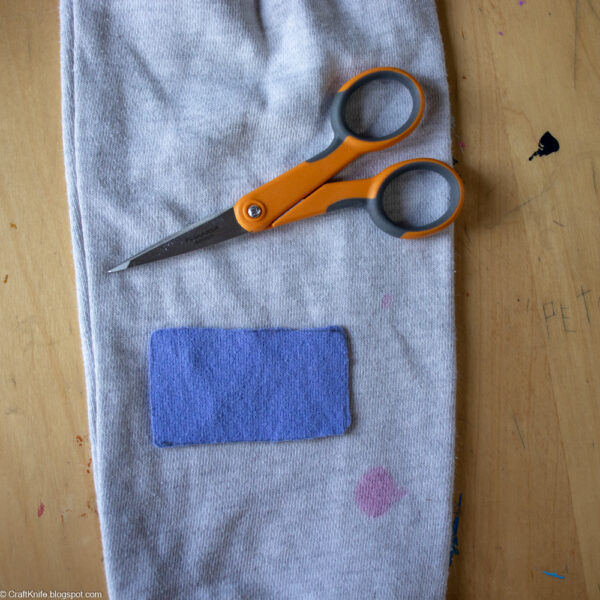
- cutting and sewing supplies. My go-to supplies include a Frixion pen for marking my fabric, a small pair of super sharp scissors for cutting, and my sewing machine.
Step 1: Measure the stain, and cut the patches to size.
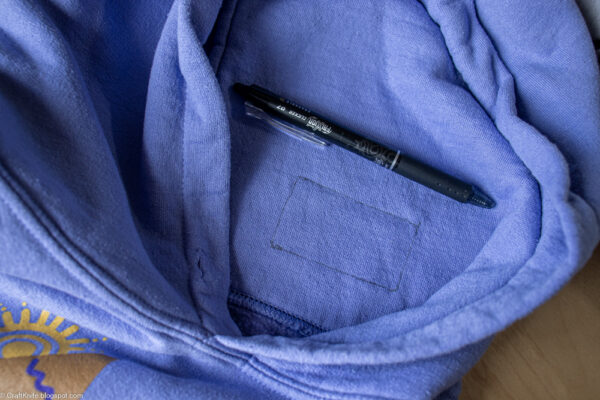
The bleach stain on my hoodie’s belly measured about 1″x2″. I measured and cut a patch about 1.5″x2.5″ from the inside of the hood.
Make sure the patch will follow the same grain lines on the front of the hoodie. That will make it even more inconspicuous.
I placed that patch over a piece of sweatshirt fabric from my scraps bin. Then, I cut another patch about another .5″ wider around it.
I didn’t give a flip about mimicking the grain lines here, because nobody is going to see this patch.
Step 2: Patch the front of the hoodie.
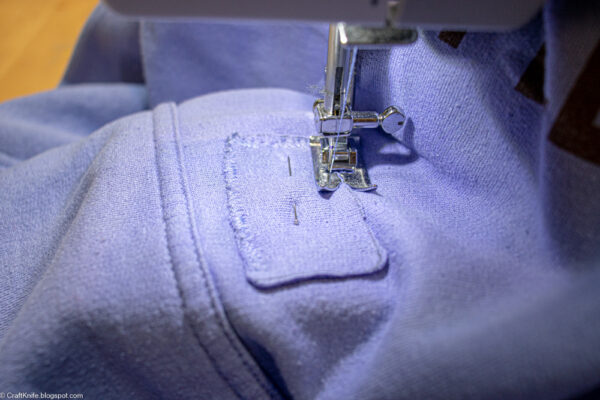
Pin the patch to the hoodie to cover the stain. Line up the grain lines to mimic the below fabric as much as possible.
Set your machine to a fairly short and narrow zigzag stitch. Since sweatshirt fabric doesn’t ravel, I wouldn’t go so far as a satin stitch. But I did keep my stitches pretty close together.
I had a lot of trouble with the thread snagging on the underside of this project. Perhaps the fuzzy backside of the sweatshirt fabric was tripping up my sewing machine. Or perhaps I have a nicked faceplate or some other issue. I suspect the latter, because I also had some trouble with the zigzag stitching on the stained glass dragon quilt I sewed right before Christmas. I guess figuring it out will be tomorrow’s project, sigh!
Stitch the patch to the hoodie. Then, if you’re very careful, use your super sharp pair of scissors to trim any excess patch fabric. DO NOT nick the fabric or the stitches. You do not want to do this project all over again with an even bigger patch!
Step 3: Patch the inside of the hood.
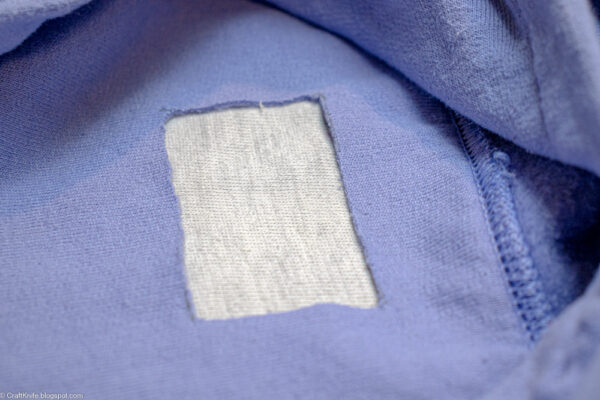
Place the patch for the inside of the hood behind the hole. If you do not want any stitching to show on the outside of the hood, you can carefully hand-stitch the patch to just this layer of the hood.
I, however, am lazy, so I used the same zigzag stitching to stitch this patch right through both layers of the hood. This means that the bottom stitching does show on the outside of the hood. But if the thread matches, it should still be fairly inconspicuous.
AND it saved me a lot of time and effort and squinting nearsightedly while hand-sewing, so there’s that!
Here’s what the finished patch on the inside of my hoodie’s hood looks like:
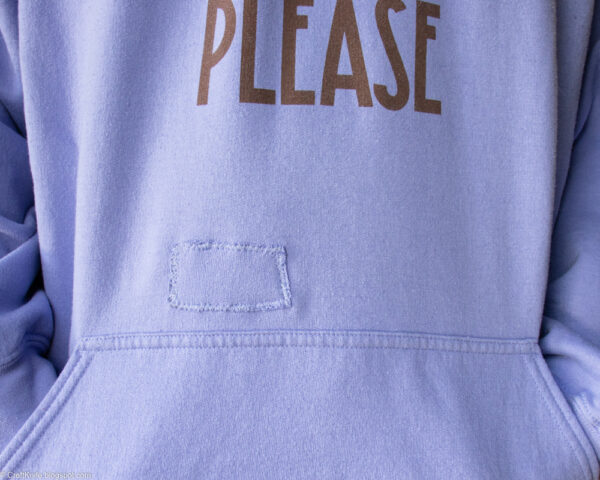
And here’s what that formerly bleach-stained belly looks like now!

It’s not invisible, but it’s pretty inconspicuous. And this periwinkle color is so weird that any color of patch would have looked weird, too. So I’m doubly happy that the fabric and color are identical.
I am going to be SO much more careful when bleach painting in the future! Also, do you want to buy some Girl Scout cookies?


