I am REALLY good at sewing on patches, and this ability is endlessly useful. It opens up a whole new world of DIY, both for adding awesome band patches to all of your awesome stuff (or awesome Girl Scout badges to your awesome Girl Scout’s awesome vest), and for, you know, actually covering up holes in your beat-up but still awesome clothes.
Yes, many patches these days are iron-on, but iron-on patches are the pits. It takes longer to iron them than it does to sew them, and that’s even assuming that they’ll stay on, which they will not, or that your iron won’t get too hot and melt them into the fabric, because that will totally happen, too. And if you wash your fabric, just assume that at some point, sooner rather than later, the iron-on patches will fall off in the wash.
You can even sew on iron-on patches. Sewn-on, they’ll be sturdier than ironed patches and never fall off, and you won’t have to worry about whatever that iron-on plastic mess is off-gassing into your house and killing your birds.
Tools & Supplies
If you’ve got a sewing machine, I urge you to give sewing on a patch a try. Here’s what you’ll need:
- Sewing machine and thread. You can sew on a patch by hand, but it’s more physically challenging. Definitely use a thimble!
- Glue stick. This is my secret trick for perfect patch placement.
Directions
1. Repair Broken Mends
If you’re using your patch to cover a hole or tear, repair the mend first. This is the most important thing to remember: a patch does not cover a hole; a patch covers a mend!
2. Choose matching thread
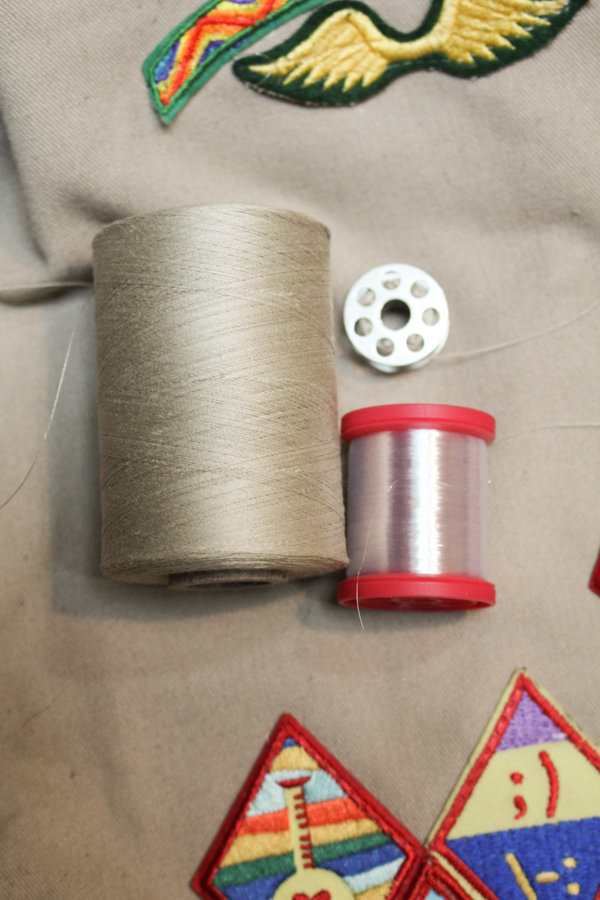
The bobbin thread should match the fabric that you’re patching, and the top thread should match the patch. If your patch is multi-colored or otherwise hard to match, use clear thread for the top. If you don’t want to use clear thread because it’s plastic, just choose the color of cotton thread that matches your patch the closest.
3. Glue the patch down.

Here’s my best and most secret trick for perfect patch placement: before you sew it, stick it down with a glue stick!
Because the patch plus the fabric below it is so thick, it’s really going to want to shift while you sew it, and that thickness also makes it impossible to pin. Temporarily sticking the patch down with a glue stick will allow you to keep its exact positioning while you sew it into place.
4. Sew the patch down.
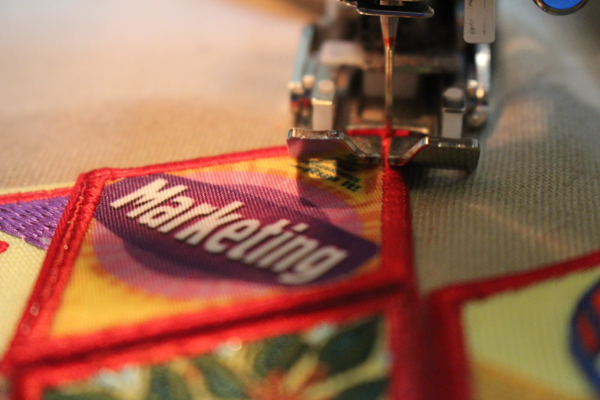
Set your sewing machine to its longest stitch length, and sew around the patch. Don’t forget to back-stitch at both beginning and end! Some people are really fond of sewing patches with a zig-zag stitch, and while you need a good satin stitch to sew down a homemade patch, you really don’t need it for a finished patch. Additionally, a zig-zag stitch increases the profile of the thread and can make it more noticeable. Trust me: a nice, long straight stitch is all you need.
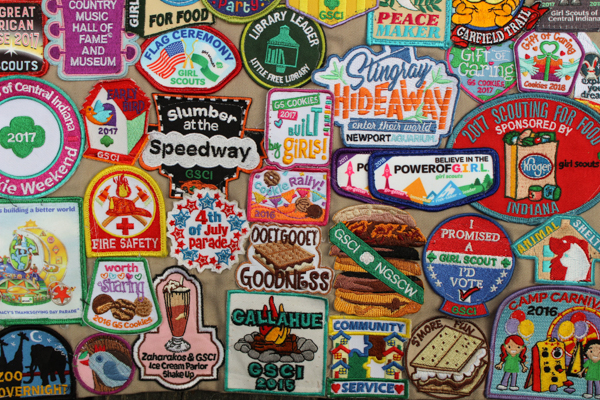
As you can see in my top photo, you can even overlap patches when you sew them–try doing that with an iron-on! You can also sew a patch onto any fabric, whereas you’d have to be veeery careful trying to iron a patch onto fleece or felt.
Now, go get all those band patches back on your denim jacket where they belong!