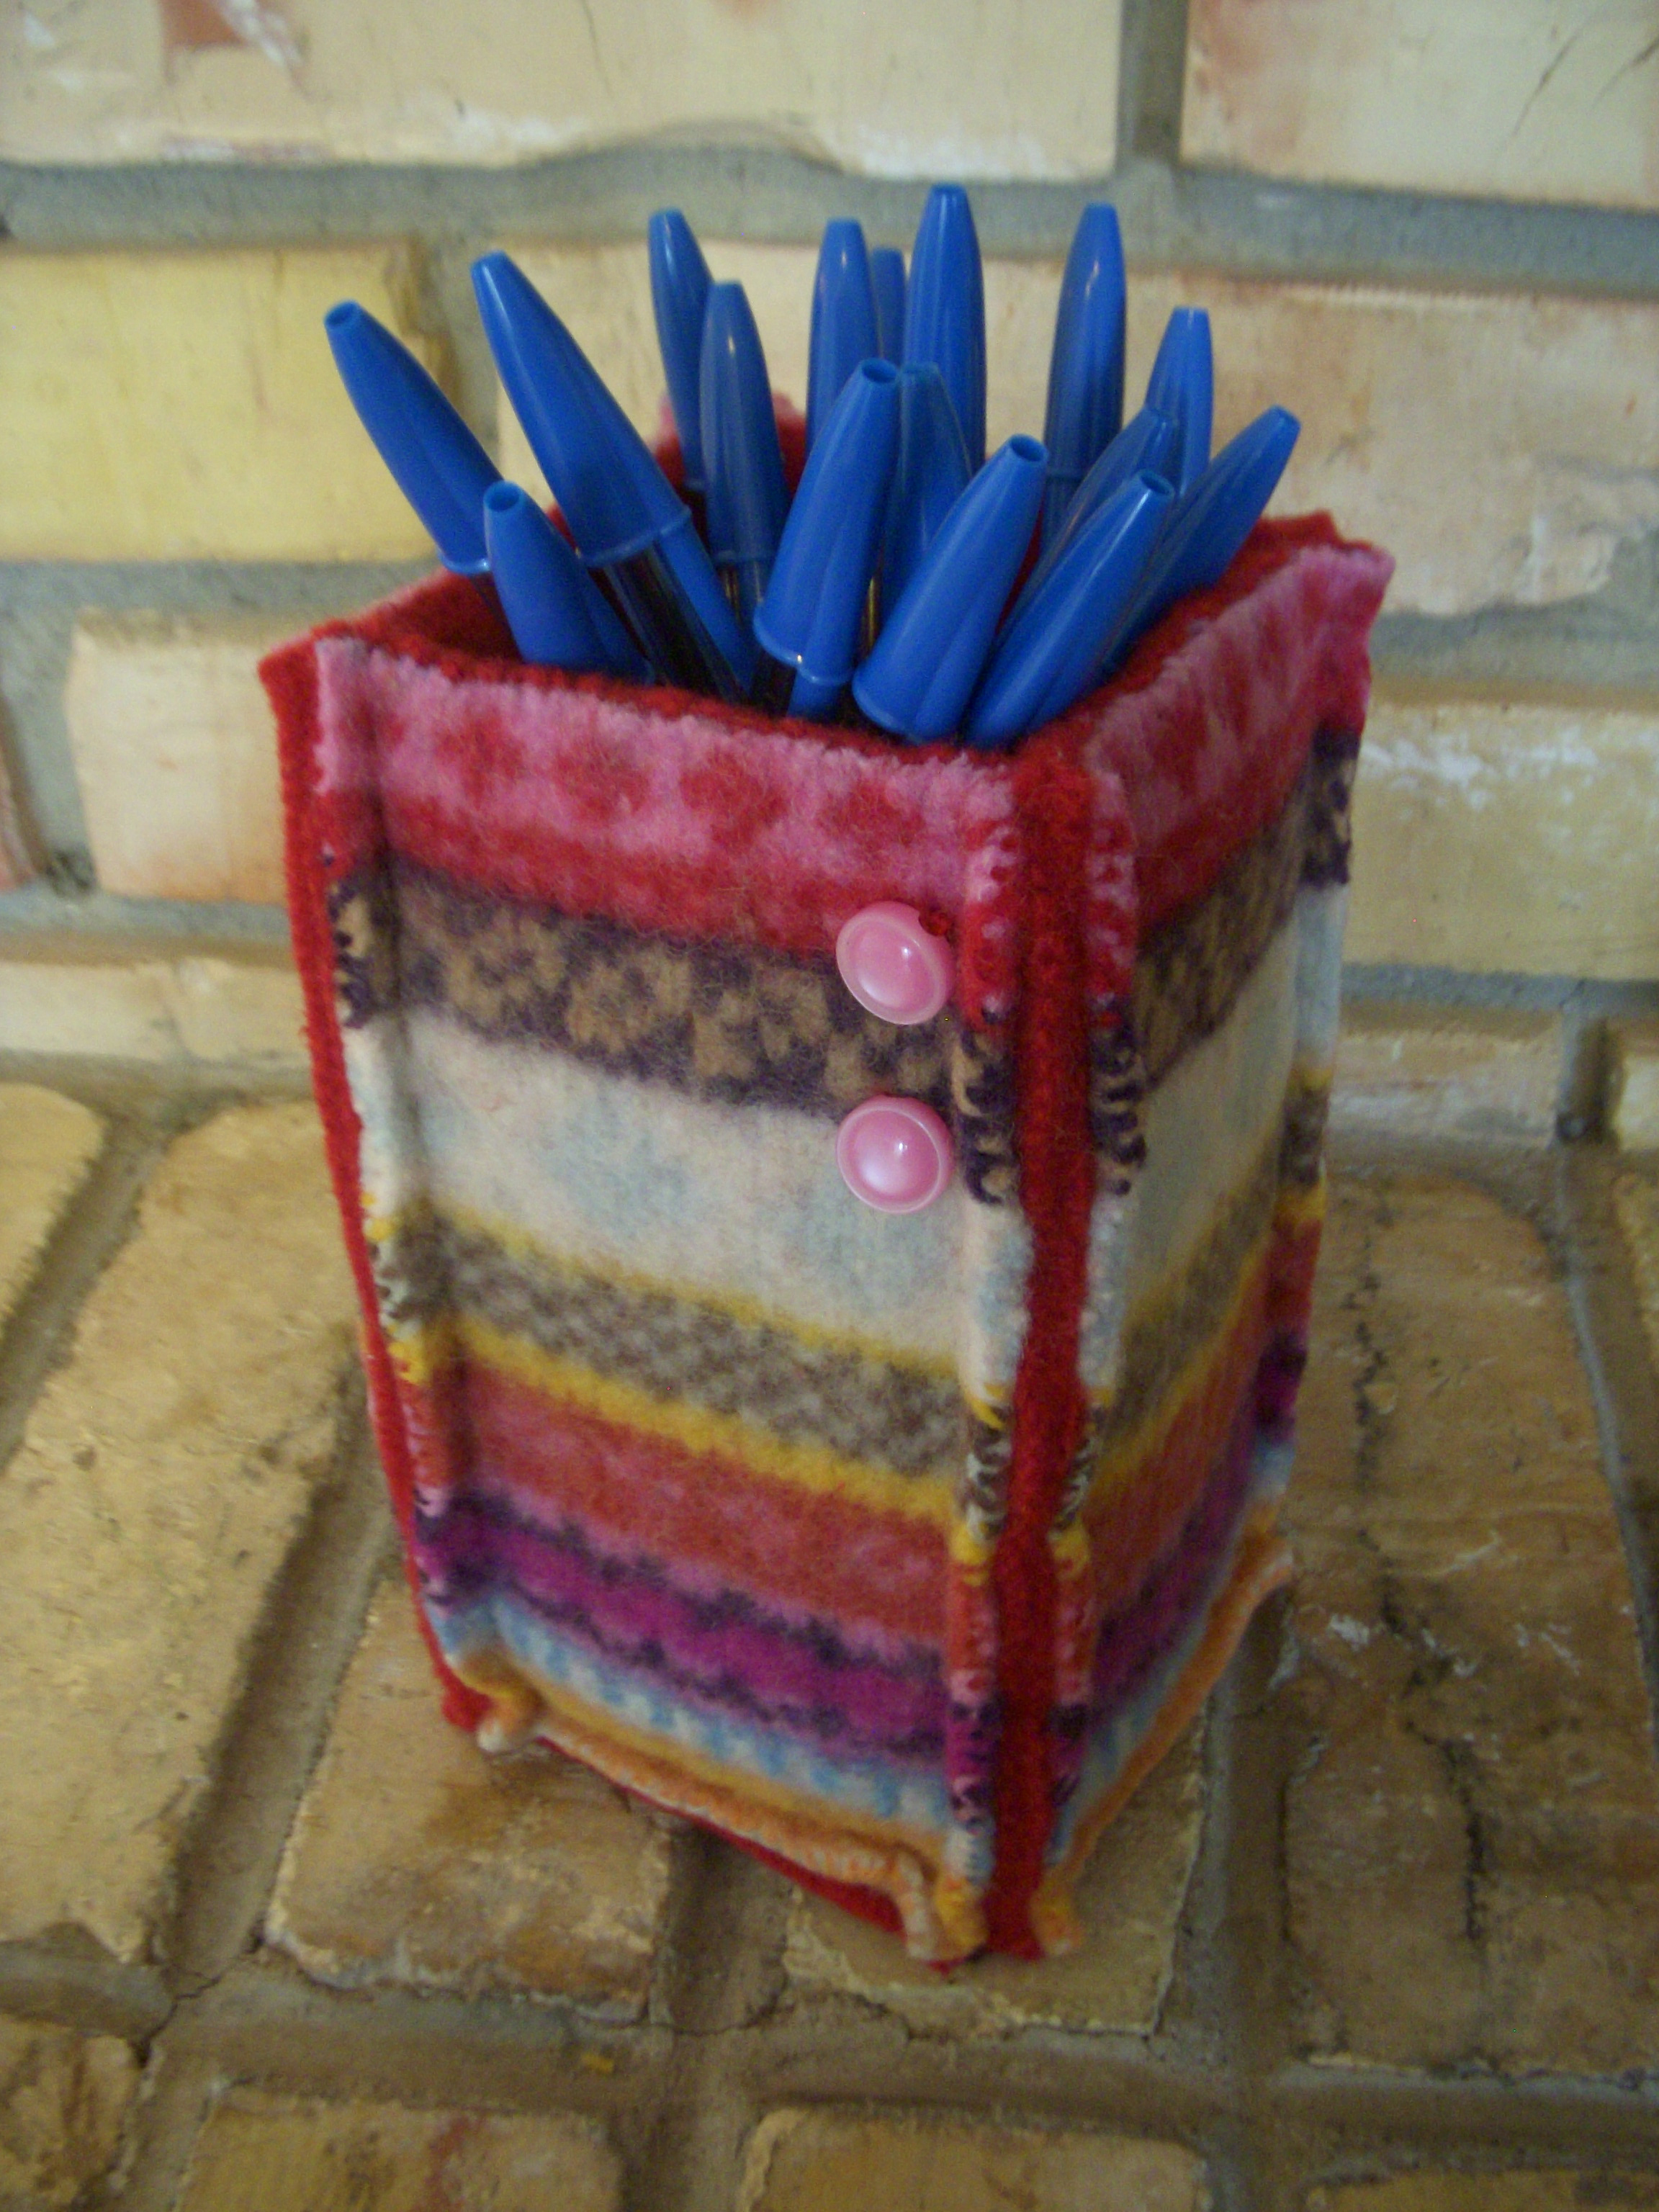
You can add buttons wherever you like, or not at all. I liked these buttons off to the side of this basket. When you’ve decided where to place your buttons, tip the basket on its side and sew them onto the basket using your regular sewing thread (see “TIP” above for securing your stitches on wool). You won’t be able to knot your thread on the inside of the basket—your needle will hit the cardboard!—so I hid my thread knots underneath my buttons.
I added buttons to the centers of each side on this basket (my trial and error basket).
You can vary the sizes of your squares and rectangles to make your basket taller, shorter, wider, or skinnier. Once you’re done, go find something to put in your pretty wool basket and display it for all to see!
***
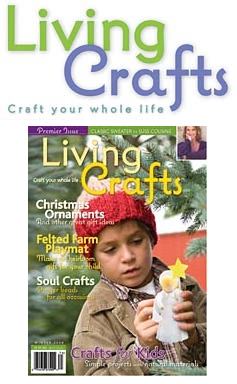
Thanks to Kelly at Crafting a Green World for letting me share this tutorial and for spreading the word about my new book ReSew, which features over 20 cool refashions for secondhand stuff. Good luck with the giveaway, all!
***

I’d love to win this book! I’ve kept clothing from my husband and I for ages now to resew as I’m trying to reduce on spending and the amount of clothing we buy from unethical shops. So this would be a great asset!
Love it! I would use it to update my very frumpy wardrobe!
I have a huge bag of clothes that are all ready for ideas. I’d love to win the book so I can have a source of inspiration. I too have collected so many that I don’t know what to do with them. Many of them won’t work for donation and I’d really hate to through them away.
I’ve been planning to make a quilt using clothes of my grandparents that have passed on. I have fond memories of certain clothes that they wore which will be included in the quilt. This book would help me with that project and others down the road.
I try to reuse old clothes, would love to have book for patterns and knew ideas. Making things from mine clothes that I can pass on to my kids. And G-baby.
I love the idea of sewing “green”! I have lots of old clothing and mens ties that are just waiting for a new life.
I have been making “memory” bags/purses for my friends. Using old clothes that mean something to them. I also make quilts out of all our old souvenir tee shirts. I have boxes of clothes and sweaters that need to much mending to donate but are too good to throw away. I would LOVE to have a book with patterns and fresh ideas!! I am obsessed with repurposing!!
I have a woman cave I just redone that has a sewing machine and a basket full of old clothes that is waiting to do something with. This book would be a great inspiration to have.
I would love to win this book! My family is on one income right now and it would feel nice to have some “new” clothes.
I have a huge container of clothes/material scraps, etc that need new purpose. I keep meaning to… this would give me the inspiration!
I’d love to use this book to refashion all the clothes I have just sitting around.
95% of my “fabric” stash is throw away clothes that I just can’t part with. This book would help with actually making something from my stash.
I love turning discarded clothes into new things and am always looking for new ideas! (I can’t bear to discard any of our old clothes, there is always some useable fabric, even when it looks worn out, so I have lots to work with!)
So far I have my eye on her jeans rug and the quilt from sheets. So pretty. I love the other things too, but I would start with those. Thanks!
cmdoduck(at)gmail(dot)com
With clothes that I don’t wear anymore I store in my craft room and use them up for projects. I love re-purposing them and this book would definitely give me tons of ideas!!
ReSew looks awesome. I’m always trying to figure out what I can make out of discarded clothes. Thanks for the giveaway chance!
I have a pile of old clothes I can’t bear to give away, waiting for some fresh ideas to refashion them. I’d love to win this book!
Oh, I’d love this. I was a year-long member of the Wardrobe Refashion site.
I’ve been collecting vintage dresses that I’d like to modernize.
I love to recycle, but am intimidated to sew clothes for myself. This book might give me the boost I need to try it out!
I would read the book from cover to cover and then get busy making some new items for me and maybe a few gifts!
Love the tutorial!
I love to upcycle and want to get better at it! I’d love to use this book as inspiration. Thanks. jennifer@KinderCycle.org
I would really like to get some ideas on how to repurpose old/thrift store clothing into my own awesome fashions, so this would be awesome!
I love thrifting but, stay away from the clothes because, I NEED your help and the book….hope to win to get better at repurposing….
Ruthie:)
ruthperez@satx(dot)rr(dot)com
My first project would be the jeans rug – I love it, and I love having a project that I can carry around and work on. Thanks for having a giveaway!
I am an avid thrifter and clothes saver. I have a stash of sweaters, too big vintage type dresses, vintage sheets, skirts and stuff I’ve gotten because I love the fabric, and clothes I grew out of and no one wanted. I would use the book to resew my stuff and have some upcycling fun!
I have a HUGE box of discarded clothes that are just waiting for a book like this! Makes me want to starting digging through it. Also, thanks for the tutorial. I love it!
awesome upcycling project…I bet if you made a short, wide octagon it would be a splendid fruit bowl
What an excitting book.. I would love to upcycle all the clothing my kids outgrow way to fast…
I would resew EVERYTHING!!! We have so much old clothing that needs a new life and 3 teenaged girls who love style! This would be so awesome!!!
I have so many clothes that I never wear that I would love make into other things. I am great at making stuff from bought materials, but I have a creative block when it comes to upcycling, and I really want that to end!
I would use it to re-fashion my cast off pile into new goodies for myself!
My jeans seem to like to eat holes in my tops at bellybutton level and anything which doesn’t have holes in is covered in baby sick so I have a lot of not-quite-as-nice-as-I’d-like stuff to refashion!
My work pants and skirts don’t fit the same way as before I had the baby, but they’re too nice to get rid of. I’d love to be able to do something with them!
I’ve just been getting back into sewing and would love some projects that I could make for cheap. Using clothes from the thrift store would be pretty cheap.
I would love to be able to turn some of my mending pile into new clothes, especially skirts. Some of the pile is fantastic fabric or a great clothes I would feel bad about throwing away, and they have too big a hole for Goodwill, so I would love to be able to repurpose them into great well fitting skirts.
I would give the book to my daughter who is planning to study fashion next fall.
a definite incentive to take my upcycle life style to the next level 🙂
I am now learning how to sew this book would aid me well
bugze27(at)live(dot)com
i would use the resew book for making little purses and other handicrafts
I have gobs of ideas to use this book for. Mainly for my new granddaughters clothes.
Brilliant tutorial on the basket!
I’ve been getting started de- and re-constructing too-large tee shirts into other wearables, so I would love to have this book to get ideas and expand my skill set!
I sew (and re-sew) for my children mostly, so I would definitely us this book with that in mind. Of course, I may even get inspired to do some things for me. Thank you so much for the giveaway.
Such a great book! I would bring it to our community sewing studio and use it to teach others how to recycle all the donated clothing there!
I’d use the book to help and inspire me to fancy up my dull wardrobe. Thanks for the giveaway.
I would love to be able to get clothes from a thrift store or yard sale and give them new life!
Knowledge is power and books are the key. Besides, I’ve got a huge pile of clothes that need a new life!! :o)
since I’m on my second little one now my wardrobe needs some revamping so I’ve been hard at work re-constructing some of my most favorite pieces to fit my growing belly *smiles* this would be an inspirational book for that.
I would love to win this book. She makes re-sewing interesting.
I want to learn to upcycle and have a shirt that I love and want to use it as my base. I’d love to win this book to learn how.
I, too, have a stash of no longer wearable clothes waiting for new lives. This book would come in oh so handy.
Oooh, very cool! I’d love to resource our families clothes that might not be donateable, but could still get some use. I love recycling clothes and fabrics into creative new goodies.
I HAVE so many clothes that don’t fit anymore! (I lost quite a bit of weight when I started running.) I’d love to be able to re-make a lot of the shirts that I still like but can’t wear!
I have a 9 year old and an 11 month old… need I say more…. LOL! I would love to find ways to repurpose my oldest girl’s no longer wearable things into fabulous new duds for her little sister!
cstapleton22@yahoo.com
I would love to use this book to update some of my own clothes, as well as for my kids too!
I love to turn old stuff into new stuff. I have been taking sewing classes in hopes to make my own clothing one day. I would love to use this book as I start my new sewing endeavors. nikki.snevets@gmail.com
I have some old clothes that I can’t bare to part with so I would use the book to refashion some of my favorite old clothes.
I am a newly single mother with a 10 year old son and an almost 3 year old daughter. I would use this book to teach myself to sew. I have recently learned now to knit from tutorials and am ready to bite off a beginning sewing machine and start finding some projects. This is my first exposure to making things reused. While I don’t have a lot since I just moved out of the home I shared with their father, I would use this book to use what I have and stop thinking of trash the same way. autumn.hovey@yahoo.com
I love this! Refashioning is one of my favorite things to do with clothes. Some of my favorite articles of clothing are things that I have thrifted and remade into something new, but I could use some more inspiration to keep me going.
I love this! I have a pile of old clothes I just got from my sister with thoughts of swapping and/or altering, but have had MAJOR problems with inspiration for what to do with them. This would be GREAT!!!
Hey, great blog with full of renovated ideas/ themes in order to transform old clothes into customizable new or exciting.
-bar code generator
-http://www.barcodelabelsoftware.net
-generatebarcode@yahoo.co.nz
My kids clothes are overtaking my laundry room!! I can’t for the life of me throw them away, some have stains (2 boys) and these are the ones I’d really like to repurpose into something new either for myself or add to my kids wardrobe!