You guys, if you have never read about the history of the poodle skirt, I need to start you off with the information that it is just about the most fascinating thing EVER.
Basically, back in 1947, a woman wanted something awesome to wear to a holiday party. Being of a DIY mindset, she made herself a circle skirt out of felt (no seams!), then decorated it with cute appliques.
As you can imagine, knowing how ubiquitous the term “poodle skirt” is today, her creation went over very, very, very well.
What you might not have imagined before, however, is that it’s not just poodles that were on the poodle skirt. In fact, that first Christmas skirt didn’t even have poodles on it at all! Throughout the poodle skirt’s massive popularity in the 1950s, people felt free to personalize it in whatever ways that appealed to them.
Think cacti. Or horses. Or Elvis Presley silhouettes. Cartoon mice. The Eiffel Tower.
So when you think of a poodle skirt, you really should be thinking of a simple felt circle skirt with novelty felt appliques.
Easy to make. Endlessly customizable. NOW you want to make one, don’t you?!? So let’s do it!
Tools & Supplies
To make a poodle skirt of your own, you will need the following:
- Felt. In Step #1, you’ll do the calculations to learn how much felt you’ll need for the skirt. You’ll also want felt in the appropriate colors for all of your appliques.
- Matching thread. I don’t use interfacing when I sew, because it’s costlier and less eco-friendly than doing without, so you’ll want a matching thread to sew your appliques to the skirt.
- Measuring supplies. Get yourself one of those yardsticks with a hole at one end (or just drill the hole yourself). You also need chalk and scissors.
- Stencils and templates. I freehanded some of the appliques on the particular skirt that I’m showing you in this tute, but other appliques came from Google Image searches. I’m not selling the skirt, so it’s cool.
- Sewing notions. See Step #1 for these, too.
Directions
1. Calculate the measurements for your skirt. A circle skirt is exactly what it sounds like–a skirt in the shape of a perfect circle, with another circle, cut out for the waist.
So first, stop and think about how you want to get the skirt onto your body and keep it there. The skirt in this tute has an elastic waist, which means that I cut the center hole large enough for my kid to pull it up over her hips, and then I sewed 2″ elastic to it for the waistband. This is a great solution for a kid or a teenager because as the kid grows, it’s possible to remove the waistband, enlarge that center hole (provided that you’ve left the room and the skirt is long enough), and add new elastic. I fully expect my kid’s poodle skirt to last her through adulthood.
If you’re already an adult, however, you can instead cut that center hole to size and install a zipper. It’s more work, but the skirt would be less bulky at the waist and you could make it with a smaller piece of felt.
Either option is totally up to you!
So decide that first, so that you know the measurement for the center hole. The measurement will be the circumference of the circle that you want. In this case, I want a measurement of 24″ so that my little noodle can get the skirt up over her little noodle hips.
Now, either do the math or plug that number into this circle calculator. The number that you want to get from this calculator is the radius. A circle that is 24″ in circumference has a radius of 3.8″. If you’re going with the elastic waistband method, go ahead and round up to the nearest inch, which makes my new radius 4″.
Next, decide how long you want the skirt to be, measuring from the waist to where you want the bottom hem to hit. I wanted another 20″ of length. To find the total radius of the circle that you need to cut, you need to add that radius to the radius of the center hole. In this case, the total radius of my circle is 24″. Double that number, and you’ll have the total dimension of felt that you need in both length and width. Fortunately, felt comes in up to 72″ widths, so you can make a pretty good-sized skirt from a single piece of felt.
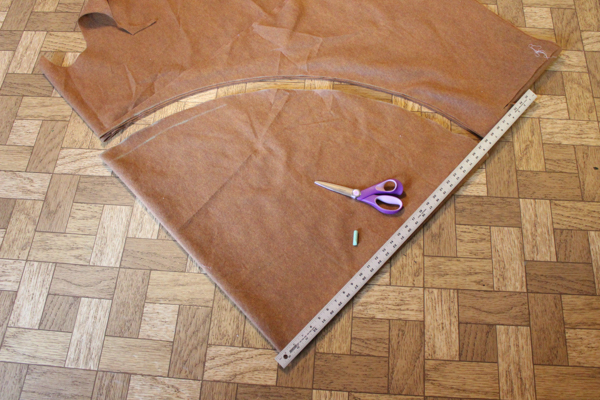
Once you have your yardage, fold it into quarters. The very center of the piece of fabric will now be one of your corners. Place the hole in the yardstick right at this corner, and use it as the pivot to mark your total radius measurement in chalk. You’ll see a perfect quarter of a circle marked out. Do the same thing, this time measuring the radius of the center hole. Cut them both through all four layers of fabric, then unfold the fabric and marvel at your perfectly-measured and cut circle skirt!
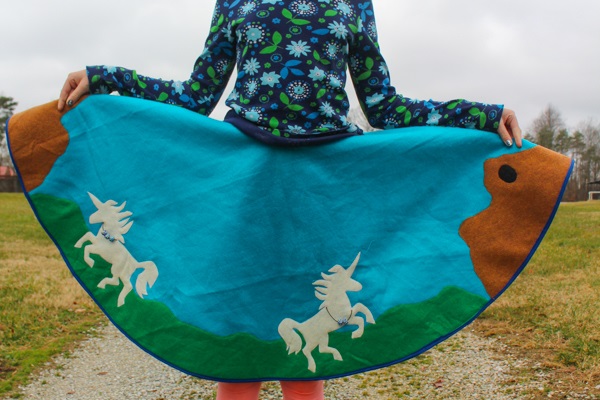
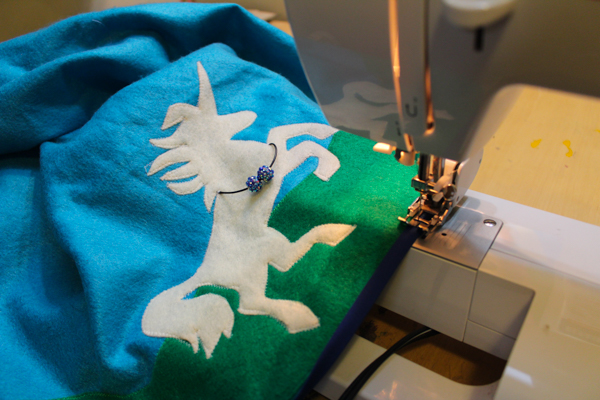
2. Add felt appliques. With the skirt unfolded, create and lay out the appliques until you’re happy with their placement. You can also add other embellishments, such as the necklaces that I put on both of the unicorns, and a rope ladder from one of the caves.
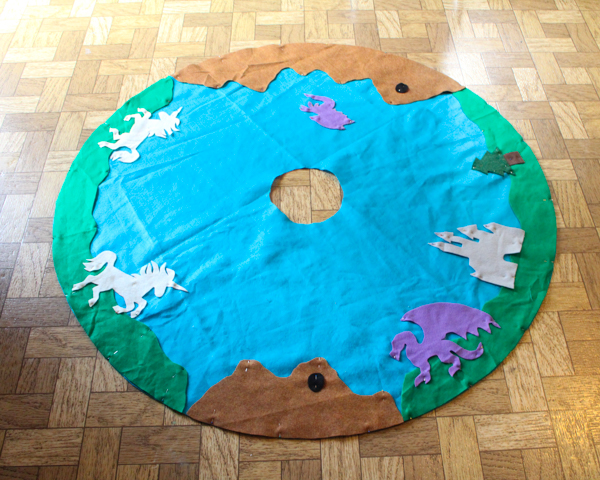
When you’re happy with the placement, pin all of the appliques to the skirt.
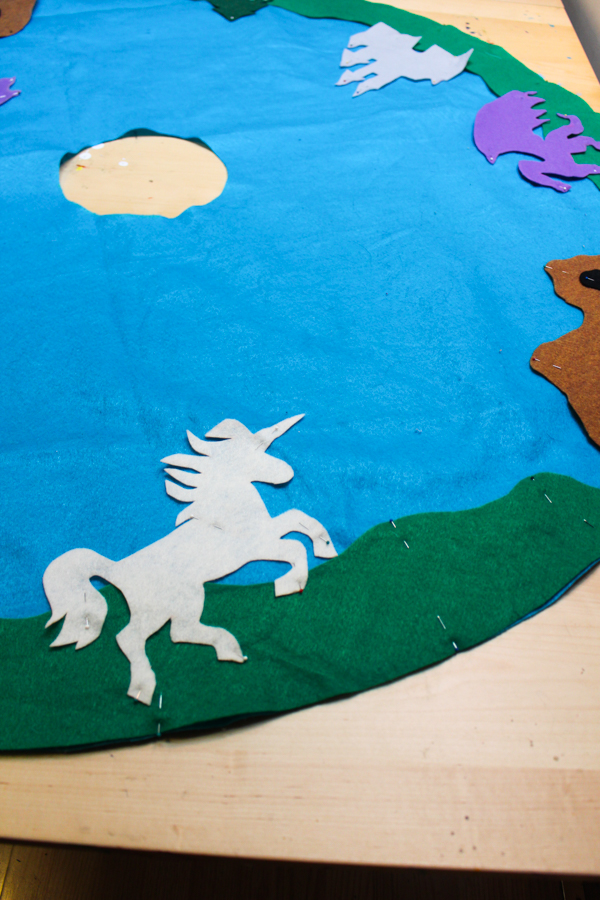
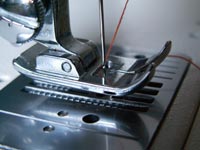
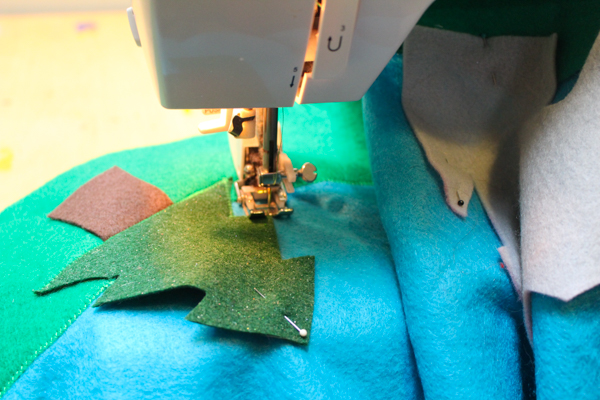
3. Sew the appliques to the skirt. Felt doesn’t unravel, so you don’t have to satin-stitch these appliques in place. With matching thread installed, I set my sewing machine to a stitch length of 3 and a width of 3, then zig-zagged around each applique. I highly recommend a walking foot for this.
4. Add a bias tape hem, if you’d like one. Again, felt won’t unravel, so any kind of hem is completely optional. However, I thought that this skirt did look much more finished with the addition of a double-fold bias tape hem in a complementary color. I’d have had to stitch the appliques all around the hem, anyway, so it wasn’t that much more work to add it.
5. Add the waistband of your choosing. For the elastic waistband on this skirt, I cut a piece of 2″ elastic in a complementary color to the exact waist measurement (22.75″). I lapped the ends, marked both the elastic and the skirt waist at the quarters, pinned them together at the marks, then zig-zag stitched them together, stretching the elastic to match the skirt as I sewed. It took less than ten minutes!
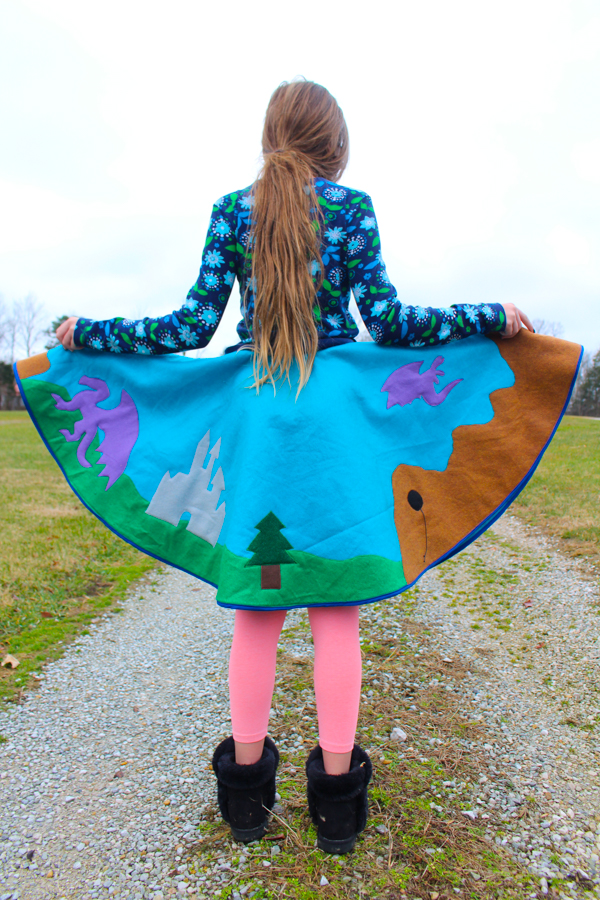
While felt is a very sturdy fabric, if I were you I’d remind whoever plans to wear the skirt that felt is also quite delicate. I know people were wearing these all throughout the 1950s, but people took better care of their clothes then, and also Velcro wasn’t commercially available until the late 1950s. Velcro will pull at felt something terrible, so be careful when it’s around.
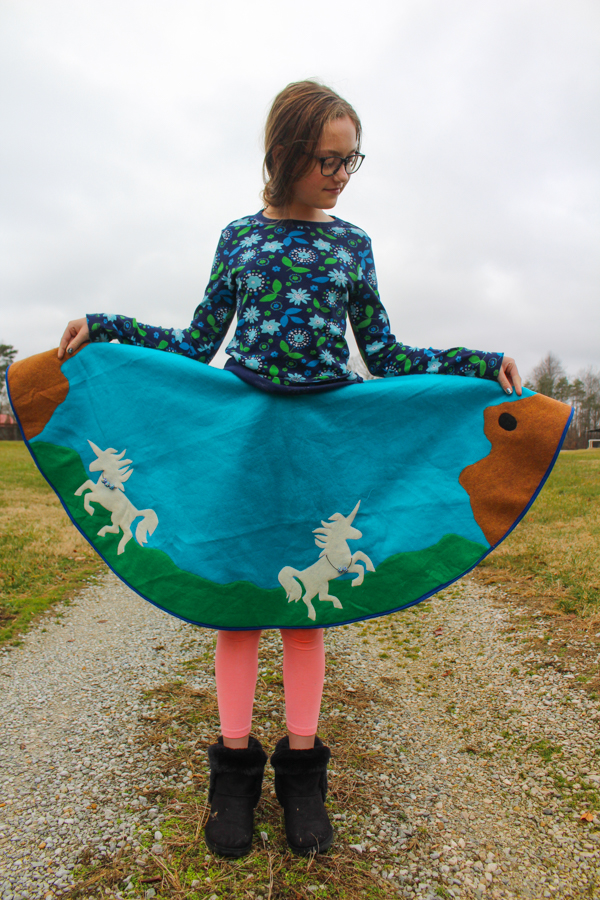
Felt also doesn’t wash well in a washing machine and doesn’t dry well in a dryer. It’ll be okay if you wash it on cold and hang it to dry, but it’s better yet if you pretend like you’re wearing your poodle skirt to a sock hop every time you put it on and treat it accordingly.

