Magnets are a fun and easy way to show off your tiniest art, upcycle your favorite photographs, or display comic book panels, sweet love notes, or pretty papers of all kinds.
I am sooo glad that “cluttercore” is now a thing, because just between us, it’s always been *my* thing. A bare wall or surface is nothing but a spot that I haven’t put something cute yet!
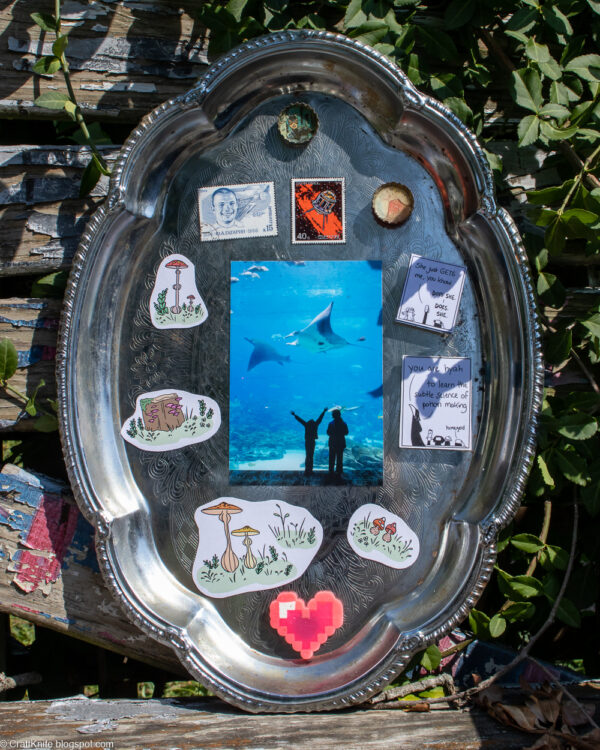
To my endless irritation, my refrigerator isn’t magnetic, but I’ve made up for it by DIYing a giant magnetic wall in the kitchen, and a smaller one in the family room. I love displaying all the greeting cards, A+ schoolwork, concert tickets, and assorted other tchotchkes that one generally puts on a magnet board, but to be honest, my favorite things to display are the magnets, themselves!
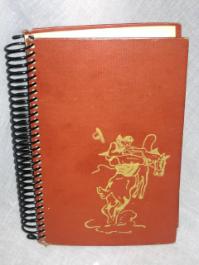
Magnets are a great way to upcycle all kinds of cute little things that you’d love to have on display but that are too wee for mounting and framing. I love making all my special little mementos, from postcards to greeting card sentiments to Instamax photos to fortune cookie fortunes into magnets, so I can enjoy looking at them while they hold up other stuff I enjoy looking at–it’s cluttercore at its most decadent, lol!
Here are my favorite ways to DIY magnets from any paper!
Method #1: Mat Board and a Button Magnet

For this method, you will need:
- paper to display
- adhesive (archival glue or double-sided tape, AND E6000 or similar epoxy glue)
- mat board or book board
- button magnet
- ruler, craft knife, scissors
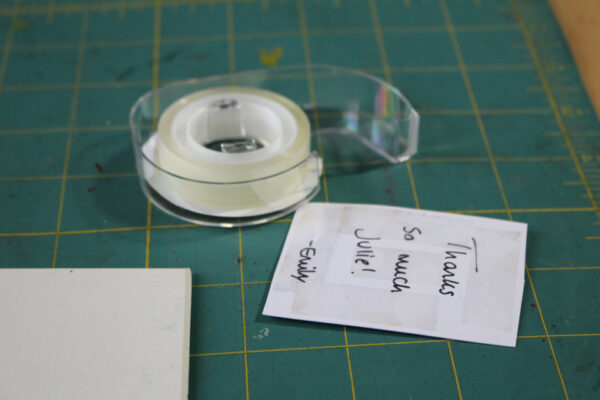
Cut roughly around your image, leaving a border that you can trim to size later. Then, use archival-quality glue or double-sided tape to adhere your image to the back side (not the pretty colored side, unless you want to chance the color being visible through the front of your art!) of mat board.
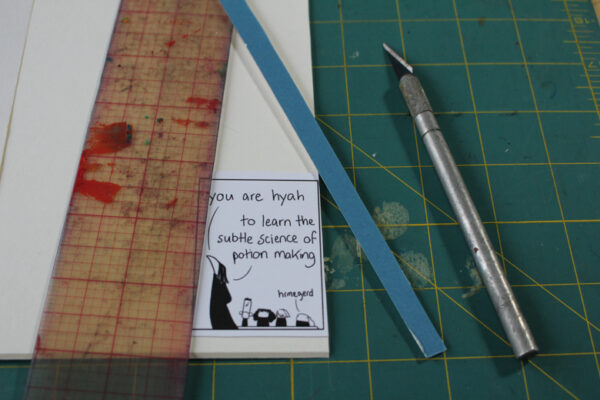
Use a ruler (a metal one is better than the beat-up plastic one I’m using in the photo below) and craft knife to trim the image and its mat board backing to size:
To seal the front of the image, I like to either laminate it in packing tape or cover it in Diamond Glaze or several coats of Mod Podge. Here, I used packing tape:
Use E6000 or a similar epoxy glue to adhere a button magnet to the back of the mat board. You can also add additional embellishments like gems and stickers to the front, Sharpie the edges, poke holes at the bottom and add tassels, and do whatever else you can think of to pretty up your magnet further!
Method #2: Sticker/Magnet Maker
For this method you will need:
- paper to display
- Xyron Creative Station Lite or similar machine, with a magnet+laminate cartridge installed
- scissors
If you’ve got (or can borrow!) a store-bought sticker/magnet maker, it makes creating magnets from your own papers SUPER easy.
I own this specific Xyron sticker/magnet maker, but I’ve also got teenagers and their friends who all use the snot out of it, so it gets a lot of use. If you don’t want to buy a whole entire one all for yourself, it’s worth checking out your public library’s DIY or teen space or asking your local Buy Nothing group for one to borrow.
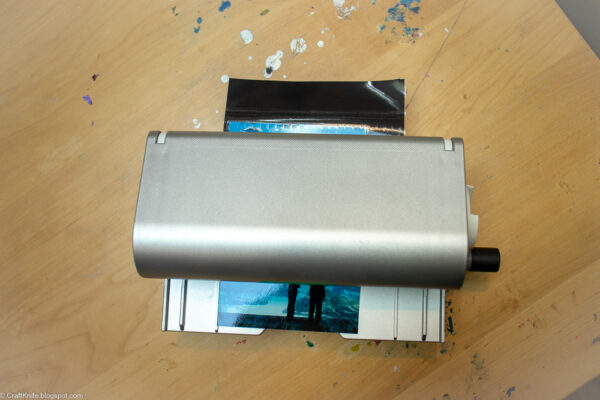
To use a machine like this, you feed your paper into it and let it add adhesive magnet sheeting to the back and laminate the front:
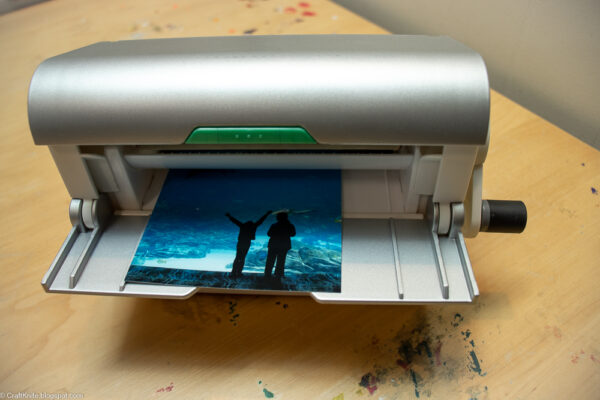
The laminating is especially nice for papers that are glossy or ink that’s water-soluble. Kid art made with washable markers can be so delicate! It’s also an easy way to make a magnet out of an entire photo for display on my gigantic magnet boards.
Method #3: Adhesive Magnet Sheets
For this method, you will need:
- paper to display
- adhesive magnet sheets
- scissors
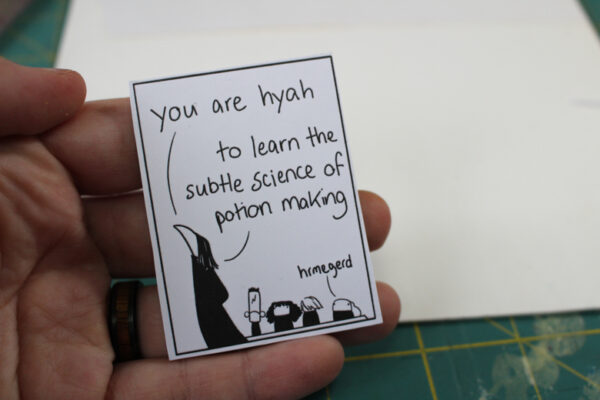
This method is best for papers that don’t need lamination, Diamond Glaze, or Mod Podge. I like it for my comic panels and my collection of vintage space-themed stamps, but basically anything commercially printed or printed on a laser printer could get away without lamination.
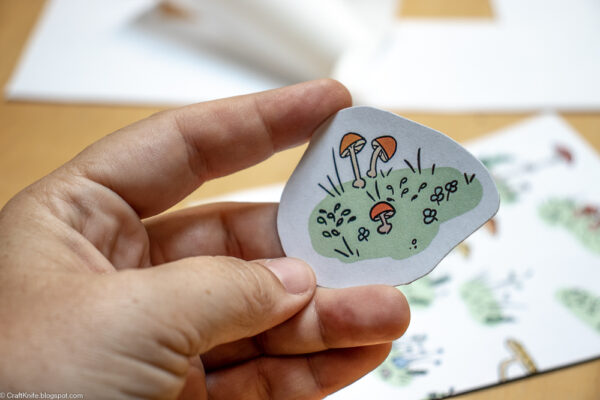
To make these magnets, roughly cut around your image, stick it to the adhesive side of an adhesive magnet sheet, then trim it to size.
Crafting this magnets is a fun kid project, especially for tweens and teens. Give them lots of magazines to cut from, plenty of adhesive magnet sheets, and let them have at it! The finished magnets make sweet handmade gifts for friends and family.
Pro tip: these easy magnets are awesome for the front of a college student’s mini fridge!
Do you have any other fun ways to upcycle stuff you love into magnets that you love even more? Tell us about it in the Comments!