
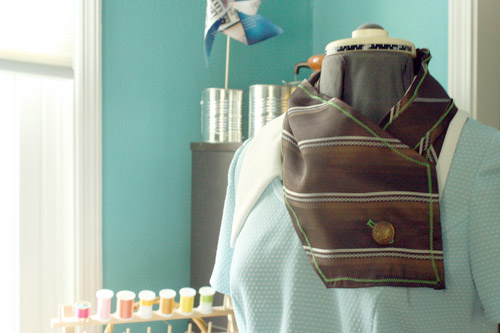
Can you feel the fall in the air? It’s been super crisp in the early mornings here in Atlanta, and before we know it we’ll be dressing for cooler temperatures. This light cowl felt like the perfect craft for early autumn! You know I love a necktie craft, and this vintage cowl was a super fun way to turn an old necktie into something useful and new!
It’s fun to use neckties as-is for crafty projects, but if you use your seam ripper to open up a vintage tie, you’re left with quite a generous amount of fabric. Just right for a chunky cowl! Here’s how to make one.
Materials
- Vintage necktie
- Seam ripper
- Pins
- Iron
- Sewing machine and thread
- Vintage button
Directions
1. Use your seam ripper to disassemble your necktie, and iron it open. It’s a little bit tricky to tear the stitches out of the corners, but be patient, and try to get as many of the teensy threads out as you can.
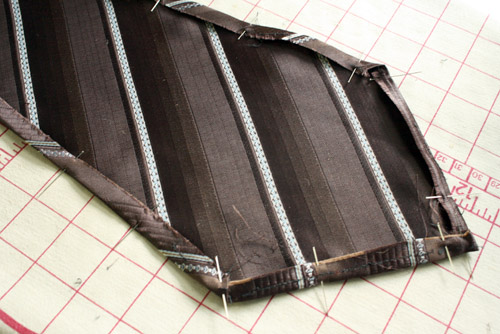
2. Flip your tie so that it’s wrong side up, grab your iron and pins, and press and pin a 1/4″ seam all the way around your tie, except at the tippy top.
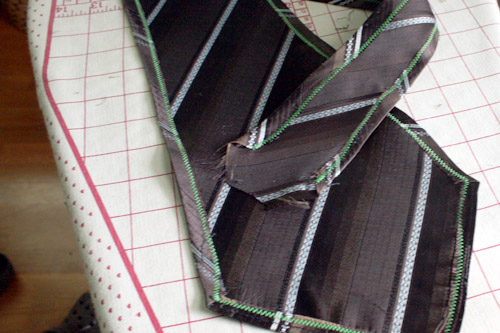
3. You’re ready to sew! Use your machine’s zig zag stitch, and sew all the way around the seam you just pressed. You want the outside of the zig zag to be just past the unfinished edge that you see up there, to keep it from fraying.
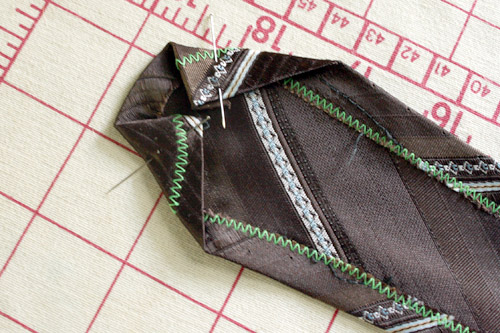
 4. Now, you’re ready to finish that skinny end of the tie and add your button. To finish the end, trim off the pointy part of the fabric, so that the skinny side of your tie now ends where the stitching ends. Then, fold the unfinished edge over by 1/4″. Iron, then fold the corners in so that they touch. Press and pin. It should look like this:
 5. Add a button hole to the fat end of the tie, around 2″ from the tip. Then, sew your button onto the right side of the skinny end of the tie.
That’s it! Since ties can vary in length and people vary in size, the way you wear it can be a bit different. My cowl worked well when I wrapped it around three times before buttoning, but if you have a shorter tie or want it a bit looser, you can wrap it twice instead.
So, spill it, my fellow seamsters! Have you been making an fun vintage necktie crafts?
Laarnie | Business Card Design
Pingback: The 5 Minute Headband