It’s not just a fancy hairstyle!
Madame de Pompadour lent her name not just to the bouffant hairstyle, but also to the practical yet lovely little drawstring wrist bags that allowed one to both wear a fancy ballgown (with no room for pockets!) and carry a lipstick and some cash for gambling with.
Pompadours are still lovely and practical to sew and to carry, although it’s probably less advisable to take them gambling with you. But they still go well with an outfit that doesn’t have pockets! A pompadour is also a handy change purse or bobby pin carrier to live inside your backpack, and if you think very large-scale, you could turn one into a handy travel play mat and storage bag for a child’s toys.
Even better, a pompadour is also dead simple and super quick to sew! If you’re making a smaller version, it’s easy to use stash fabric to sew one. To make one for yourself, you will need:
Compass. This is the circle drawing tool, not the finding your way in the wilderness tool.
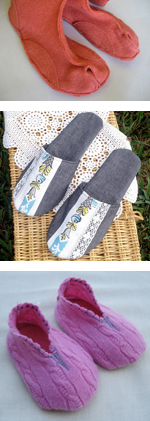
Two Complementary Fabrics. The original pompadours were fancy, made of fabrics like velvet and silk. Those are still appropriate, especially if you’re sewing a pompadour to match a formal gown, but you can also use more utilitarian fabrics. The two pompadours in this tutorial are both sewn from quilting cottons.
Buttonhole Foot. Or the endless patience to sew a buttonhole by hand!
Grosgrain Or Other Ribbon. Choose something sturdy rather than delicate here. Silk or cotton ribbon can be dyed to match your fabric.
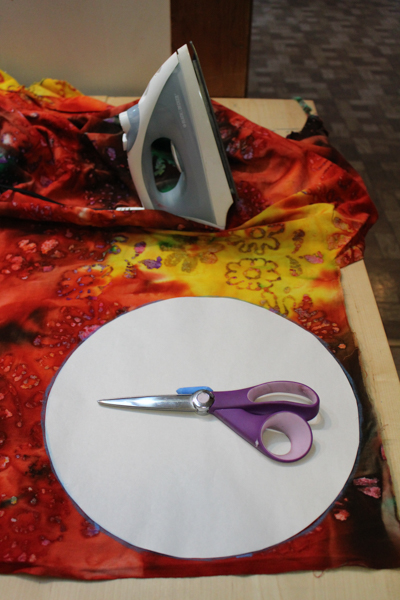
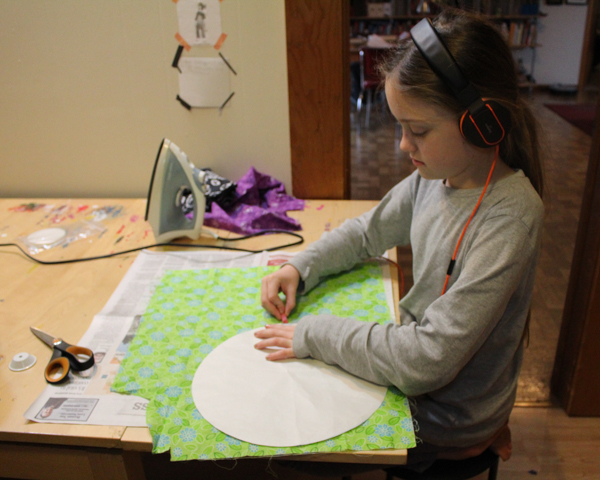
1. Measure and cut two circles. The pompadour is simply two circles of fabric sewn together and cinched with a drawstring. It can, when completely loosened, flatten completely, and so its maximum dimensions are the dimensions of the circle that you choose.
Use your compass to make a circle template (mine is approximately 12″ diameter), then measure and cut two circles of fabric:
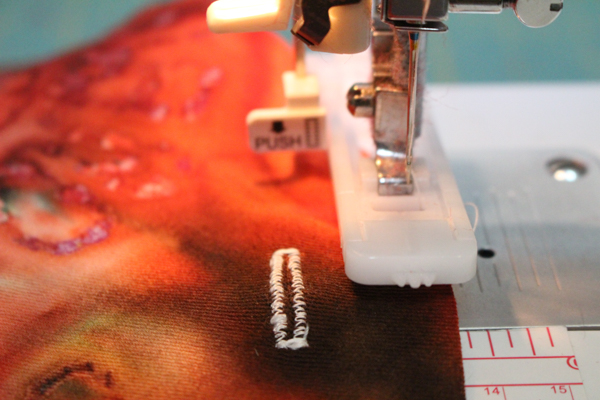
2. Sew a buttonhole at each end of the “outside” fabric. Mark and sew the buttonhole about 1″ from the edge at each end of the fabric:
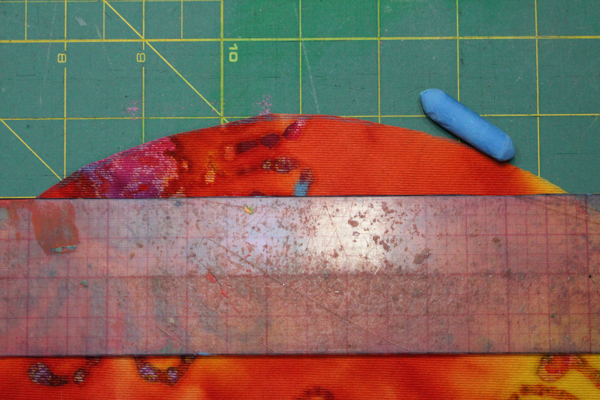
Later, you’ll be sewing a channel for the ribbon on either side of these buttonholes.
3. Put the two fabric circles right sides together, and sew all the way around, leaving an opening for turning. Use whatever seam allowance you prefer for this.
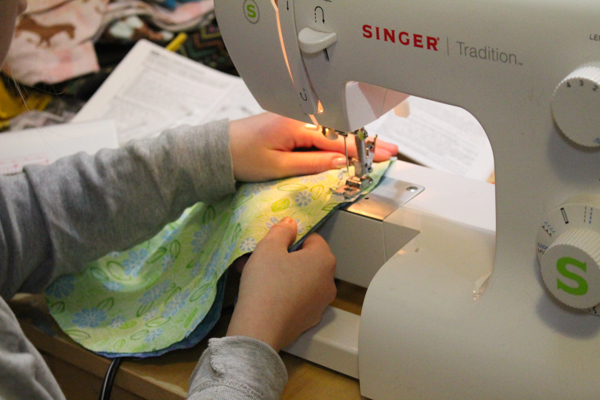
Use the opening to turn the pompadour right side out, and a blunt pencil to help you push out the seams so that you have a smooth circle. Iron the pompadour flat, tucking in the raw edges of the opening as you do so, then edgestitch all the way around, closing the opening and giving a neat, finished edge to the pompadour.
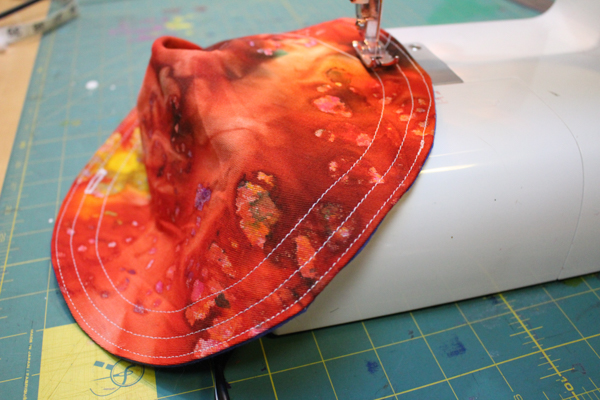
4. Sew a channel for the drawstring. Sew two complete circles around the circumference of the pompadour, one above the buttonholes and one below:
5. Insert the drawstring. Measure two lengths of ribbon that are the circumference of the circle (here’s a calculator to help you!) plus 2-4″. Use a safety pin as a bodkin to draw the ribbons through the channel that you sewed for them.
Each ribbon will go in and out of the SAME BUTTONHOLE, and then will be knotted to itself:
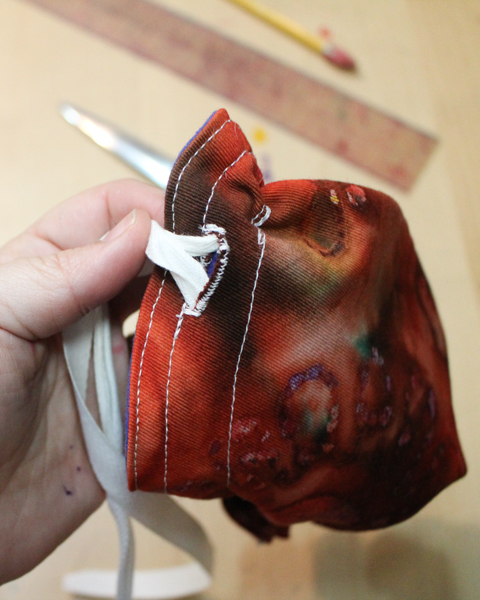
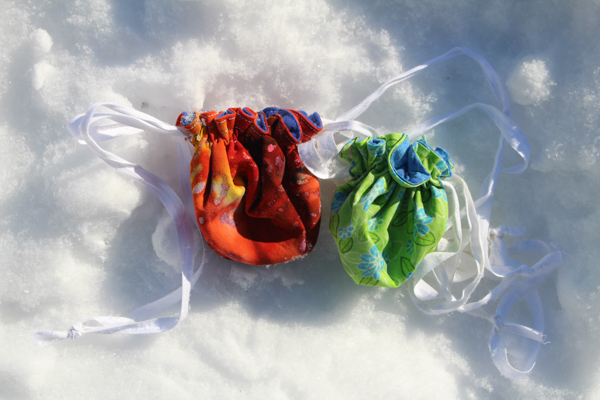
When you’re finished, you will have a ribbon loop at each end of the pompadour; pull them both, and the pompadour will draw tightly closed. Loosen them, and it will open up!