
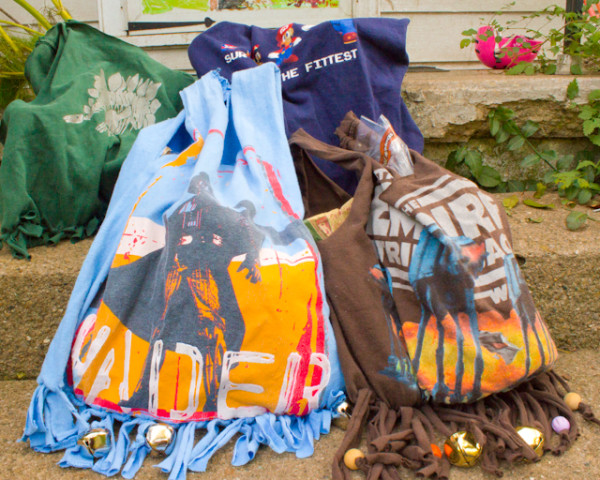

Plastic bags from the grocery store are obviously a no-go, but I don’t even like most re-usable cloth bags, mostly because they tend to be branded, and I don’t like to do a store’s advertising for it.
Want a re-usable cloth bag that’s branded with what YOU like, sized and shaped like a conventional plastic bag but stretchy, so that you can fill it even fuller?
Okay, and do you want to make it WITHOUT sewing?
You won’t have to sew a stitch to make these grocery bags out of your favorite old T-shirts. Read on to see how:
1. Lay out an awesome T-shirt. Smooth your T-shirt completely flat, with your favorite side facing up. If the side seams seem twisted, you can futz them back into alignment with a hot, dry iron (this also works on T-shirts that are still in your wardrobe!). Cut off the bottom hem of the T-shirt using sharp fabric scissors.
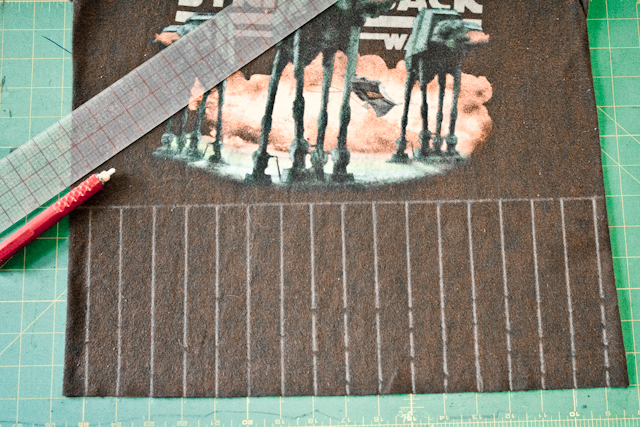
2. Make yourself some cutting guides. Decide how deep you want your T-shirt bag to be, knowing that you’ll need at least 3″ at the bottom of the shirt to tie it off. With chalk, draw a line straight across the shirt at that point. Also draw cutting lines from the bottom of the shirt to that line, approximately 1″ apart.
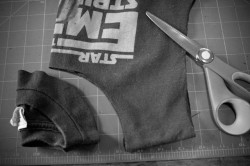 3. Cut your shirt up! Using fabric scissors, cut along all of the vertical chalk lines (but not the horizontal one!!!). Also cut up the sides of your shirt to that horizontal cutting line. Using scissors or a rotary cutter, cut the sleeves off of your shirt as close to the seam as possible, and cut the neck out of your shirt. How you cut the neck depends on your preferences–the neckhole may not look wide enough to hold all of your groceries when it’s just sitting there on the cutting mat, but it will stretch quite a bit when you start to fill your T-shirt bag with groceries, so estimate conservatively. You can always cut your opening wider later, but you CAN’T cut it smaller!
 4. Tie off the bottom. Tie the T-shirt strips together, front to back, using square knots. This is also the time to add beads and baubles and bells to the fringe, simply by threading one on and then tying an overhand knot near the end of the fringe. Yes, there may be some small holes in the bottom of the bag between fringes, but the grocery store won’t package anything that small. If you don’t want any gaps in the bottom of your bag, you can sew a single zig-zag stitch across the bottom of the bag before you cut the fringe strips–of course, then it won’t be no-sew!
My favorite aspect of this type of bag is how versatile it is in size, as well as style. By choosing a smaller shirt size, for instance, it’s easy to make a set of kid-sized grocery bags for your favorite little helpers. And with bells on the fringe, I always know without looking when my own little helpers are wandering off, and when I tell them to stop wandering off without even turning my head, they think that I have magical naughtiness-detecting powers.
That’s always a useful lie to maintain.


This would be a fun activity to do with a group of kids for trick-or-treat bags!
These are brilliant! What a cool way to avoid the need to sew and with such great looking results!
Pingback: Homemade Fringe Bag (and a photobombing dog) | The Shakti Within
Thank you for the inspiration! I completed mine yesterday 🙂 Love your creative ideas, please keep them coming!
Namaste! -Sarah
Could you make me one if I paid you?
Pingback: Homepage
Pingback: he said
Pingback: 10 ways to repurpose old clothes - Natural New Age Mum
Pingback: 10 ways to repurpose old clothes - Natural New Age Mum