
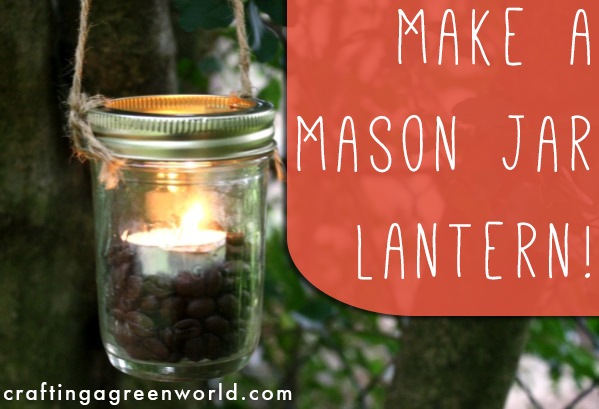
This 3-step DIY mason jar lantern is perfect for lighting up your spring garden parties!
Don’t you just love spring weather? This is my favorite season – day after day of beautiful blue skies punctuated with blustery storms that make everything super lush and green. It’s perfect playing outside weather, and around here that means grilling and garden parties that go on into the evening.
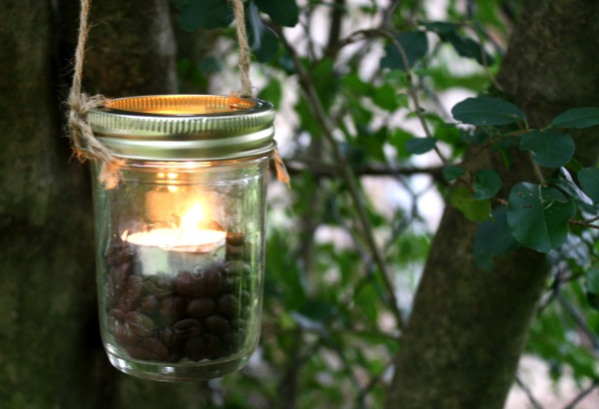
Sure, you can use electric lights to illuminate your next shindig, but you can save some energy and add a little ambiance with a string of sweet little mason jar lanterns instead! Even if these rows of tea lights can’t completely replace electric light, even using a little bit less power means fewer dirty coal emissions, right? Also, these suckers are just plain cute! String them up in the trees for a firefly effect or skip the hanging and arrange them on the tabletop for some mood lighting.
My favorite part about this take on the mason jar lantern is that you don’t need any special tools to make it. No drilling, not even any strong glue, and it only takes three steps to make it!
Ready to make your own DIY lanterns? Grab yourself a clean mason jar, and let’s make a lantern!
 DIY Mason Jar Lantern
There are lots of tutorials for mason jar lanterns, but they often require strong glue or a drill to make the hanging apparatus. This simplified version uses the ring part of the jar’s lid to skip a whole bunch of steps. In fact, it only takes three little steps to make this lantern, which means you can whip out a big batch for your next garden party in no time flat!
Materials
- mason jar
- ring part of the jar’s lid
- two 18″ pieces of twine
- coffee beans, dried beans or peas, or rice
- soy tea light
Directions
1. Tie your two pieces of twine to your jar lid ring so they’re opposite each other. Then, hold the twine in place with your fingers while you screw the ring onto the jar. The twine is going to want to move, so make sure you have a firm grip on it!
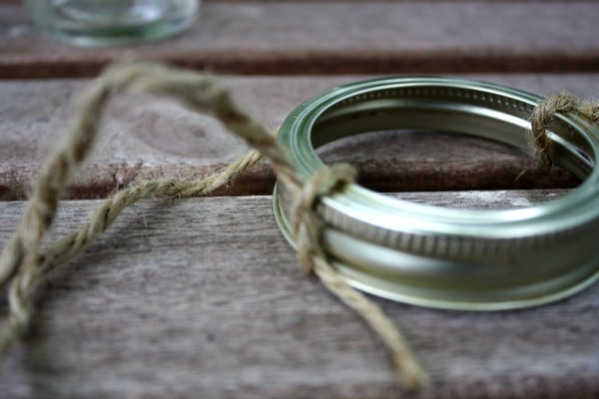
2. Now tie the loose ends of the twine together at the top, making sure that you have equal lengths of twine on either side, so your lantern won’t hang crooked.
3. Fill the bottom 1/3 of your jar with the dried beans, peas, or rice, then nestle the tea light into the finished lantern.
Voila! Three steps, and you’re ready to hang!


Pingback: Crafting a Green World | The home for green crafts and tutorials!