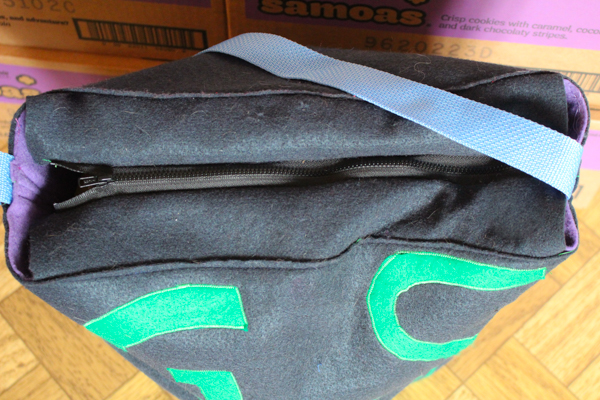
Because you don’t want your stuff to fall out!
The zippered top that I’ll be showing you how to add to your tote bags uses a detachable zipper, so you can tuck the flaps away whenever you want a completely open-top tote bag.
On those adventures when you’re worried about spillage, however, or even just during car rides home when a tote bag full of groceries is likely to topple over in the trunk, having a top that you can zip up can make your life that much more care-free and efficient.
You can add a zippered top to any boxy tote bag that you already own.
Feeling more ambitious? Make your entire tote bag from scratch, and then add a zippered top!
Tools & Supplies
To complete this project, you will need:
- scrap fabric the approximate dimensions of your tote bag bottom. Any non-stretch fabric works for this project.
- zipper the approximate length of your tote bag bottom. Make sure you choose a detachable zipper–think coat zipper, not a pants zipper.
- cutting and sewing supplies. A sewing machine with a zipper foot makes the project even quicker and easier, but isn’t completely necessary.
Directions
1. Use the dimensions of your tote bag bottom as the pattern for the zippered top.
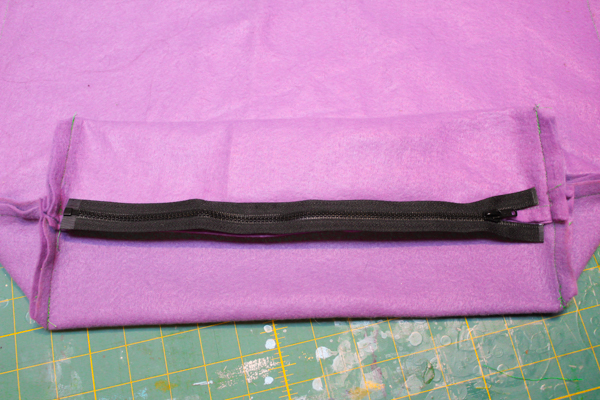
The pattern should be the length of that side seam x the distance between the two side seams. Look how nicely my zipper fits the dimensions–that’s a super lucky find from my stash bin.
2. Use your pattern to cut the top piece, then cut it in half lengthwise.
Notice that I’m not including any seam allowance here; that’s because the zipper takes up enough room to cover the seam allowance for this piece:
3. Sew the zipper to the two top pieces
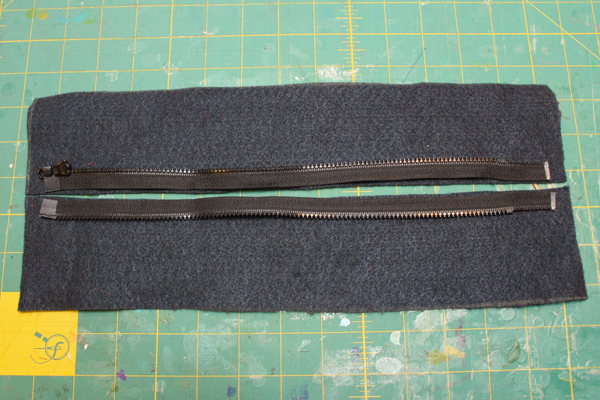
Be very careful to sew right sides together, and to make sure that the two zipper pieces match. You don’t want to sew half your zipper on upside-down!
I’m always very relieved to practice zipping the top piece up afterwards, so I can make sure I sewed it correctly–phew!
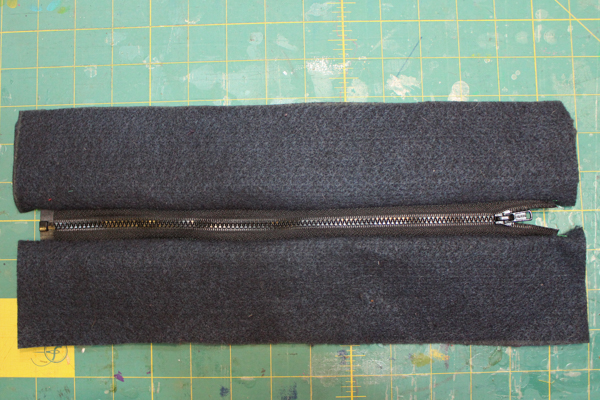
4. Sew the zippered top pieces to the top of the tote bag.
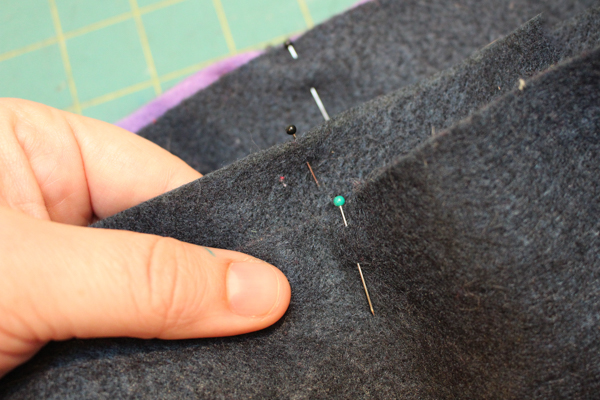
An easy way to center the pieces on the tote bag is to pin each piece in the middle, then align the pins:
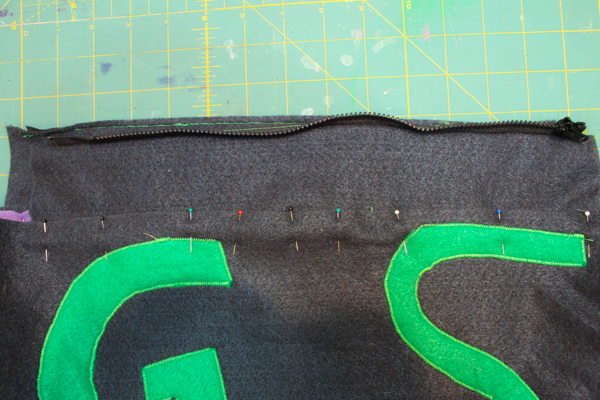
I like to keep the top zippered shut while I pin the pieces to the tote bag–that way, I’m sure that two sides will align correctly. Afterward, however, unzip the pieces to make them easy to sew:
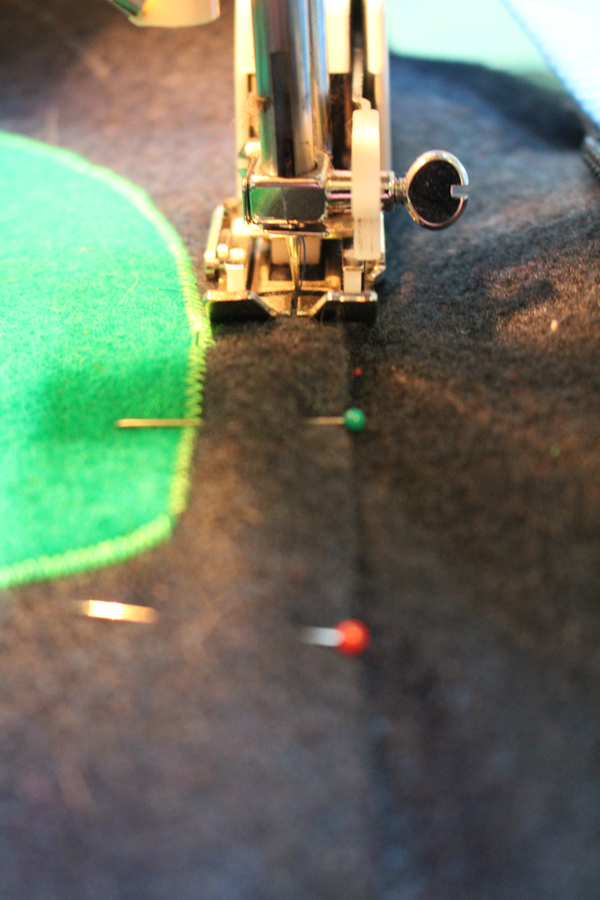
Once the pieces are pinned, sew them to the tote bag:
When you don’t need your tote bag zippered closed–if your bag is chock-full of Girl Scout cookies, say–the top pieces easily tuck down inside the bag:

But after a long day toiling in the cookie mines, when you’re ready to head home but you don’t want all of your cookie treasures to fall out on the journey, just untuck those side panels, zip up your tote bag, and heigh-ho, off you go!
P.S. Curious about even more ways to use up the surplus zippers in your stash bin? Check out these seven awesome zipper projects!

