
I adore hoodies, but I don’t always adore pulling them on and off over my head.
I mean, I have glasses! And headphones! And sensory issues!
Fortunately, it’s really not hard to add a zipper to the front of a hoodie. And what you get in return is a comfy, zip-up hoodie that will leave your glasses, headphones, and sensory sensitivities intact.
Before you begin, though, there are a few cons to keep in mind:
- Adding a zipper can change the fit of your hoodie if you’re not careful. Keep the seam allowance no wider than the zipper half and you won’t steal any room from the fit, but make your seam allowance too generous and you could end up losing as much as an inch. The hoodie I’m refashioning in this tutorial is a smidge too snug. But by being VERY careful about my seam allowance, I managed to actually make it a little roomier!
- If your pull-on hoodie has one kangaroo pocket, your new zip-up hoodie will have two pockets. In the smaller sizes, these pockets may turn out smaller than you’d prefer.
- You’ll lose up to an inch from the smack middle of any graphic on the front of your hoodie by installing a zipper. That will either drive you bonkers or look super cool–only you can decide!
If you’re on the fence about this project, there’s no harm in buying a super cheap thrift store hoodie to experiment with before you cut up your favorite hoodie. This is also a good way to teach yourself how to install a centered zipper, a technique that’s handy for all kinds of refashioning projects.
To add a zipper to your hoodie, here’s what you’ll need:
- separating zipper. Look for a zipper that separates completely, ideally one marketed for jackets or sportswear. Unfortunately, these are mostly made of plastic and polyester. If you don’t want to buy that new, seam rip it from an old or thrifted windbreaker or jacket.
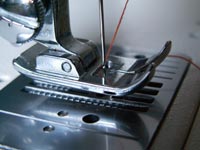
- zipper foot. If you’re machine sewing, you really can’t get by without a zipper foot.
- seam ripper.
- measuring and cutting tools. I used a self-healing cutting mat, metal ruler, chalk, and fabric scissors.
Step 1: Mark the center line on your hoodie.
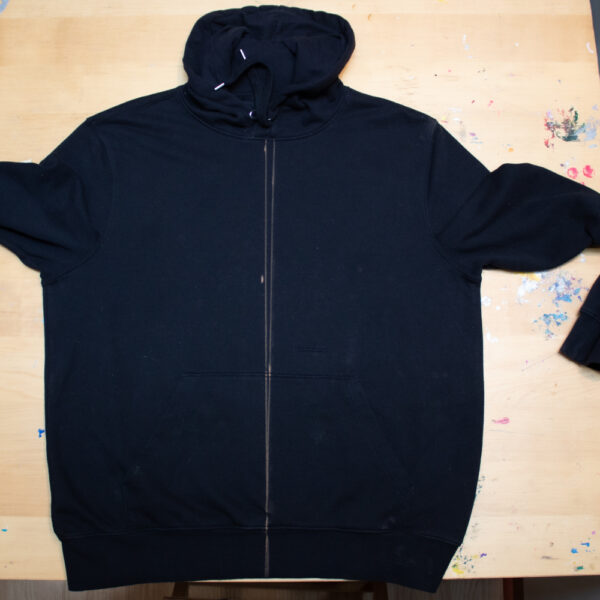
Notice that I’ve got two possible cut lines marked in chalk in that photo.
Here’s the thing about hoodies: they’re just thrown together. Hoodies and panties have some of the poorest manufacturing standards, from what I’ve seen whenever I need to deconstruct them or modify them in any way. It doesn’t help that this hoodie was originally from H&M, one of the biggest fast fashion culprits today. A poorly-constructed hoodie made from poorly-manufactured fabric and then worn however many times before being donated to the thrift store I bought it from is going to have some structural issues.
That’s one of the reasons why I actually enjoy refashioning clothes–every new garment is a new puzzle to solve!
This particular hoodie’s structural problems are indicated by those chalk lines. The line on the right represents the center point between several pairs of seams on the front of the hoodie–the distance between the two bottom edges of the kangaroo pocket, the distance between the two top edges of the kangaroo pocket, the distance between the two side seams at the widest part of the hoodie, the distance between the two armpit seams, and the distance between the two shoulder seams.
After I drew that line, though, I could see that it clearly didn’t look right. So I found the center point of the back neckline, transferred that to the front neckline, then drew a new line that connected just my top and bottom point. That one looked more symmetrical, so that’s the one I went with. I can’t work out if the hood was put on crooked, or if the cotton fabric is warped, or what. But when finding the center point of a well-worn garment, make sure you’re taking into consideration not just what your ruler says, but also what looks visually correct.
Step 2: Unpick the front neckline, and cut the hoodie down the middle.
Most hoodies are sewn with the hood edges slightly overlapping at the center front neckline. To keep the neckline neat when you add the zipper, you’ll first need to seam rip a couple of inches to each side of your center mark.
Once this has done, you can cut the hoodie along the chalk line.
Step 3: Sew the pockets.
When you cut down that center line, you’ll be cutting through your hoodie’s kangaroo pocket. You could simply baste together the two layers of each pocket half at this center cut to make sure they don’t shift when you attach the zipper. But the pockets will be stronger if you sew them properly.
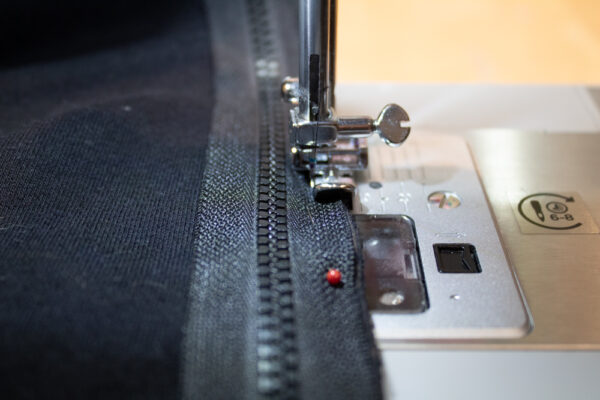
Step 4. Attach the zipper.
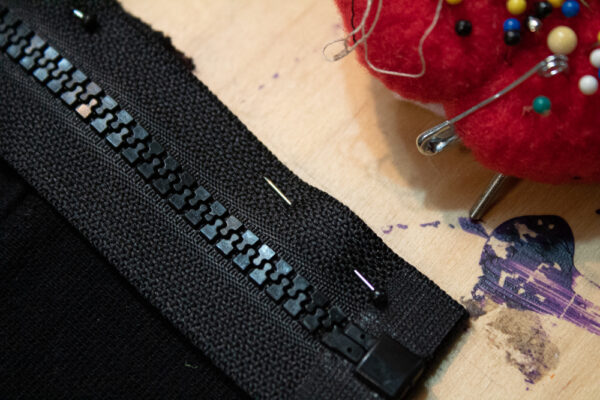
With right sides together, pin one half of the zipper to the cut edge of the hoodie. Carefully align the bottom of the zipper to the bottom seam of the hoodie. But don’t worry about the top of the zipper extending past the hoodie’s neckline–we’ll fix that in a few minutes!
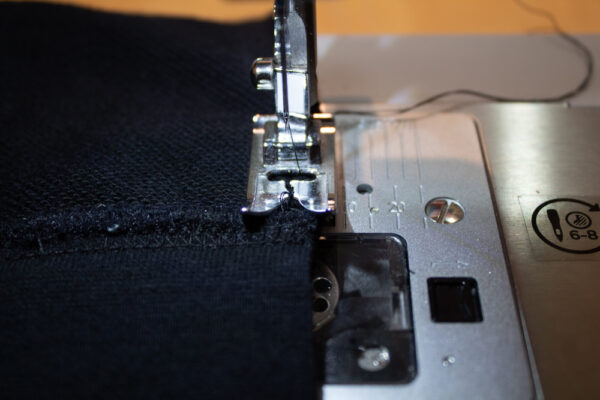
Using your zipper foot, sew the zipper half to the hoodie.
When you’re ready to pin the zipper to the other cut edge of the hoodie, carefully align all of the hoodie’s matching elements that will be visually obvious when the hoodie is zipped up. This generally includes the bottom ribbing, the top and bottom of the kangaroo pocket, the center graphic, and the neckline.
Sew the other half of the zipper, then top stitch both sides to keep the raw edges from getting caught when you zip and unzip your hoodie.
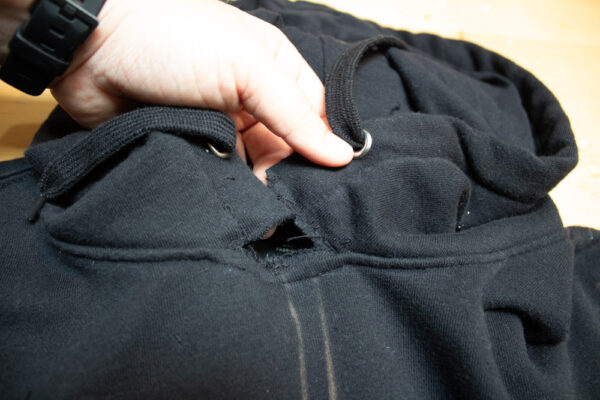
Handling the zipper’s top edge involves a little more case-by-case troubleshooting. Generally, you’ll want to hide the zipper top in the neckline seams somehow, or otherwise create a zipper stop that’s comfortable and looks neat.
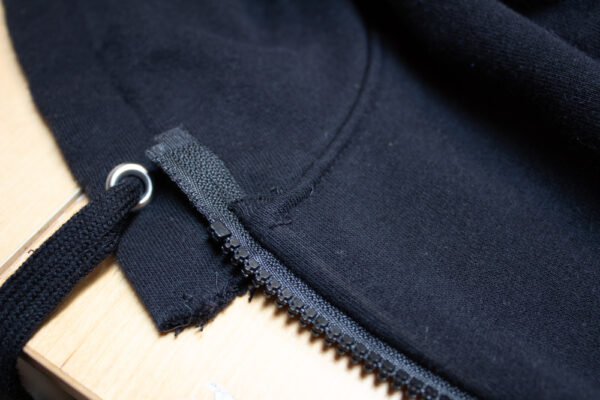
I lucked out with this hoodie, in that the hood has a drawstring channel that’s the perfect size to simply insert that excess zipper length into. I turned the cut edge of that channel to the inside, then hand-stitched it closed around the zipper. Finally, I used the sewing machine to reattach the rest of the neckline that I’d unpicked.
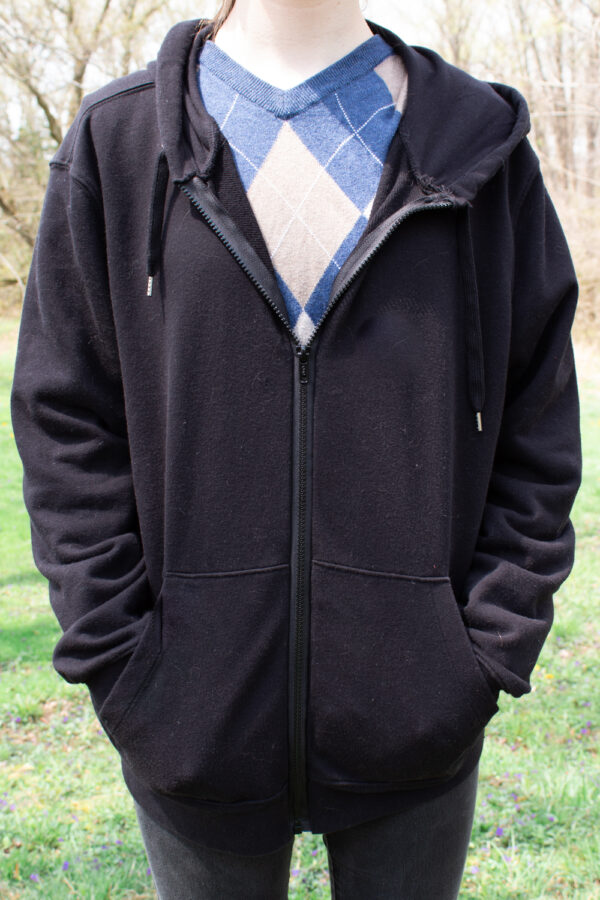
I love how much extra functionality the zipper added to this otherwise standard hoodie! It’s exactly the piece that I needed for the changeable spring weather we’re having right now. I’m stoked that instead of buying something new to meet my need, I could just remake something in my closet.. and I sneaked in an extra inch or so of roominess, too!


Thank you for sharing I like hoodie with a zipper much more.
Right? I thought I loved pull-on and zippered hoodies equally, but I am surprised at how much more often I’m wearing this particular hoodie since I installed the zipper. It’s my go-to hoodie now!