
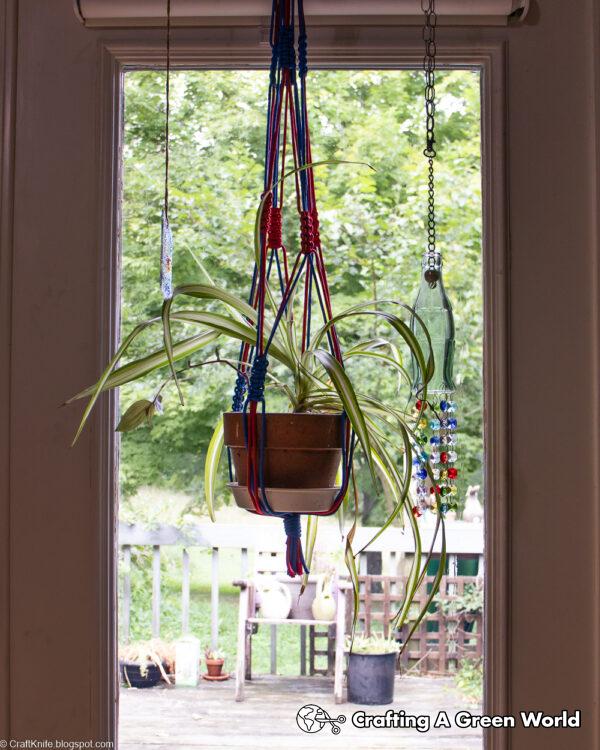
This easy macrame plant hanger makes a comfy home for all your favorite plants!
Like every city planner faced with overcrowding, I am dodging population control measures with my houseplants by instead going vertical. Every window is fair game, as is every corner with ambient light. Even the central room with no exterior windows now has a couple of ferns hanging under the skylight.
Plant hangers are great for getting your houseplants off your crowded shelves and into those sunny windows. They also put all of those tempting spider plants and inch plants and other delightfully dangly leaves out of the reach of cats, dogs, and toddlers.
Especially if you’ve got an older house, though, or any place with unconventional windows or other spaces, you’ve probably found that store-bought plant hangers just don’t fit your space exactly the way you’d like. Or maybe they’re just not the right color. Or maybe, like me, you simply don’t want to have to buy something when you’ve already got everything that you need to make it.
That’s why I found myself making my latest stash of plant hangers: the houseplants had a bumper year, and after dividing them and giving tons away I still had more than I have room for on my shelves. But my weird old house with its half-vaulted ceilings and oddly-sized windows doesn’t lend itself to the comfortable placement of most lengths of plant hangers. AND about five years ago both of my kids went through an epic paracord crafting phase, one that left me with a large stash of unused paracord after they both eventually moved on to using up all of my embroidery floss on super elaborate friendship bracelets.
I have made SO many macrame plant hangers this summer, using my easy technique that lets me make them exactly the length that I want. Here’s how you can make yourself an easy macrame plant hanger, too!
Supplies
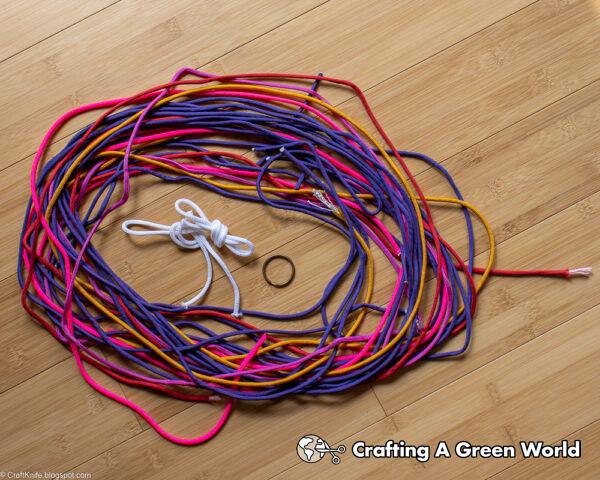
To make this easy macrame plant hanger, you will need:
- split o ring. This is the ring that holds your cute keychain. You want it to be VERY sturdy, but most keychain rings are.
- macrame cording. Cotton cording is availability in multiple widths and colors, and is natural, eco-friendly, and quite sturdy and long-lived when used indoors. Any cording that doesn’t stretch will work well for this project, however. This paracord that I’m using, although it’s all polyester and therefore an ecological nightmare, actually makes amazing plant hangers! Whatever you choose, you’ll need 80 feet, or eight 10-foot lengths, for the hanger, and 2 feet, or two 1-foot lengths, for the gathering knots.
- tape. A lightly sticky tape, like masking tape or washi tape, will help you keep cords together as you knot them.
Step 1: Use a gathering knot to tie the cording to the split ring.
Cut eight pieces of cording, each approximately 10 feet long, and one piece of cording approximately one foot long.
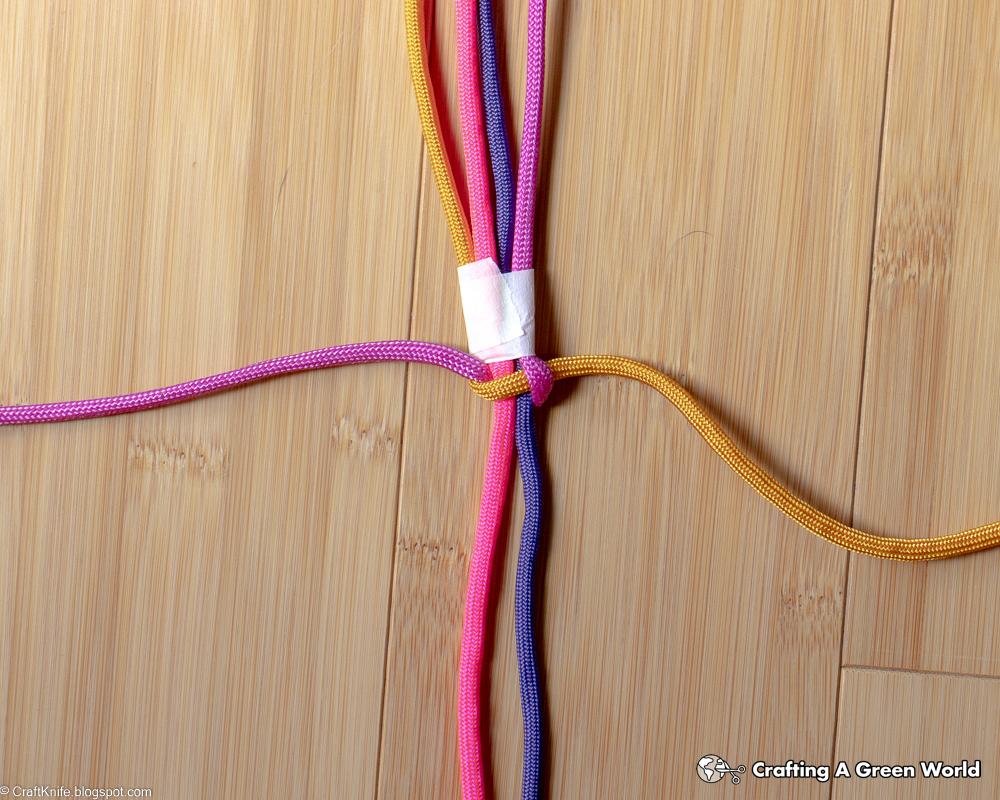
Thread the eight pieces of cording through the split o-ring and center them.
Now, it’s gathering knot time!
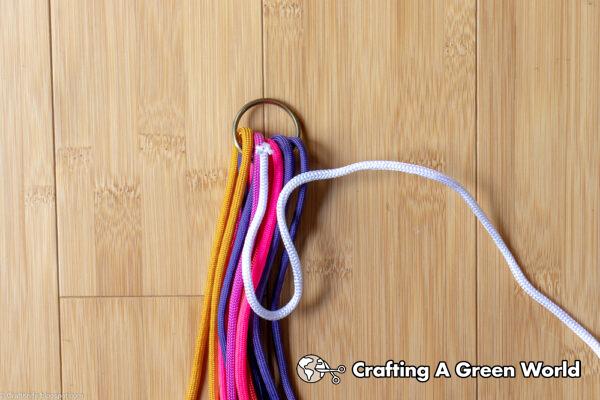
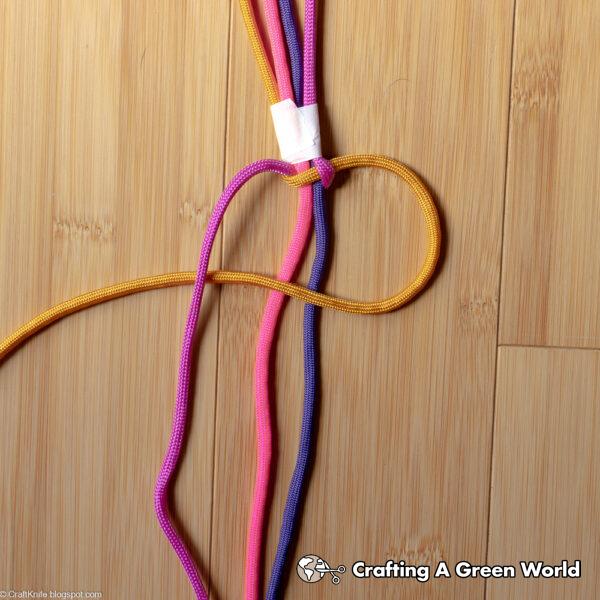
With one end of the cord, make a long “u” over the spot where you’d like the gathering knot to be. I like mine just below the o ring.

Keep that “u” in place as you take the other end of the cord in hand and begin to tightly wrap the bundle with it. Each wrap should be just below the one above.
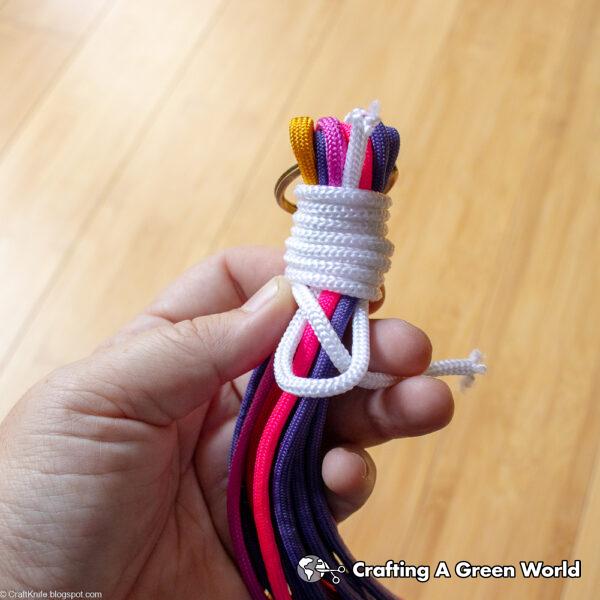
When you near the end of your cord, leave a long tail and tuck the end through the bottom of the “u.”
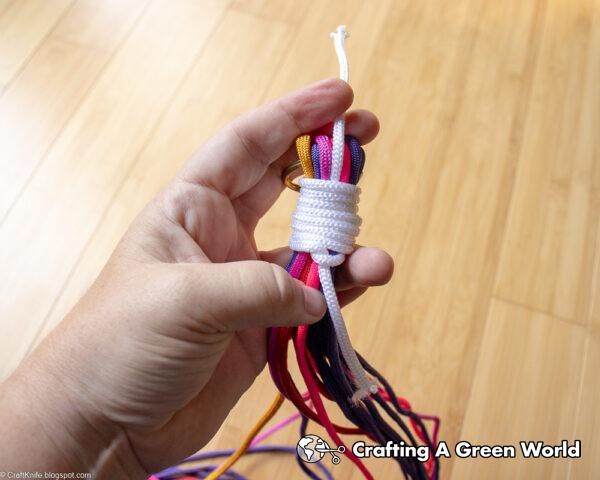
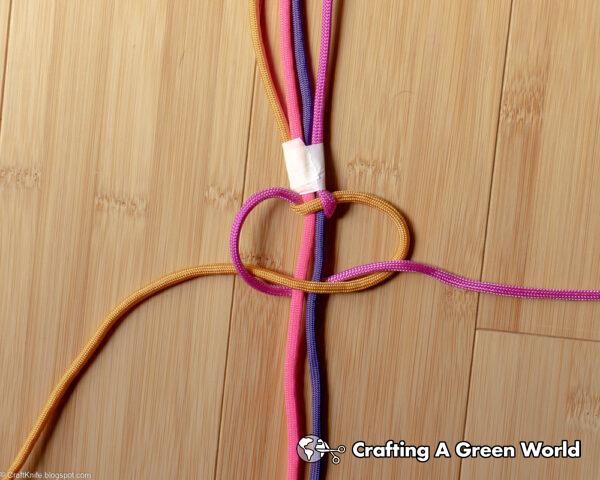
Put your hand back on the top tail above the gathering knot, and pull on it to tug the “u” bend, and the end of the cord that’s tucked into it, up inside the gathering knot. It’s a bit of a fiddly process to figure out exactly the right amount of strength to use, so don’t feel sad if you have to start this knot over a couple of times.

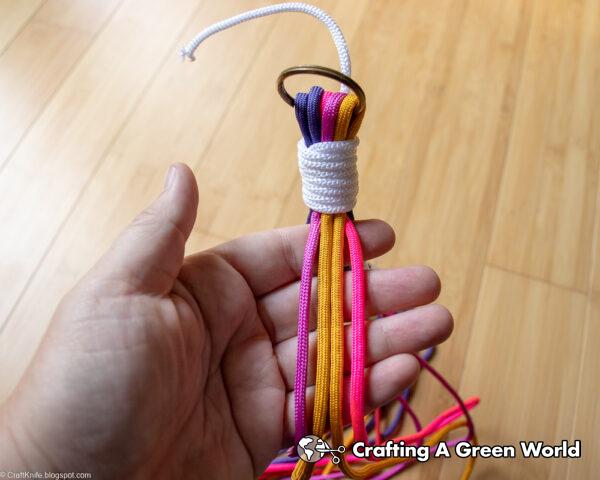
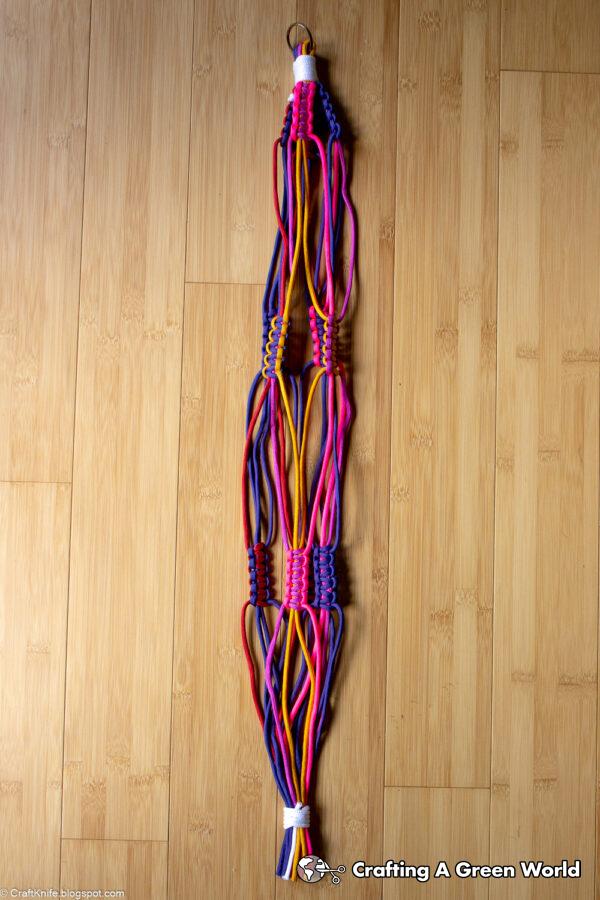
The finished gathering knot will look like the one above, with the “u” bend pulled inside to the middle. Notice that I left such a long bottom tail that you can still see it, but the knot itself is well-secured.
Trim both tails for a cleaner look.
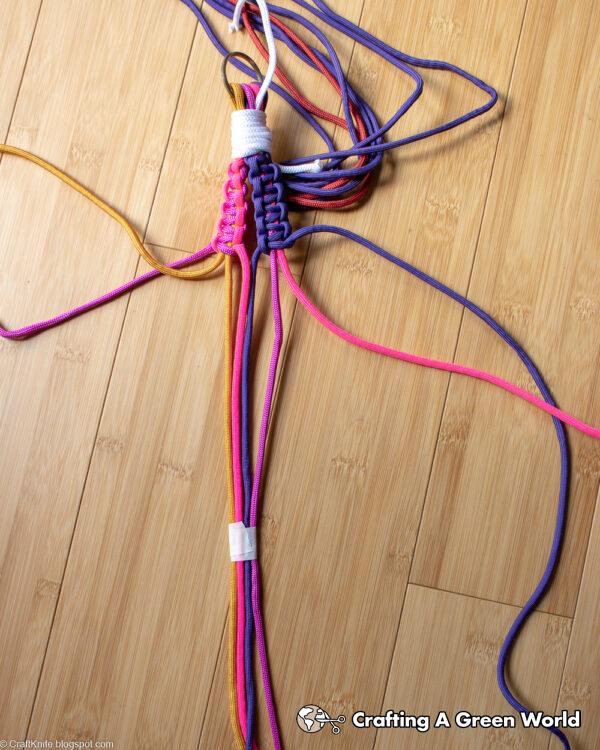
Step 2: Tie four groups of five square knots below the gathering knot.
Separate out four adjacent cords. The cord on the right will be what the vertical sides of the knots will look like, and the cord on the left will be the center color.
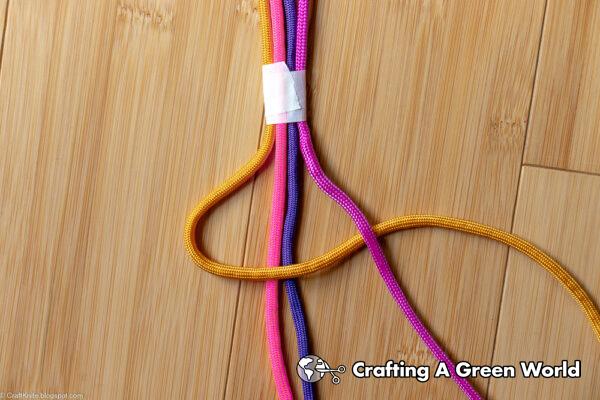
Pass the cord on the left OVER the two center cords and UNDER the right cord.
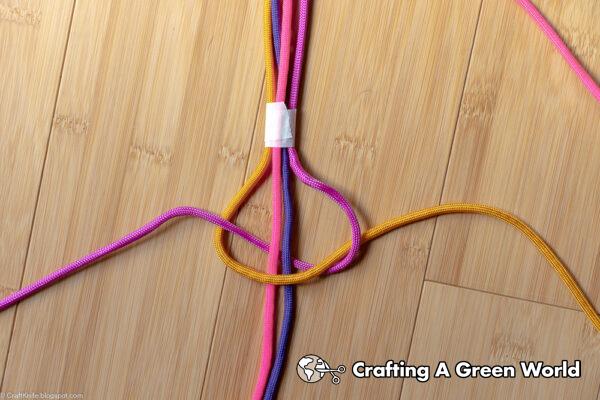
Pass the cord on the right UNDER the center two cords and OVER the left cord. You can also think of this as putting it through that left loop made by the left cord as it prepared to pass over the center cords.
Pull the knot tight.
You can see that the vertical piece is created on the opposite side from where you started–if you lose count, you can use that to tell you what side you’re on. You can also see that the left and right cords switched places.
To finish the square knot, continue from the right. Pass the right cord OVER the two center cords and UNDER the cord on the left.
Pass the left cord UNDER the two center cords and OVER the right cord, or through the loop that the right cord made when preparing to pass under the center cords.
Pull the knot tight. It should tuck up right under the knot above it.
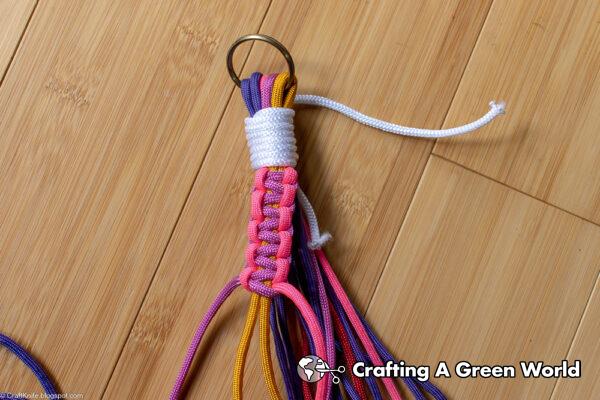
Repeat four more times to make a total of five square knots with that group of cords. Hint: you’ll have five vertical pieces on each side.
Repeat three more times to make a total of four sets of knots around the gathering knot. This will use up all your dangling cording.
Step 3: Make a second set of square knots six inches below the first set.
Measure down approximately six inches from the bottom of the first set of square knots.
From two adjacent sets of square knots, take the two right cords from the left set and the two left cords from the right set. These are the cords you’ll use for your next set of square knots. I like to tape them flat and in the correct order, because at this point it’s very easy to start getting mixed up.
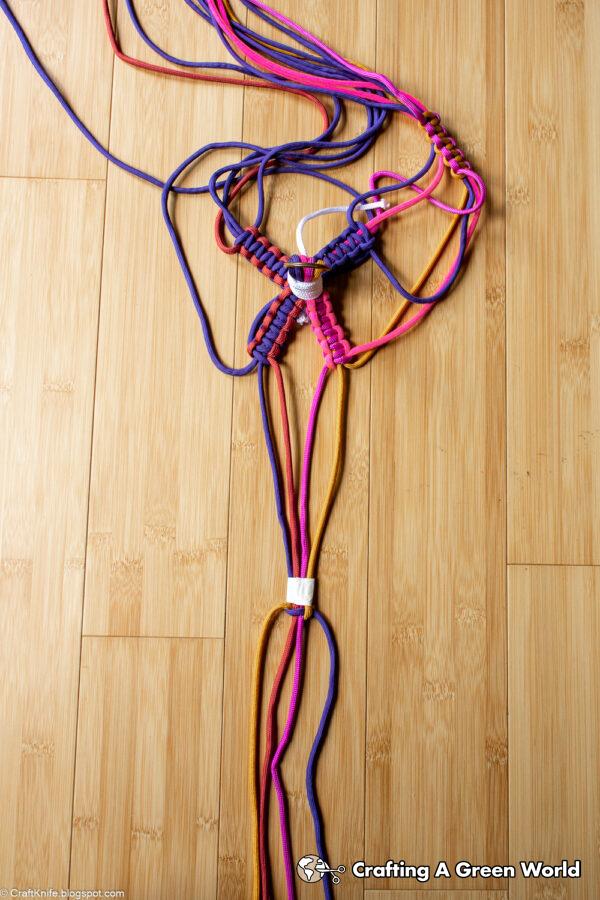
Tie another set of five square knots (one knot starting from the left, then another knot starting from the right equals one set) with these cords.
Repeat with the remaining three sets of cording, until you have four new sets of square knots, each six inches below the first set and made up of cords from two adjacent sets above.
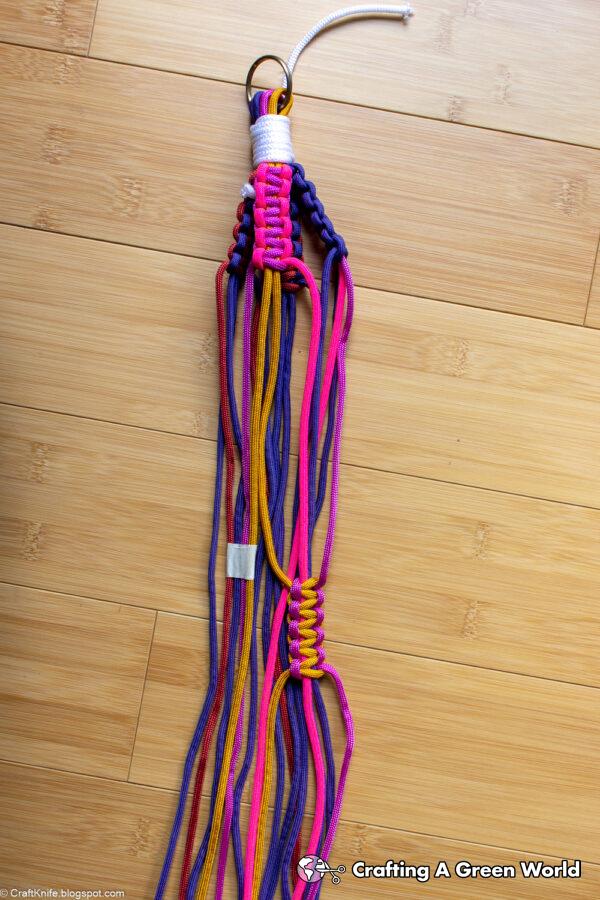
Step 4: Repeat the process 1-2 more times.
You have enough cording to tie four total sets of square knots, each set approximately six inches below the set above. That being said, four sets results in a plant hanger that is quite long, and I prefer to stop at three sets for most of my plant hangers.
Step 5: Tie a gathering knot at the bottom of the plant hanger.
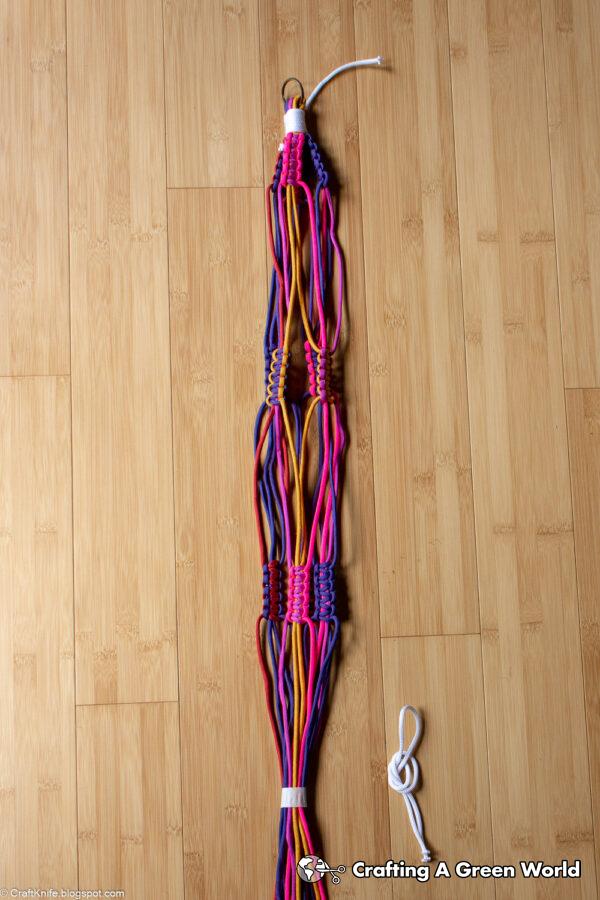
Measure six inches from the bottom of your final set of gathering knots, and tape the cords together at that spot.
Using the second piece of foot-long cording, tie a gathering knot at this tape mark.
Trim the rest of the cords below the gathering knot.
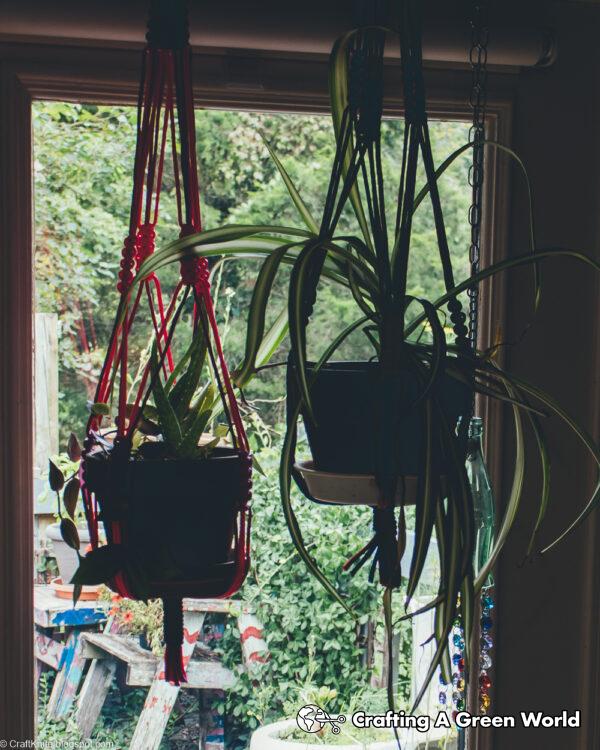
These plant hangers are super versatile, and since you only have to learn two knots, they’re super beginner-friendly, too! Once you’ve mastered this simple version, feel free to fancy it up with more complicated knots.


