
The solution for displaying your favorite treasures is that cardboard box hanging out in your recycling bin!
Not every cardboard box need apply for such a prestigious assignment, but some cardboard boxes are just as sturdy as some similarly-sized plastic or particle board shelves. I could probably stand on the cardboard box that my kid’s latest pair of headphones came in and not dent it. This makes it absolutely perfect for displaying my beautiful (and cumbersomely large) rock collection.
To cover up the ugly parts of your box and make it suitable for display, you have numerous options. Decoupage is fun and quirky, while paint can be either quirky or classy. Wallpaper looks sophisticated, and there’s also contact paper, mosaics, papier mache, or any number of other embellishment techniques. The only limit is your imagination!
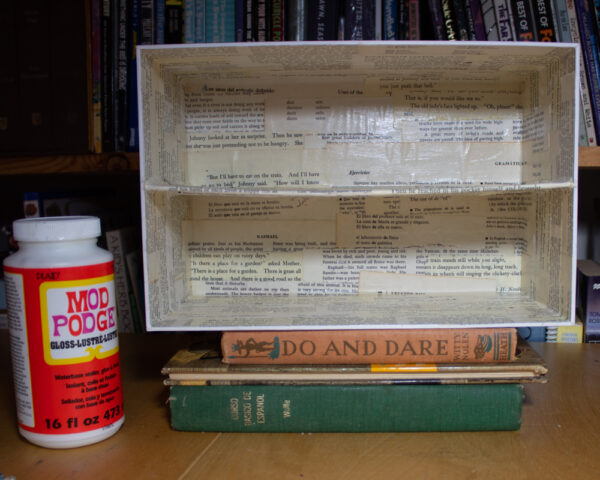
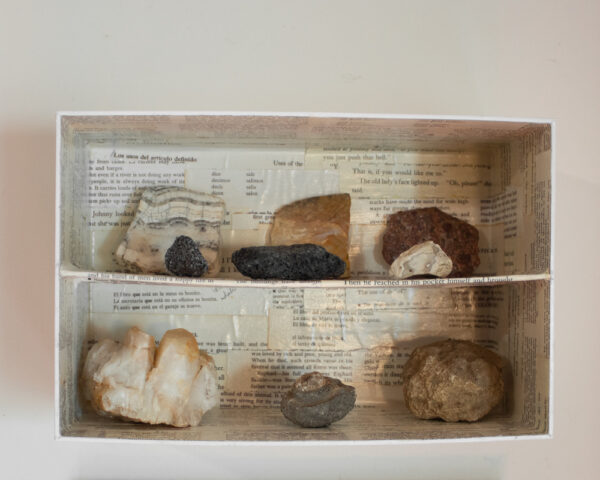
In this project, I’m decoupaging part of each box half, and leaving the other parts, which are a smooth semi-gloss white, as-is. I’m also adding an additional shelf to one box half, the better to cram even more rocks in!
Materials

cardboard box. You can DIY this project from complete scratch using just corrugated cardboard, but if you find a nice box you can save yourself several steps. Freecycle, your neighborhood recycling bins, and local acquaintances are all ways that I’ve sourced awesome cardboard boxes. At this very moment, there’s a giant box taking up half of my family room. It used to hold a combination charcoal/propane grill, I scored it directly from a random person’s car at my county recycling center, and before Saturday my kids will turn it into two Minecraft heads for their Halloween costumes.
embellishing supplies. For me, this consisted of vintage book pages, Mod Podge, and polyurethane sealant. Your supplies will depend on the look you want to achieve with your embellishment.
hot glue and extra cardboard (optional). I used these materials to add an additional shelf inside one of the cardboard box halves.
Step 1 (optional): Glue on extra cardboard shelves or decorations.
If you want to add any additional cardboard shelves, infrastructure pieces, or decorations that will be embellished along with the rest of the box, do it first. I added a (slightly saggy, ahem) shelf to one box. I mounted it with hot glue, but I’m also relying on the decoupage to strengthen it.
Step 2: Embellish the cardboard box.
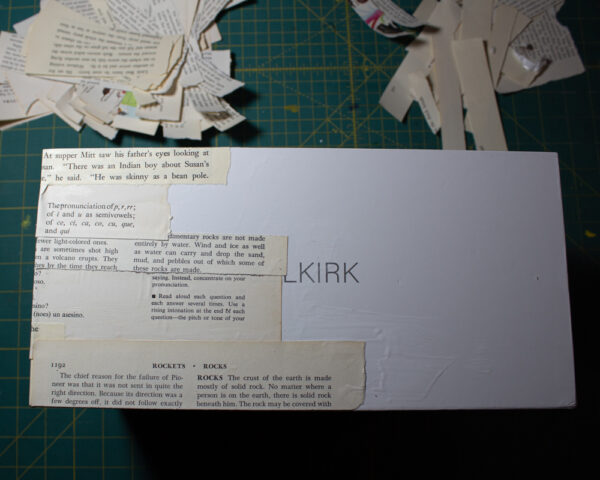
To embellish my cardboard box halves, I tore several vintage book pages into strips, then used Mod Podge to glue them to the box. I like to overlap them and to make sure that strips torn from the same book aren’t adjacent. I think this makes for a balanced composition.
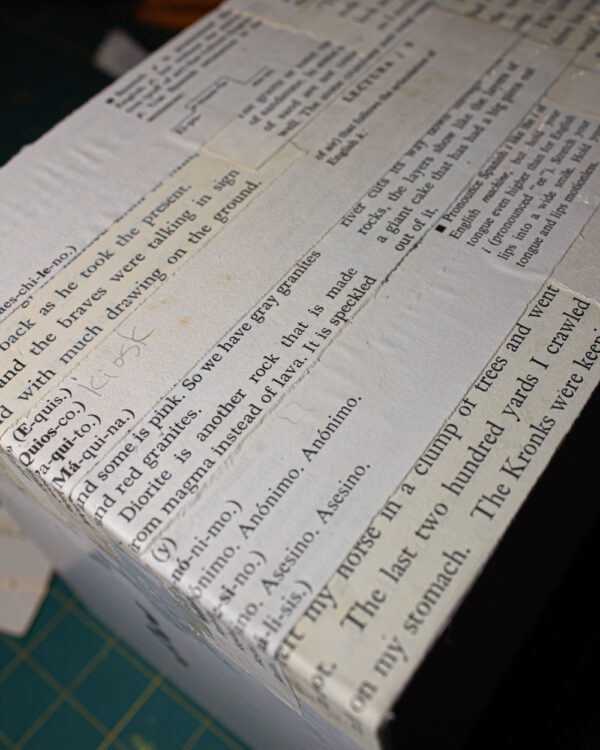
Bend your decoupage pieces into corners and over gaps to give your piece a smooth and polished look. If the paper begins to bubble up, smooth down the bubbles with your fingers.
Once your piece is fully embellished, let it dry. Because decoupage can have many layers, I like to let my pieces dry for about twice as long as the glue manufacturer’s instructions suggest.
Step 3: Seal the cardboard box wall shelf.
You only need to seal the parts of the cardboard box that you embellished. I put on the maximum number of recommended coats of my favorite polyurethane sealant, so my shelf can stand up to the wear and tear of heavy, pointy, scratchy rocks and fossils.
I also like to let the polyurethane cure for about double the recommended time. If you lightly touch the surface and it feels tacky, it needs more curing time!
Step 4. Mount the shelf.
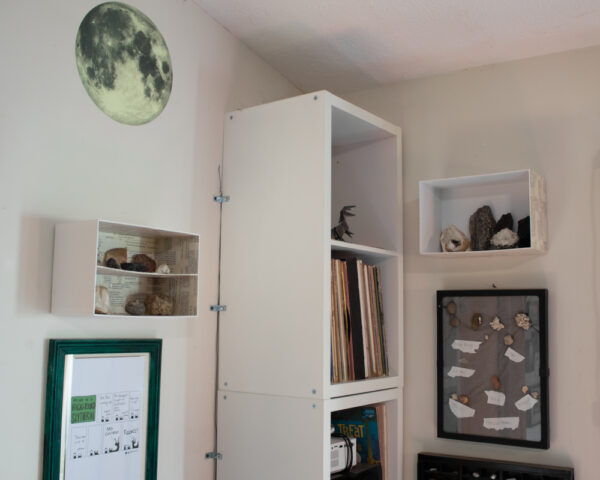
Mount the shelf to your wall using your preferred method. I think Command Strips work well with cardboard, and that’s what I’ve used in the photo above. They’re plastic, so I use them judiciously, but they really are the perfect tool for this particular job. I did weigh the rocks for each shelf, however, to make sure that I wouldn’t exceed the weight limit for my Command Strips. I don’t really need a bunch of rocks tumbling down onto my head unexpectedly!
If you want to avoid plastic or adhesives, use picture hanging hardware and a nail. I’ve experimented previously with gluing the hanging hardware to the cardboard shelves, and I don’t recommend it… unless you DO need a bunch of rocks tumbling down onto your head unexpectedly, that is!
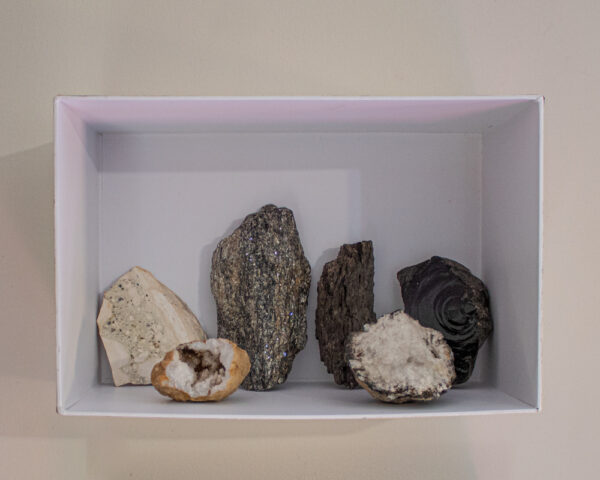
I like how roomy these shelves are, and I like that I can handle my collection since it’s not locked behind glass. Rocks and fossils look beautiful, sure, but they’re also very tactile. It’s a shame when you can’t actually touch them!
Other good choices for displaying in these cardboard box wall shelves are LEGO minifigures, painted rocks, porcelain or ceramic figurines, or other little tchotchkes.
How do YOU organize and display all of your pretty things? Tell us about it in the Comments below!


