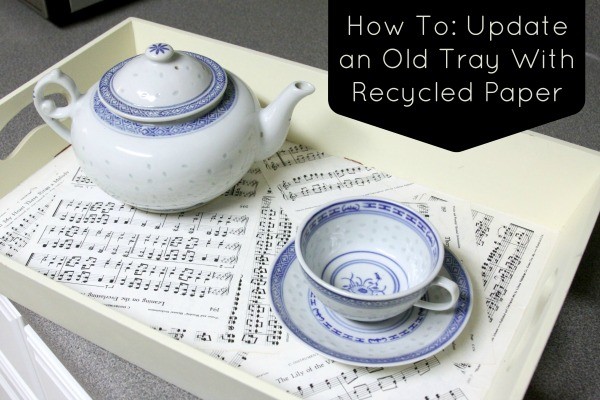
Have you ever found an old serving tray that needs a little pep or pizazz? It’s easy to update it with recycled paper! This DIY serving tray makeover is simple to do, and you have as many options as you do paper in your stash. Wouldn’t this look lovely on your holiday table this year?
DIY Serving Tray Makeover
Materials
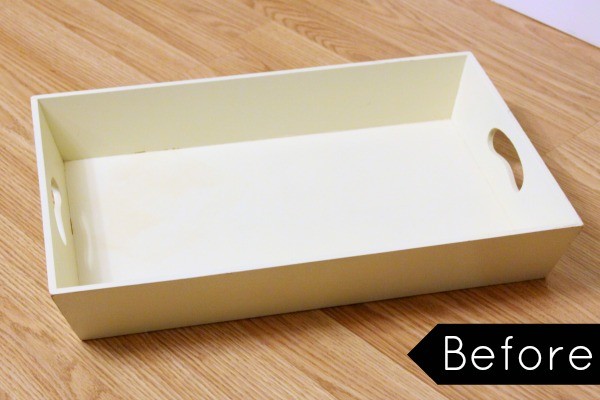
+ An old serving tray that needs some love. I find these constantly at thrift stores or garage sales.
+ Recycled paper. I used the same sheet music that I used for my eco-friendly wreath for fall.
+ School glue. If you can, use eco-glue.
+ A small paintbrush
+ A box cutter or exacto knife
How To Do It:
1. Clean your tray.
2. Mix your school glue with a little bit of water. You will want the mixture to have the consistency of soup.
3. Working in sections, use the paintbrush to glue your recycled paper to the tray. I did a solid base of paper first:
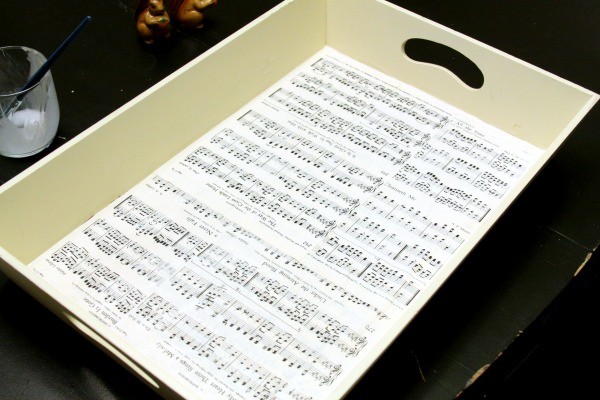
Then, I added another layer of paper at various angles to make it more random and less perfect.
4. Once your paper has dried, remove any excess from the edges with a box cutter or exacto knife– just make sure you don’t cut into your tray.

5. Clean the tray of any extra glue residue with a dry cloth. Then, for protection, I gave the entire tray a clear coat of polyurethane. While polyurethane isn’t the greenest craft supply, I wanted to make sure the paper didn’t get ruined by any liquids that might come in contact with the tray.
My tray is headed to my craft booth, but I’m totally in love with it! What items could you transform with sheet music? Check out this ruined table top that I revamped with the help of sheet music, too!