
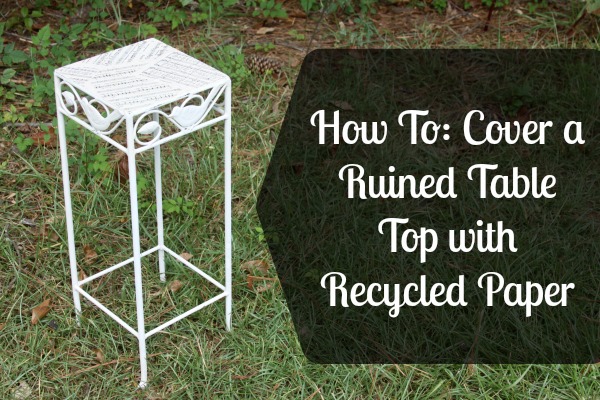
 Have you ever come across a really cute table at a thrift store or garage sale, but the top needs way too much work? Have no fear– you can make it look pretty again with recycled paper!
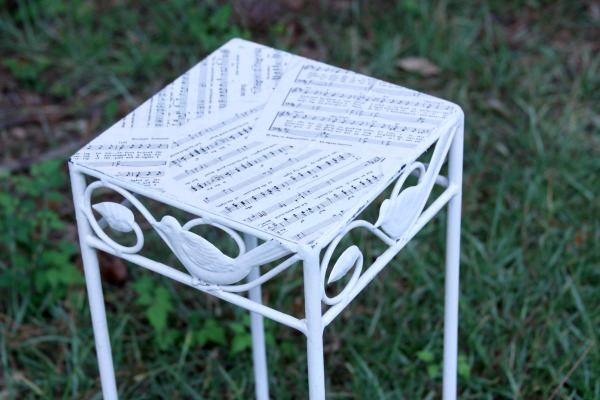
I bought an adorable metal table at a garage sale with the intention of quickly painting it and selling it at my craft booth. However, when I started working on it, I could not get the top to smooth out. The paint kept chipping in some places and wouldn’t budge in others. Instead of stripping the paint, I chose another option: covering the top with recycled paper.
What You Will Need:
1. A table
2. Recycled Paper. I used sheet music.
3. School glue. If you can, use eco glue.
.
4. Scissors
5. Sandpaper
6. Polyurethane or other sealer
7. A small paint brush
8. A bowl
How To Do It:
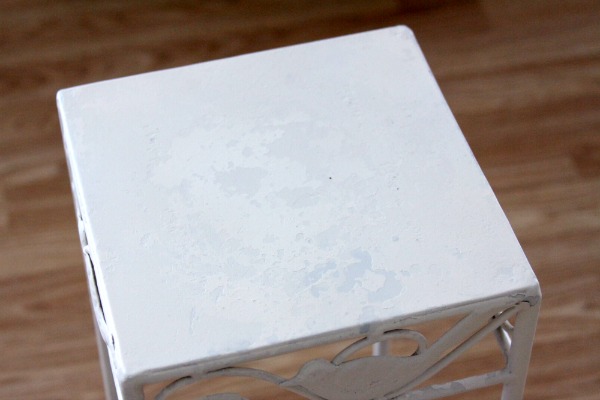
1. Prep your table. If you plan on painting the bottom half of the table, make sure you do that first. Sand the top of your table simply to rough up the surface (this will help the glue adhere better). This is what I started with:
2. Mix school glue and a little bit of water together in a bowl. You will want it to be the consistency of soup.
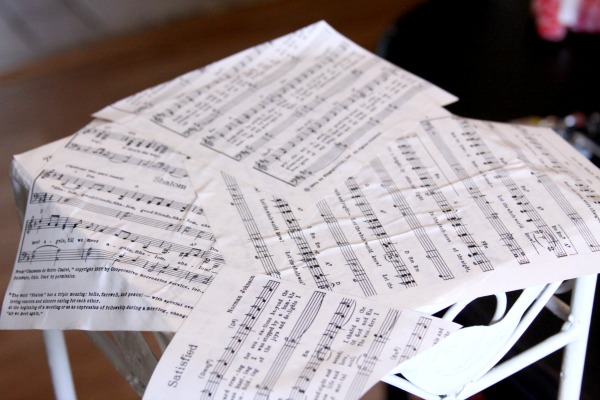
3. Use the glue mixture and your small paint brush to glue the recycled paper to the top of the table. Then, brush some more glue on top. Make sure you smooth out any ripples or air bubbles (which I obviously hadn’t done before I took the picture below).
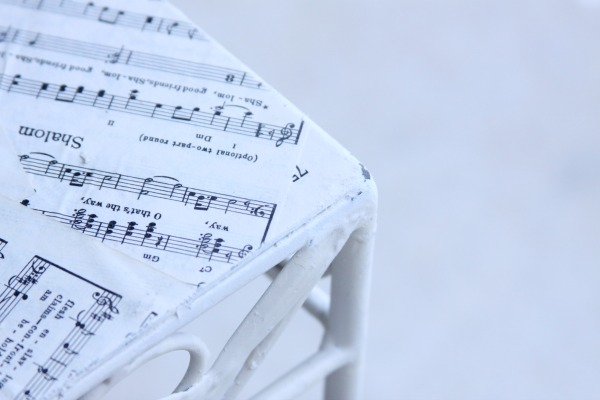
4. Once the paper has dried, cut off any excess paper. Cut as close as you can to the table.
5. Then, use sandpaper on the edge to remove any extra paper. Move the sandpaper in a downward motion so you don’t pull up the paper. The sandpaper will give it a clean edge like so:
6. Carefully clean the table of any dust left behind.
7. Seal the sheet music with polyurethane or any sealer of your choice. This will prevent the sheet music from getting ruined by everyday use.


Adorable! Love the use of sheet music. Very easy to follow directions for beginners, so I imagine we’ll see lots of upcycled tables.
Pingback: Feelgood Style | Sustainable fashion, beauty, and health.