You can DIY your own pins from denim and embroidery floss.
Well, you also need two secret ingredients: water-soluble stabilizer and a safety pin!
Even then, the water-soluble stabilizer is optional, but it’s a great way to transfer embroidery or cross stitch designs to fabric. But you don’t have to use a proper stitching pattern–feel free to just play!! Stitch something pretty that you made up in your head, add buttons and beads, paint them or stamp them, and when you’re done put them on your backpack or jacket to show off how crafty and creative you are.
Materials
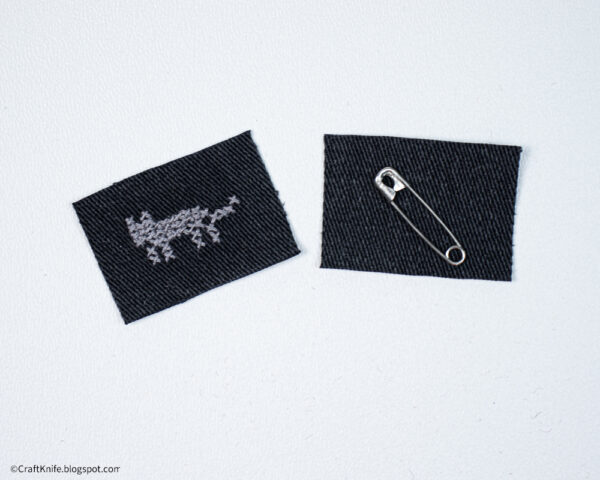
Here’s everything you need for these DIY pins:
- denim. Upcycle scraps from an old pair of jeans, ideally one that’s 100% cotton. Blending stretch fibers with cotton to make jeans is one of the worst things to happen to crafting!
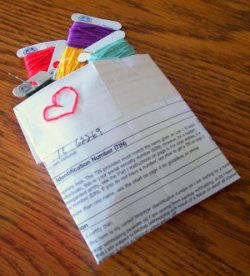
- embroidery floss and needle. This is a good project for those no-name brands of floss that you’ve got kicking around your craft room but don’t want to use for a fancier stitching project. For a larger stitching project, I NEED my DMC color matching, but that unlabeled plastic bag of floss I scored at a garage sale last summer is perfect here!
- wash-away stabilizer (optional). This thin stabilizer has a sticky back, so it’s easy to attach to the front of your project. Transfer your design to the stabilizer with a pencil or washable pen, or use something like this gridded wash-away stabilizer for cross stitch. You stitch directly on it, and when you’re done, run it under the faucet and watch the stabilizer melt away into nothing. Again, you can definitely get by without this, but if you have a specific design you’d like to use, this is the way!
- safety pin. Any size will work, although one that’s only a little smaller than the width of your completed pin design will stabilize it the best.
Step 1: Stitch your design onto a piece of denim.
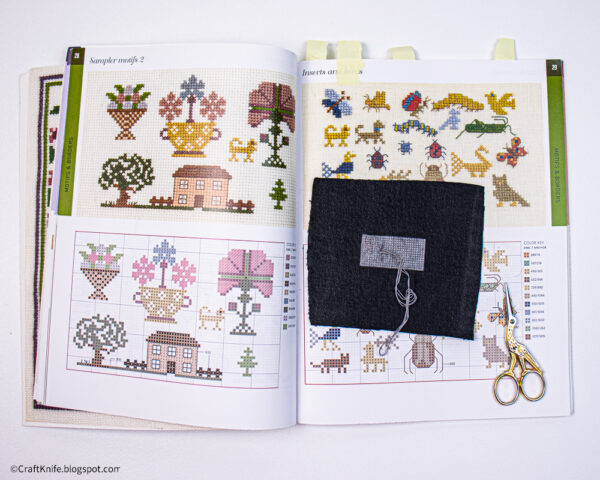
Using embroidery floss and your favorite embroidery or cross stitch techniques, stitch your design directly onto your denim. You can be as messy as you want with the back of the fabric (gasp, I know!), because it will be hidden away on the finished pin, sandwiched between two layers of denim.
When you’re finished, if you used wash-away stabilizer, then wash it away according to the package directions:
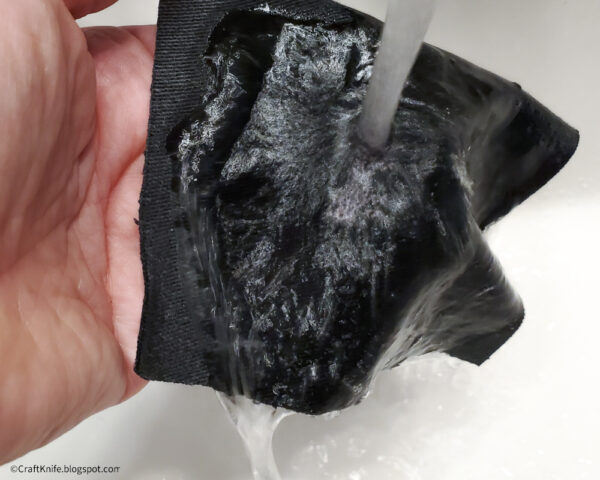
Afterwards, lay the denim flat to dry.
When the denim is dry, this is the time to add any other embellishments that you’re dreaming of, from sequins to lace to paint.
Step 2: Shape and cut the pin front and back.
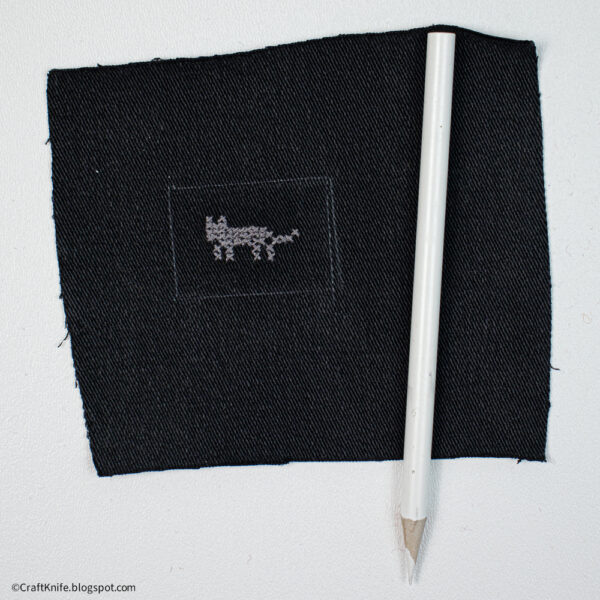
Figure out the dimensions and shape of your pin (double check to make sure it’s larger than the safety pin you plan to use with it!), and cut it out.
Cut out an identical shape from a second piece of denim. This second piece will be the back of the pin, so it’s fine to use a piece that doesn’t match or that is stained/lightly damaged.
Step 3: Attach the safety pin.
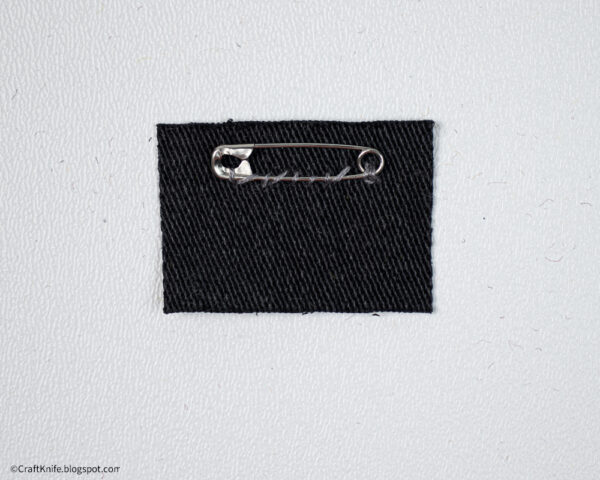
Use embroidery floss or thread with a whip stitch–feel free to make it as messy as mine!–to attach the safety pin to the back piece of denim. Two things to pay really close attention to:
- Stitch down the closed side of the safety pin, not the side that opens. I even carry my stitching through both ends of the safety pin, just to make sure it won’t slip.
- Stitch the safety pin near the top of the denim, not the center. I know that conventional pinbacks have the fastening near the center, but denim is relatively heavy, and if you put the fastening near the center you’ll see how a top-heavy pin sits and you won’t like it.
Step 4: Sew the two sides together.
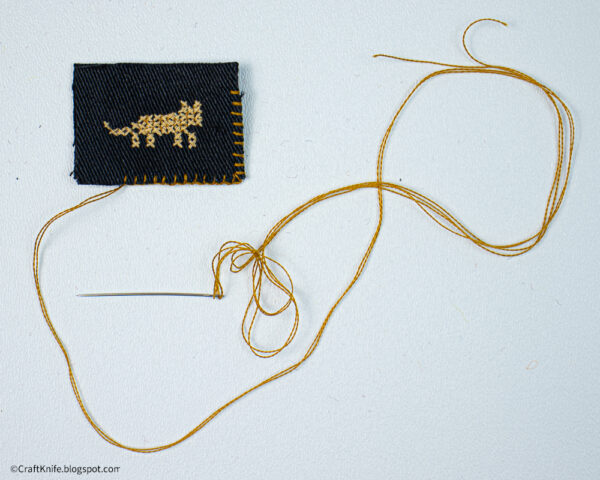
Put the two pieces of denim together so that they match and the safety pin on the back piece of denim 1) faces out and 2) is near the top.
Using embroidery floss, blanket stitch all the way around the denim, sewing the two pieces together and encasing the edges so they won’t fray.
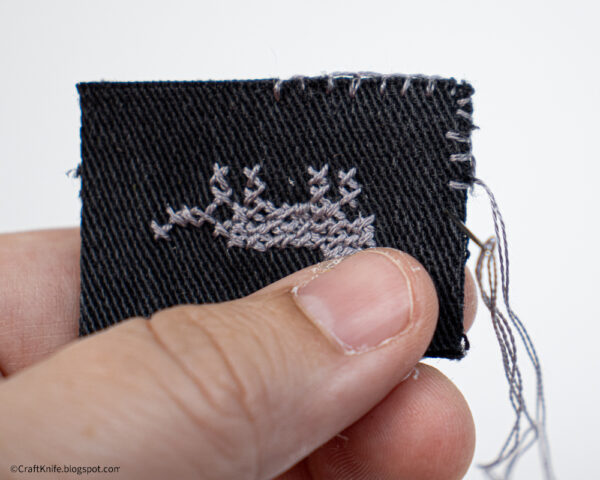
OPTIONAL: If you like the frayed look, leave a little extra room around your design when you cut it out of the denim, then use a back stitch just inside the perimeter when you sew the two pieces together. This will let the raw edges fray just a bit, but they won’t fray past the stitching.
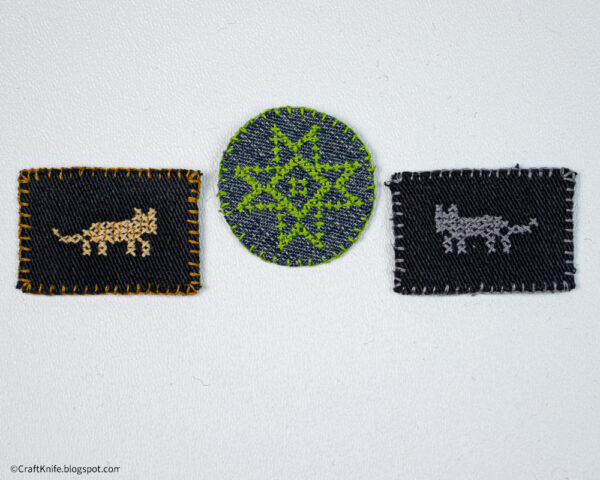
I think that these stitched denim pins always turn out so cute!
These pins make an excellent hand-sewing project for a confident beginner, and they’re especially great for tweens and teens who like to really personalize their stuff and tend to turn their noses up at conventional cross stitch or embroidery patterns for being “boring.” There’s nothing boring about something that you designed and made yourself!
P.S. Check out my other favorite thing that I’ve made from denim!