This finger maze is a satisfying (and SILENT!) fidget toy.
And you can sew it completely from stash!
If you or someone you love also loves fidget toys, then you are going to be thrilled with this finger maze! It’s a totally silent fidget, hallelujah, that’s also super portable and delightfully fidgety. And depending on whether or not you’ve got a spare marble lying around, you can sew this finger maze entirely from stash.
Here’s what you need:
- 1″ graph paper or ruler/stencil. I thrifted a ream of this ages ago and its been endlessly useful, but you can also simply print a 1″ graph paper pdf. To transfer the maze pattern to your fabric, a clear gridded quilting ruler will come in VERY handy, but you can also do the work with a regular ruler and an eye for accuracy.
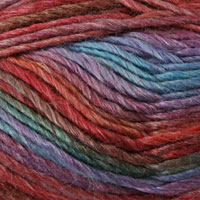
- fabric, 2″ larger than your planned maze by length and width. If you’ve got sensory particulars, pay attention to your fabric choice here. I, for instance, ONLY like this finger maze in flannel, but one of my teenagers refers to flannel as, and I quote, “a sensory nightmare.” Ahem. Whatever fabric you choose, a novelty print is a fun choice.
- matching/contrasting thread. I like to sew the maze lines in contrasting thread to add interest to the toy, but you do you.
- fabric markers. I am obsessed with Pilot Frixion pens for marking on fabric. The ink irons away, which makes it, for me, even more convenient than wash-away ink. You DO have to be careful using it on darker fabrics, however, as sometimes after you iron there will be a light mark in its place. When in doubt, do a test first!
- marble. I’m steadily stealing the marbles from my kids’ old marble mazes. Hungry Hungry Hippos is also a good place to find marbles, or swing through your local thrift store.
And here’s how to sew your maze!
Step 1: Pre-test your marble vs. stitched channel setup.
Before you dive into maze-making, double-check that your marble will fit through the maze you’re planning. To do this, sew a few short stitched channels, perhaps in .75″, 1″, 1.25″, and 1.5″ widths, then pass your marble through each to see which feels the best. I’ve found that I vastly prefer a 1″ channel for all the standard marble sizes, which vary by only a millimeter or two, but you should make your maze the way that YOU want!
If you do decide to change the width of your maze paths, change all the other measurements, too, to match. You can even customize your graph paper grid size to make drawing the maze pattern easier!
Step 2: Draw your maze pattern.
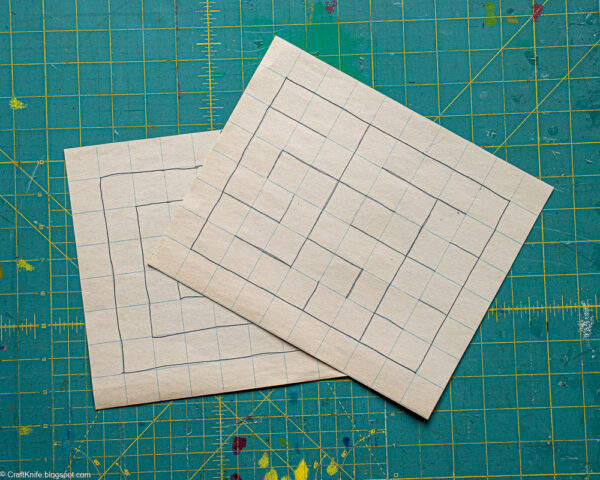
Technically, these are labyrinths, since there’s only one path from beginning to end and the task is just to get the marble along the path. But if you want to make it a maze with dead ends, go for it!
Have fun drawing your maze just the way you want it, making sure that you use up all your maze space and that you’ve left openings equal to the width of the maze path whenever you turn a corner. That’s where working with graph paper really helps!
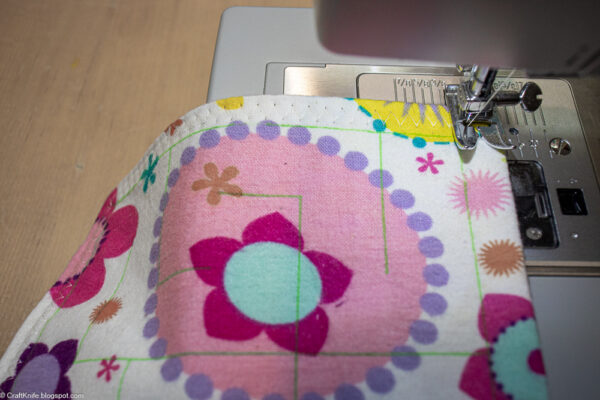
Step 2: Cut and sew the maze base.
Cut two pieces of fabric that are 2″ longer by both length and width than your maze pattern. In the image above, you can see that I cut my graph paper, which is in 1″ grids, to the overall fabric size so I can use it as a template. Or I could have just cut my fabric to be 8″x10″ to accommodate my 6″x8″ maze.
If you’re using novelty fabric, it’s fun to fussy cut it to make sure that any especially cute elements will be prominent.
Put your two fabric pieces right sides together, then sew a .25″ seam around the perimeter, leaving a hole in one side for turning.
Turn the fabric right sides out, use a blunt pencil or similar tool to push out the corners, and iron flat. Fold in the raw edges at the opening to match the rest of the seam, and iron to crease. You’ll close that hole later.
Step 3: Draw and stitch the maze.
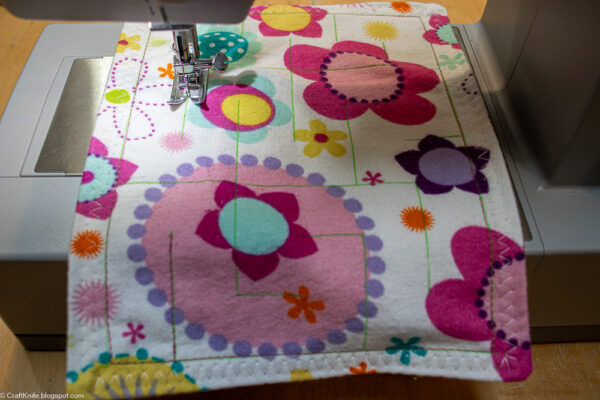
Center the maze pattern on one side of the fabric–here is where your quilting ruler will come in QUITE handy!
I find it easiest to draw the perimeter of the maze first directly onto the fabric with my heat-erasable pen, then use the quilting ruler to draw in the lines that make up the maze path. Measure and draw the lines as accurately as you’re able to, because it would suck if you mis-measured and ended up with a path too narrow for your marble.
Speaking of that marble–pop it inside the maze through the opening as soon as you’ve finished drawing out your pattern! Technically you can leave it until just before you stitch the opening shut, but I just know that if I do that, then I’ll forget it entirely. I’d rather sew around the marble a bit while also reassuring myself that it’s there!
Step 4: Edge stitch to close the opening and add a second barrier.
Edge stitching around the perimeter of the fabric is enough to close the opening, but I’m paranoid about kids and marbles, and I also like this step because it adds one more stitched barrier to keep that marble from escaping.
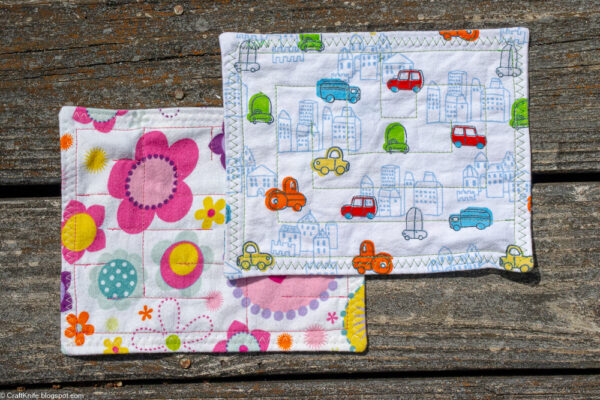
If you really want to go ham on making that barrier, you can even do a zigzag or other decorative stitch there. I did this on the finger mazes that I’m giving to my four-year-old niece, but I did plain edge stitching, in a thread color to match the maze path, on the ones for my teenagers. The straight line in the maze path color looks a lot nicer, too.
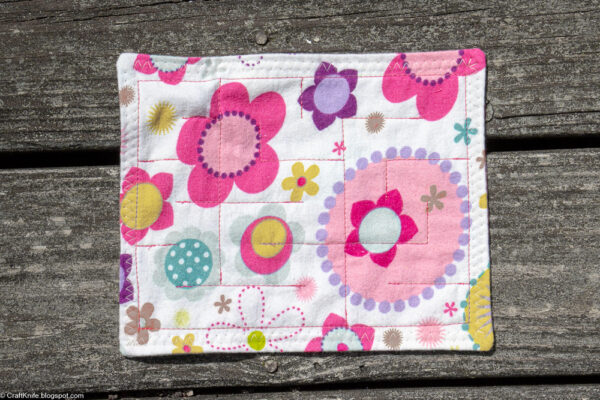
These sewn fidgets turn out quite well for something so simple! I like the 6″x8″ maze to give you something to really fiddle with, but I also make these as small as 4″x4″ and they’re still satisfying to play with.
Do you have a favorite DIY fidget toy? Tell us about it in the Comments!