

If people find out that you like to craft with recycled materials, they’ll start to give you stuff. I’m the happy recipient of a lot of people’s old clothes and cardboard and art supplies, and recently, I was given some really horrible chipboard embellishments from someone’s scrapbooking de-stash.
Really, they were awful. They were fakey little chipboard signs that said things like “Grandpa’s Fishing Hole” and “Easter Parade,” and you glue them in your scrapbook next to your photos of ducks in bonnets and little kids wearing overalls without a shirt on underneath, I suppose.
I have no use for tacky chipboard signs to glue into my non-existent scrapbooks, but I did have a need for some subject labels for a memory work display board that I was making for our homeschool. Fortunately, scrapbooking chipboard is really easy to repaint and embellish. Here’s how I did it:
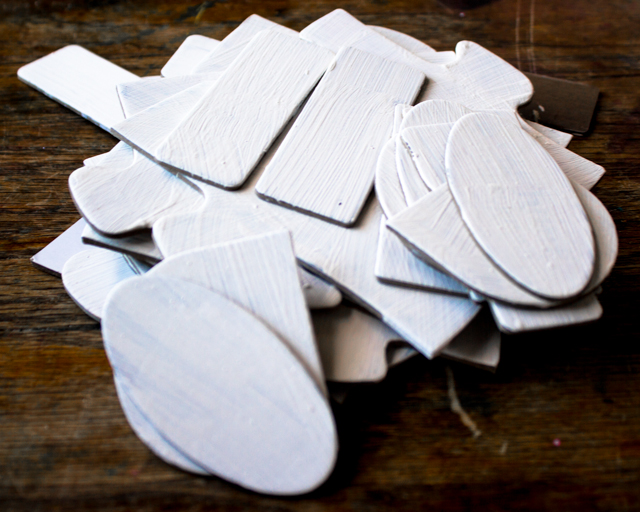
Gesso or prime the chipboard. I wanted to make sure that the paint would stick to the glossy surface of the chipboard signs, so I first put down a layer of gesso–you could also lightly sand the surface of the chipboard before doing this, if you wanted to be even more certain that the paint would stick. Primer would also work as a base coat, and, if you know that you’ll only need your embellished chipboard for a temporary project (such as Valentines made from puzzle pieces), then you can skip this first step altogether.
Next >>
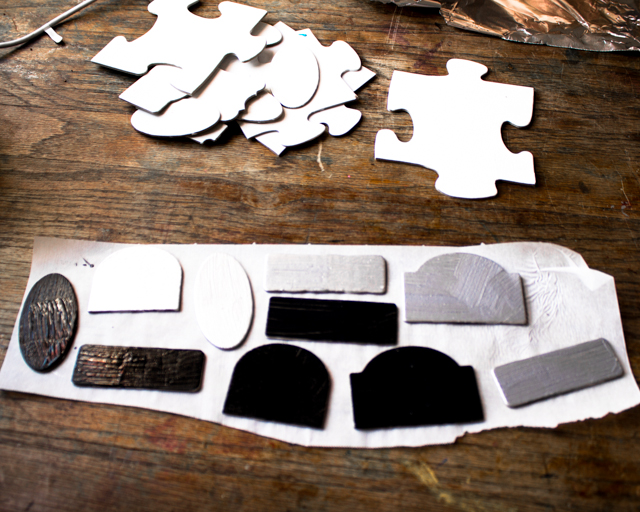
Repaint the chipboard. Once the surface has been properly prepared, you can use any paint to redo your chipboard. In the past, my girls have used tempera, craft acrylics, and artist’s acrylics, but in the photo above, I’ve repainted these chipboard signs using chalkboard paint and silver indoor house paint (to match my study, also painted silver).
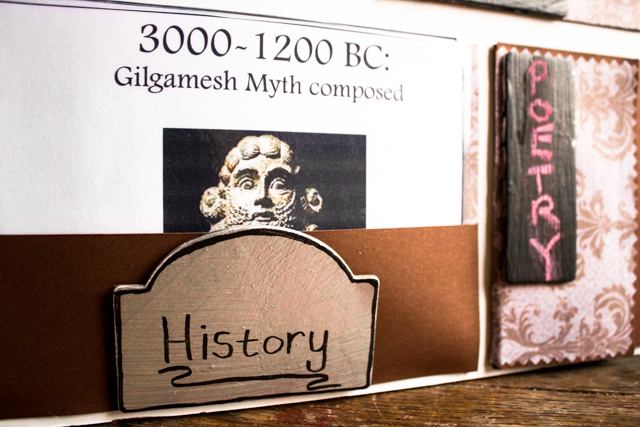
 Embellish. Once the paint on the chipboard is dry, you can bling it up as you wish. I don’t need a lot of fluff for my chipboard signs (and I’m not confident about how long this memory work display board will last in daily use by careless children), so I simply wrote labels in Sharpie over the silver paint. A more dedicated crafter, however, could add prettier labels using a paint pen or stamp, and embellishments like stick-on jewels or rub-ons, and other recycled materials like buttons or other cardboard cut-outs.
Could you even paint a super-cute duck in a bonnet on your new chipboard sign? You could!


Pingback: Crafting a Green World | Cardboard Constructions for Kids: Bigger Projects to Make Using More Upcycled Cardboard | Crafting a Green World
Pingback: Crafting a Green World | The home for green crafts and tutorials!