

My favorite plant markers are the simplest ones you could make–they’re just wood burned sticks! I’ve experimented with more decorative and elaborate plant markers over the years, and some of them ARE really fun to create and display, but I haven’t found anything more eco-friendly, easier to make and use, or sturdier than wood with a wood burned label.
These wood burned stick plant markers have no paint to fade, no glue to lose its adhesion, no sketchy materials to worry about leaching into the ground, no artificial substances that will sit around forever if I neglect to collect them from the garden! A nice, thick stick will stay serviceable for several years, it will never lose its contrast with its wood burned label, and when I’m done with it, it’ll happy decompose wherever I leave it, benefiting the soil as it does.
Supplies
To make your own wood burned stick plant marker, here’s what you’ll need:
- Stick. Look for a stick that’s around 1″ diameter, and cut it to lengths approximately 8″-10″. If you find the stick somewhere other than your own property, you might want to also bake it using the same method that you use with acorns. I might be the garden version of a helicopter mom, because I worry about introducing random fungi, parasites, or insects to my plants from outside sources, but baking will kill anything that grows.
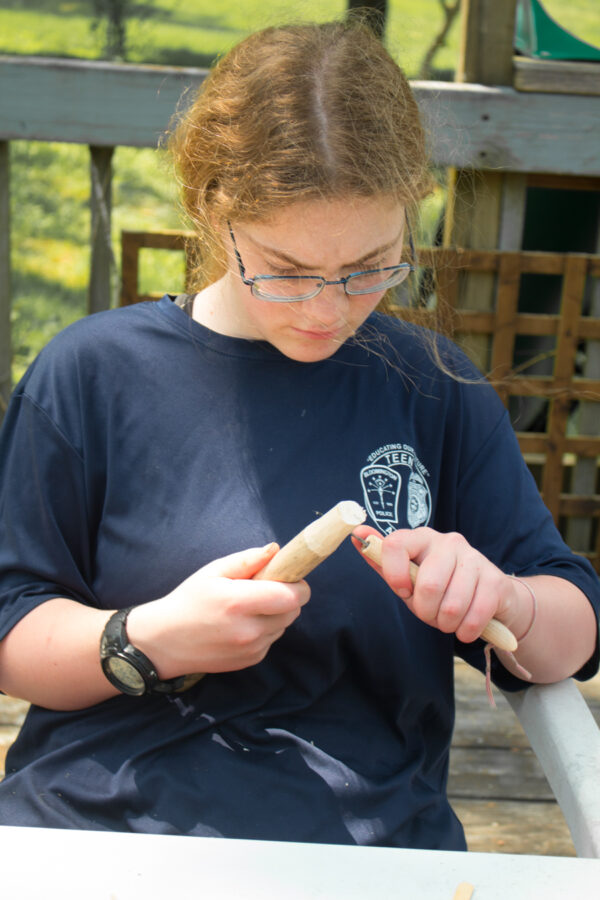
- Carving knife. You don’t need a full-on set of wood carving knives (although my kids and I use ours all the time!), but you do want some sharp knife that you can do a little whittling with. Don’t be scared, because it’s easy and fun!
- Wood burner. Wood burning kits are easily available and fairly inexpensive, but if you don’t see yourself using one often, it’s worth it to ask around among friends and family to find one to borrow.
Directions
1. Prepare Your Stick
Cut it to size, if you haven’t already, and peel the bark off if you prefer that look.
2. Carve The Stake
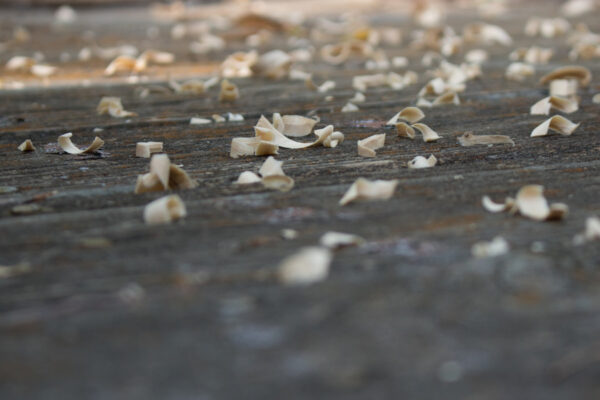
Choose one end of the stick to be the bottom, and use your carving knife to begin carving that end of the stick into a point. It’s pretty messy, so do this outside, and it’s somewhat slow going, so I highly suggest working your way through an audiobook or becoming obsessed with a podcast to help the time pass.

Eventually, though, you’ll have shaved that end down to a nice point. You don’t have to make the tip sharp, of course, unless you think it might be helpful to have some vampire-slaying stakes disguised as plant markers. I, personally, do find this helpful.
3. Flatten One Side For a Label
Use your carving knife to shave away one side of the top half of the stick, creating a flattened area for your plant marker’s label. This is a little trickier than carving the stake, but the good news is that this flattened area does not have to be at all perfect for you to be able to wood burn the label.
If you get really frustrated, you can cheat by using a palm sander and your most abrasive sandpaper to even out the surface.
I warned you that wood carving is messy!
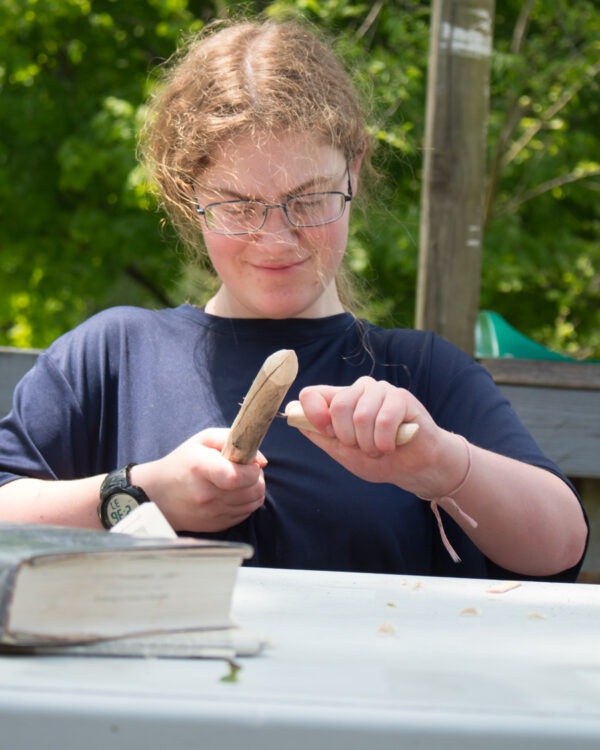
4. Wood Burn the Label
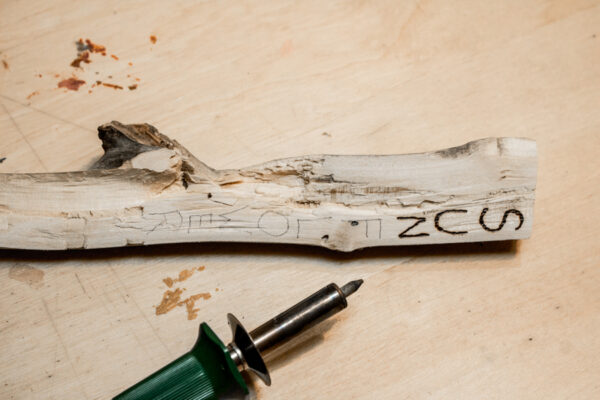
Follow the instructions on your wood burner to attach the appropriate tip and heat it up, then use it like you would an unwieldy sort of pen–it’s really that easy! Going slowly helps, and don’t be afraid to go over the same line a couple of times to make it deeper and darker. Try not to let the tip just sit in one spot, however, as that will add a large, burned blot to your work.
When your label is wood burned on, your plant marker is ready to go to work! Unlike most projects that you use outdoors, you don’t need to seal these plant markers; wood ages well and each plant marker will easily last several years in its spot before it needs to be replaced.
I like to place these markers next to my perennial plants, especially the ones that I don’t have confined to garden beds. My milkweed, for instance, tends to pop up late and likes to spread out, so a permanent marker to remind me where it keeps me from trying to put an annual on top of it.
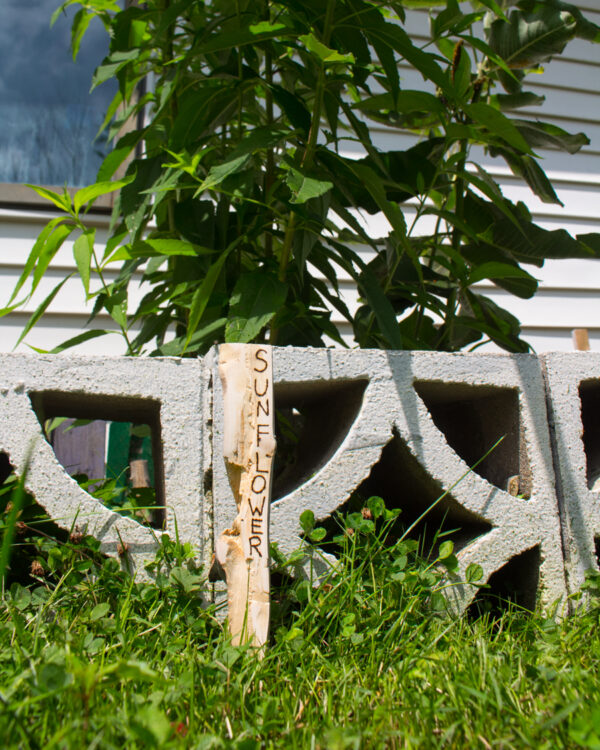
In the photo above, my brand-new sunflower plant marker is going to help me remember that I transplanted some of my perennial sunflowers into that narrow bed this year. They LOVE it there, but until they get tall and start to bud they tend to look kind of weedy, the poor dears, so that nice sturdy plant marker will (hopefully) keep me from absentmindedly pulling them next spring.
P.S. Not totally sold on my wood burned stick plant marker? Check out THIRTY other eco-friendly plant marker tutorials you can try!


