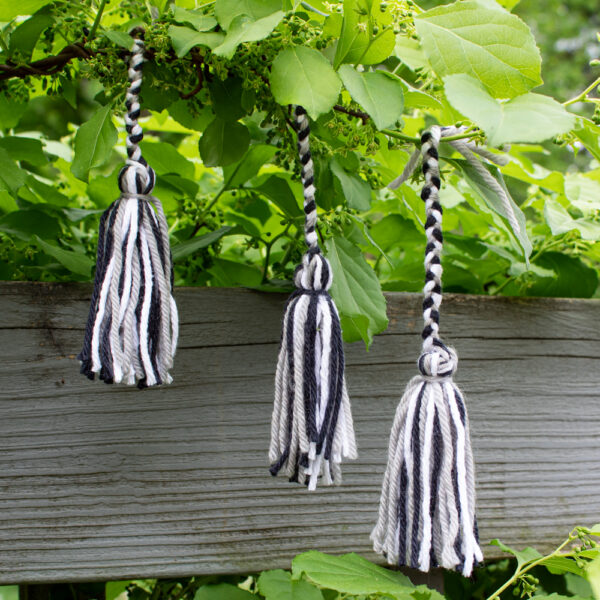
Whether or not you actually feel nostalgia for the summer camps of your youth, I think you’ll agree that there is something special about a casual, simple handwork project conducted en plein air. The day is fine. The birds are singing. The wasps are only very occasionally invading your space, and even then generally only if you’ve got a cup of bug juice at your side. And the project you’re working on feels good in your hands.
This DIY yarn tassel is the perfect outdoor craft when it’s beautiful outside, and also a pretty terrific indoor craft when outside sucks. It’s simple enough for a young kid, but the endless possibilities for variety and material make it a great craft for anyone with an artist’s eye, as well. And here’s how to make it!
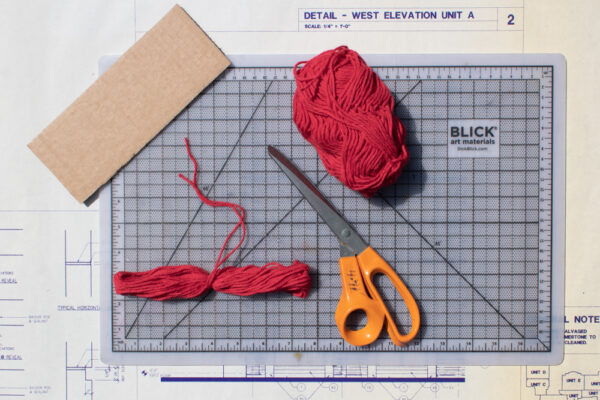
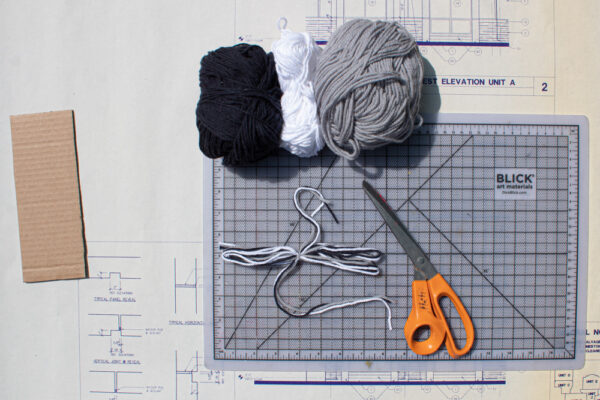
You will need:
- yarn. This project thrives on scrap yarn–even pieces less than 6″ long are useful. Since tassels are entirely decorative, you can also use yarn that you wouldn’t want against your skin (Hello, random old acrylic yarn that I obtained who on earth knows where!). If you’re buying new, however, I recommend cotton yarn.
- cardboard. Scavenge through your recycling bin for corrugated cardboard.
- scissors.
- additional embellishments (optional). I don’t get into it here, but you can add all kinds of cute embellishments to your tassels. Consider beads threaded onto the yarn, or ribbons, twine, or rope worked into the tassel.
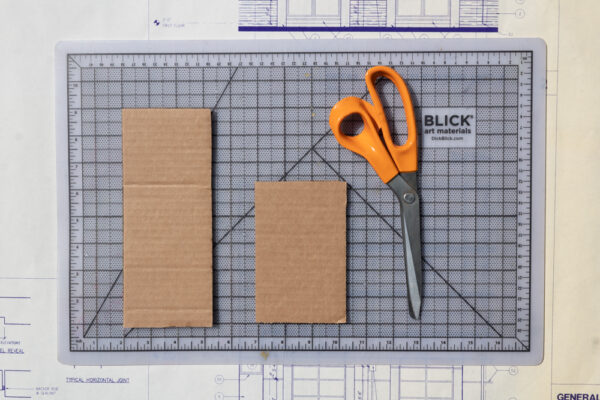
Step 1: Cut corrugated cardboard to size.
Cut the corrugated cardboard to a width of about 3″, and a height of about double the desired finished length of the tassel plus 1″.

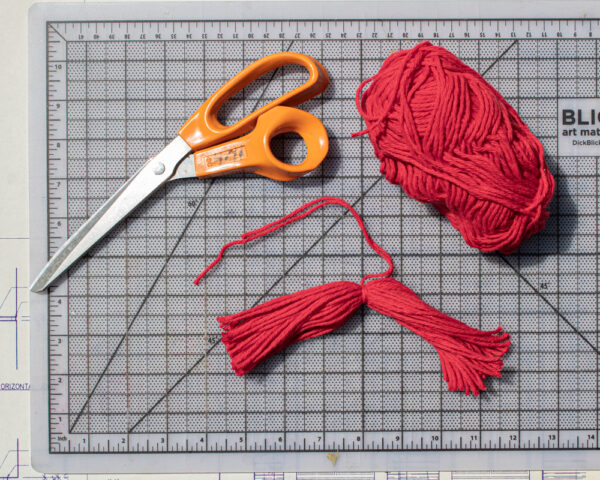
Step 2: Wrap the yarn.
Wrap the yarn around the cardboard SO many times. If you’re going for a specific look, you’ll probably want to play around with a couple of practice tassels to find the number of wraps that works best. On my first try at these specific tassels, I wrapped my yarn 50 times. It gave me an adorably fat and fluffy tassel that wasn’t what I wanted, although it IS the cutest tassel in the world.
Next time, I tried wrapping the yarn only 25 times. I got the perfectly streamlined and leggy tassel that I was wanting. But my tassels are only 4″ tall when finished! A larger tassel will need more wraps to make it look proportional.
Material choice also affects the thickness of your tassel. The cotton yarn I’m using is worsted weight, so go lighter or heavier than that and you’ll have to make more adjustments.
Cut the yarn, then slide the loops together off of the cardboard. Cut another length of yarn at least 12″ long, and tie it around the middle of the gathered loops. The tails of this piece of yarn will become your tassel hanger, so adjust as needed to get the hanger length that you desire.
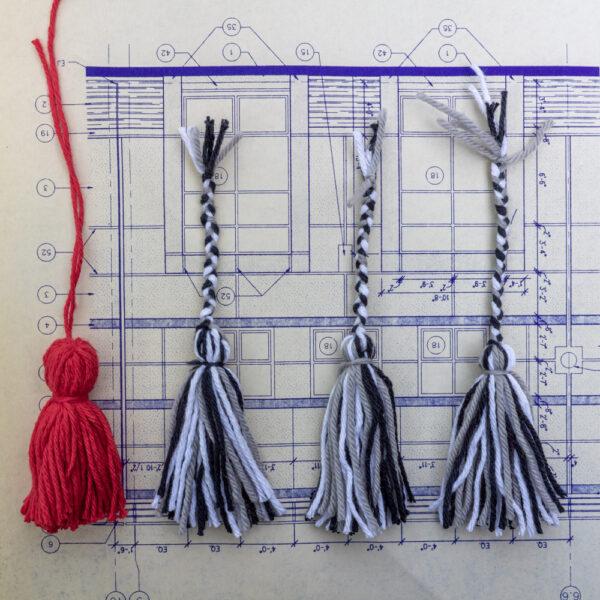
In the photo above, you can see that I made some of my tassels using three separate colors of yarn. Treat multiple strands as if they were one, wrapping and cutting them together. Use your division skills to adjust the number of wraps that you make; I wrapped these three strands of yarn 9 times instead of 25, because 9 times 3 is 27!
Step 3: Form the tassel.
Once the middle is tied securely, cut all the loops.You get bonus points if you can cut all the loops in one go, because I always find a couple of loops that I missed the first time around and I have to go back and cut them later.
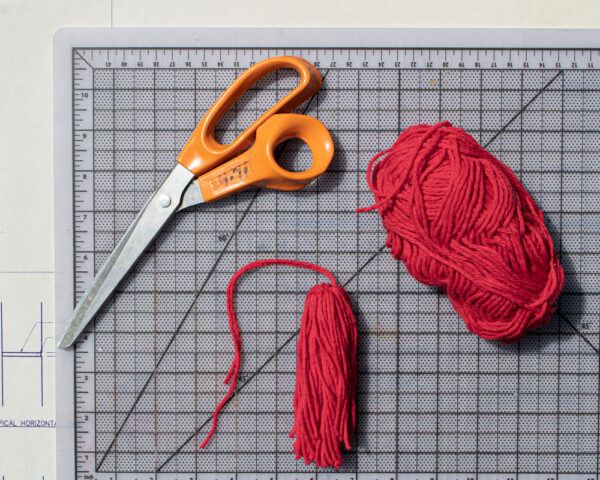
That middle tie is actually going to be the top of your tassel, so fold the tassel in half, then adjust the yarn pieces that are folding over the top of your tie so that they cover it completely and are evenly arranged. Bring the tails of the hanger yarn up to the top, and readjust the yarn pieces to hide the places where they poke through.
Cut another piece of yarn about 2.5 times the length of your tassel. Use it to tie off the top, securing the yarn and maintaining the tassel shape. I tied my 4″ tassel off about .5″ from the top, but where you tie your tassel will depend on how long it is. You’ll probably want to eyeball it to make sure it looks proportional.
Wrap the tie snugly around the tassel a couple of times, then secure it with a square knot. The tails of this tie can hang down to join the other tassel pieces.
If any pieces of yarn don’t look even at the top, you can gently pull on individual pieces from the bottom to tighten them up.
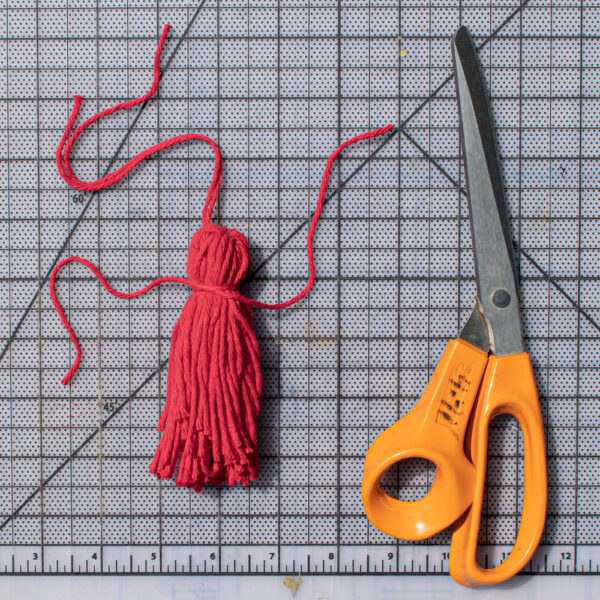
Step 4: Trim the tassel and finish the hanger, if necessary.
Give your tassel a haircut so that all the cut ends are even, because they definitely won’t be after folding half of them over that tie!
How you finish the yarn hanger depends on what you want to do with your finished tassel. Leave the hanging pieces as they are, or use a tapestry needle to thread more yarn through the top so that you can braid a thicker hanger.
Next, go decorate for summer by hanging tassels on everything that you can reach!