
Need an extra pillowcase or two? Make your own with one of these handmade pillowcase tutorials!
It is possible that the people in my family are greedy pillow hogs, but store-bought sheet sets NEVER come with enough pillowcases for us!
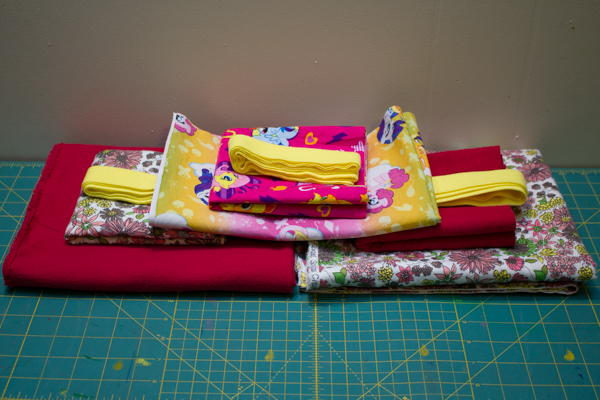
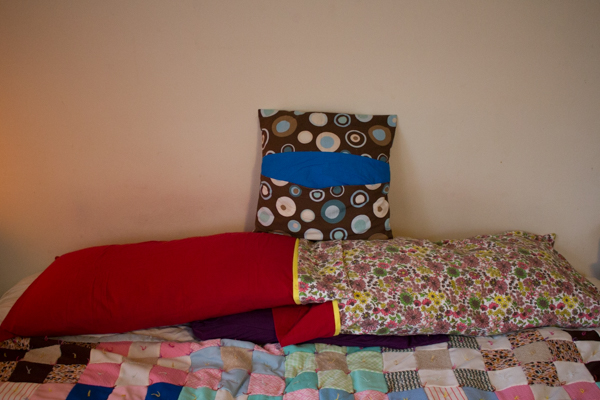
That’s why, after I bought two new sheet sets for my bed (bringing the total number of sheet sets that I own for this bed up to two… long story), I immediately had to turn around and sew two new handmade pillowcases for it.
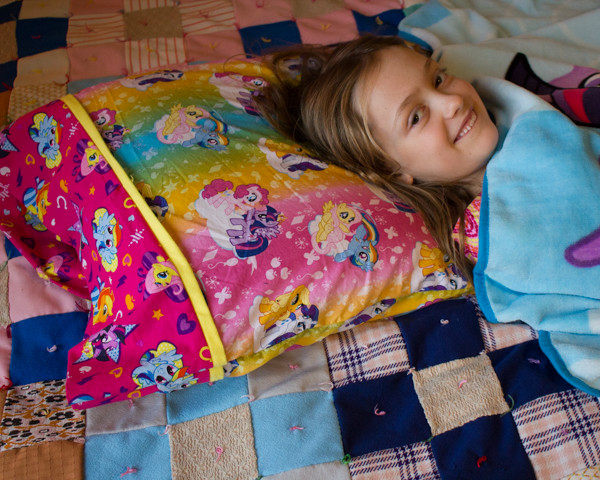
And if I’m sewing something for myself, then you know that I’m also going to have to sew that same thing for at least one of my kids–the younger one, in this case, because I knew that I had that My Little Pony fabric in my stash for a reason!
Three homemade pillowcases later, and I am now a loyal devotee of the “magic pillowcase method.” Also known as the burrito pillowcase, this is THE method that you should use to make a pillowcase. It’s quick. It’s easy. And it utilizes a mind-boggling magic trick that with one seam adds the pillowcase’s cuff and trim AND ENCLOSES THAT SEAM!
Magic. I swear. To make your own magic pillowcase, check out the pillowcase tutorial that I used from The Twiddletails Blog. Also check out the following mods that I made that I think make this project even easier:
- The tutorial asks you to cut your trim fabric to 1.5″ wide. I, however, use a ruler that’s 2″ wide, so I simply cut the trim to the width of my ruler. Super easy, and I think the slightly wider trim looks super nice.
- The tutorial asks you to cut the body fabric down to the correct width before you sew on the cuff and trim, but not that cuff and trim fabric; you trim those two pieces to the correct width after you’ve attached them to the body fabric. Instead, I left all of my fabric the full width, and trimmed everything to size after I attached body, cuff, and trim. This saved me a step, and ensured that all my pieces were perfectly lined up.
After you make yourself a complete set of magic pillowcases, check out these other handmade pillowcase tutorials!
8 More Handmade Pillowcase Tutorials
1. basic pillowcase. Here’s a regular pillowcase tutorial, without the magic.
2. envelope pillowcase. This is the perfect pillowcase for a decorative pillow, or a square one.
3. pillowcase that keeps the pillow secure. No matter how restless you are, your pillow won’t work its way out of this pillowcase!
4. pillow updates. From our sister site Feelgood Style, here are even more ways to make your pillowcases look and feel new.
5. pocket pillowcase. The little attached pocket is the perfect size for a book, a stuffed animal, or a tooth.
6. reversible pillowcase. This is an efficient way to sew a pillowcase that matches two different sets of sheets.
7. road trip pillowcase. This pillowcase has a large pocket and a carrying handle, so that you can tote all your toteables.
8. ruffled pillowcase. My grandmother made me one of these for my bed when I was a kid. Every kid’s bed should have one.


