
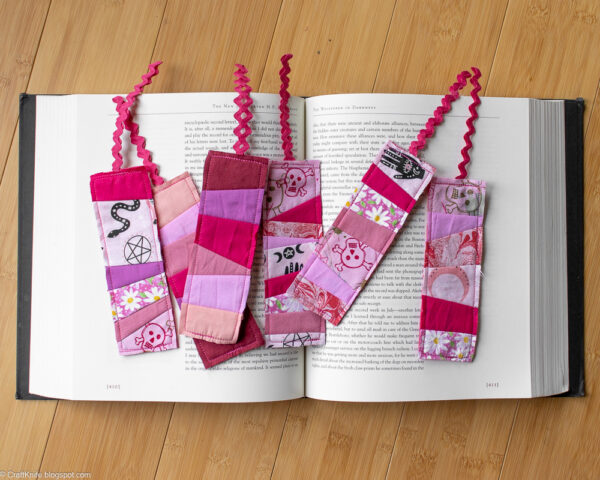
Use up your scraps while making this cute and useful quilt as you go scrappy bookmark!
Y’all know how much I love myself a DIY bookmark! So when I decided that I wanted to give out a few Valentine’s Day gifts this year, it wasn’t hard to settle on these as my gift. I’d just spend a few minutes sewing each one, swing by the Half-Price Books Outlet and pick out a book each person would like, add in a little store-bought candy, write a note, and just like that, Valentine’s Day is won!
Tangent: it would have been cool if I’d decided to send out Valentine’s Day gifts more than 26 hours before I absolutely needed to put those gifts in the mail, but whatever. A manufactured emergency caused by procrastination happens to be my crafting sweet spot!
Being as I had a few hundred other things I needed to accomplish in that 26-hour window, ahem, I made the quickest and easiest bookmarks I could think of. Coincidentally, they’re also the absolute cutest, and happily, they’re also made ENTIRELY from scrap! I love how sewing with scraps lets me revisit my favorite fabrics in new scenarios. I am down to less than a fat quarter of that super cute pink skulls fabric, and so far there has not been a single square inch wasted.
The quilt as you go method is a terrific way to sew extremely quickly, and combined with how small these finished products are, you’ll be surprised at how soon you have an adorable bookmark in your hands. They sew up so quickly that I always make tons extra, because otherwise it’s barely worth the time it takes to set up my sewing machine!
Supplies
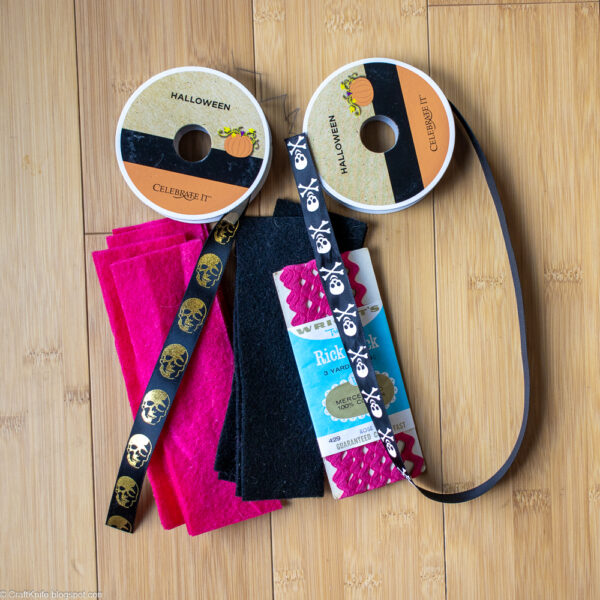
Here’s what you need to make your own scrappy bookmarks:
- backing fabric. I like something a little heavier/stiffer with no stretch for this. I used scrap Eco-fi polyester felt, but I also like denim, canvas, and interior design fabrics.
- front fabrics. Quilting cotton works best. I really like combining fussy cut novelty prints with solids, but you should do you!
- ribbon. I considered a few different ribbons, but then I discovered an entire package of vintage rickrack hiding in my bias tape bin!
- cutting/sewing supplies. Among other miscellaneous supplies, I used a gridded quilting ruler, a rotary cutter, my sewing machine with a universal needle, and a seam roller.
Step 1: Measure and cut the backs and the ribbon.
I think 2″x6″ is the perfect size for a bookmark, so I cut my felt to that size.
I eyeballed the rick rack, but all of my pieces were about 10″ long.
Step 2: Begin the quilt as you go method.
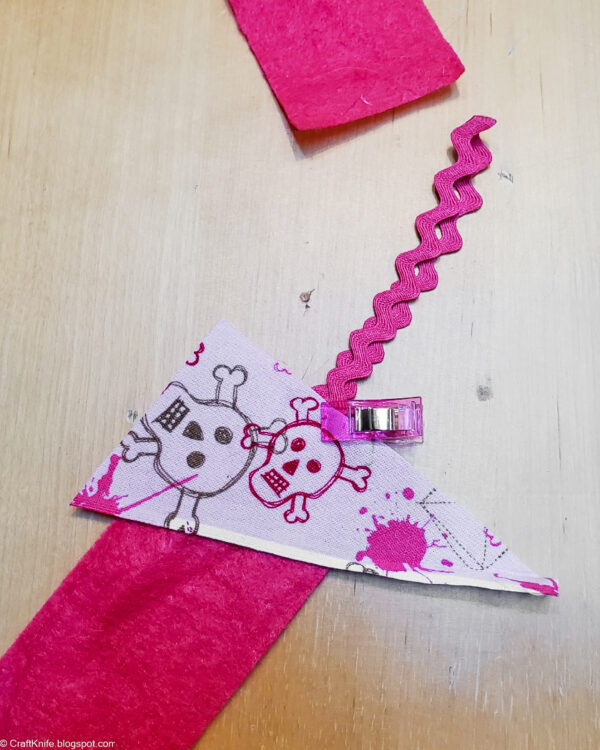
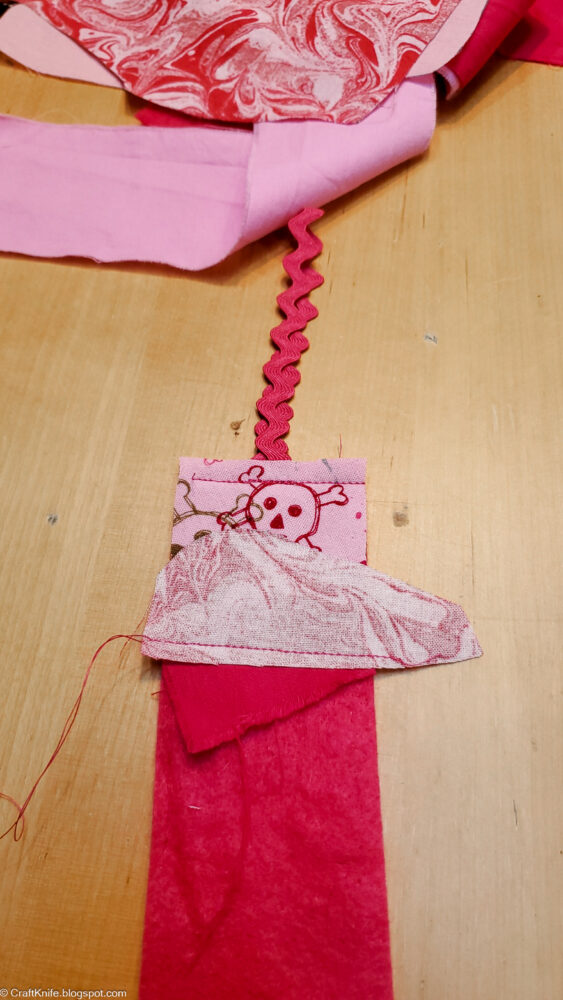
Fold the ribbon in half and place it towards the top of the backing fabric, with the ends overlapping the backing fabric by at least 1″ and the loop coming off the top.
Choose your first fabric scrap and place it at the top of the bookmark, sandwiching the ribbon between the fabric scrap and the back. I like to line up the top of the scrap with the top of the back to save myself trimming it later.
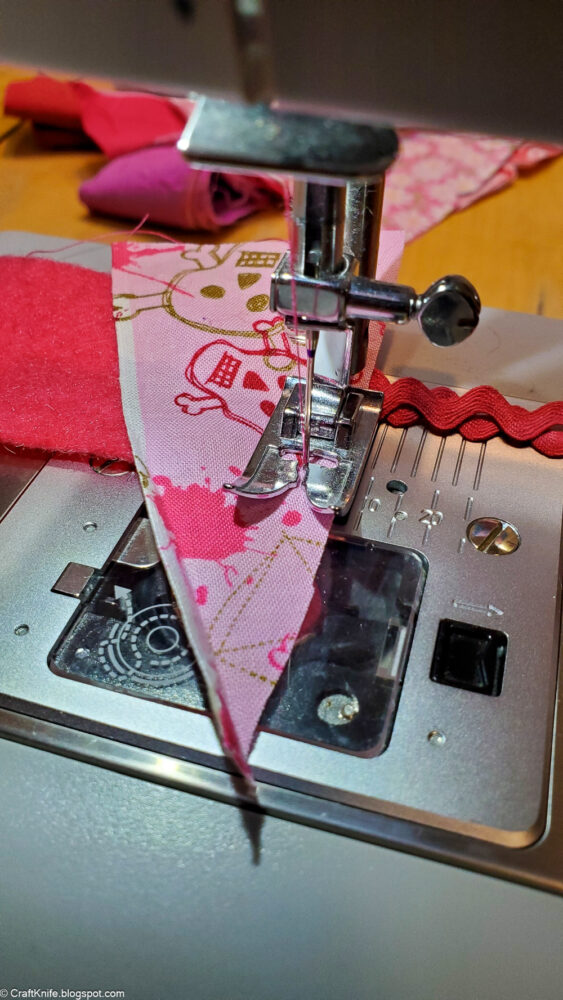
Stitch across the top of the bookmark, backstitching over the ribbon. You can stitch off the bookmark back on both sides, as you’ll definitely be trimming that extra scrap fabric away. Don’t worry about backstitching, because you’ll edge stitch this entire bookmark later, and that will lock these stitches.
Step 3: Continue to quilt as you go.
Choose another fabric scrap, and place it right side together with the first scrap. Stitch across the bookmark to sew it down.
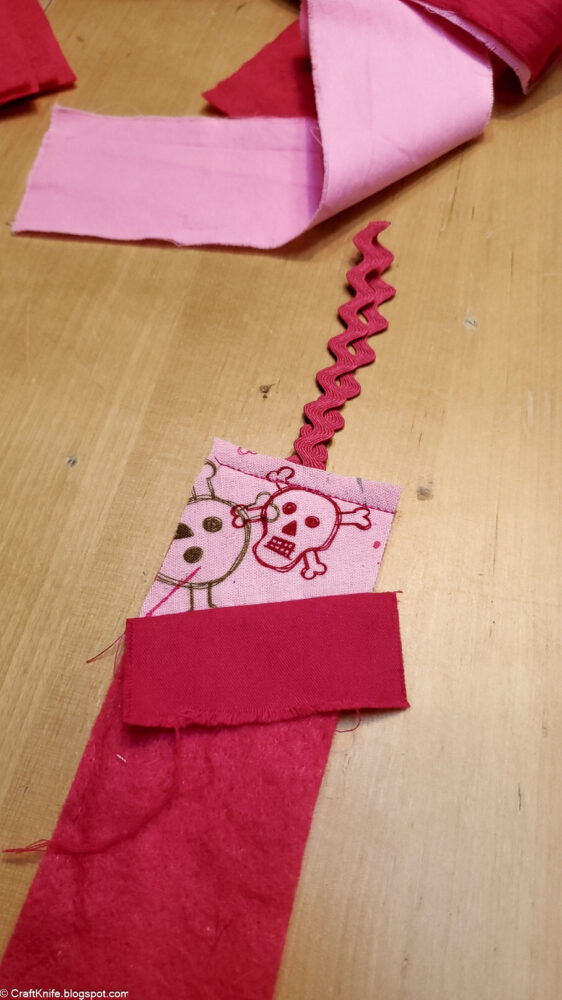
Fold the scrap fabric back so that the right side faces up and the seam is hidden, then press down with the seam roller or an iron (don’t forget to lower your heat if you’re also sewing with felt!). If you prefer, you can trim the excess fabric away every time you sew a new scrap, or you can wait and trim the entire bookmark at one time.
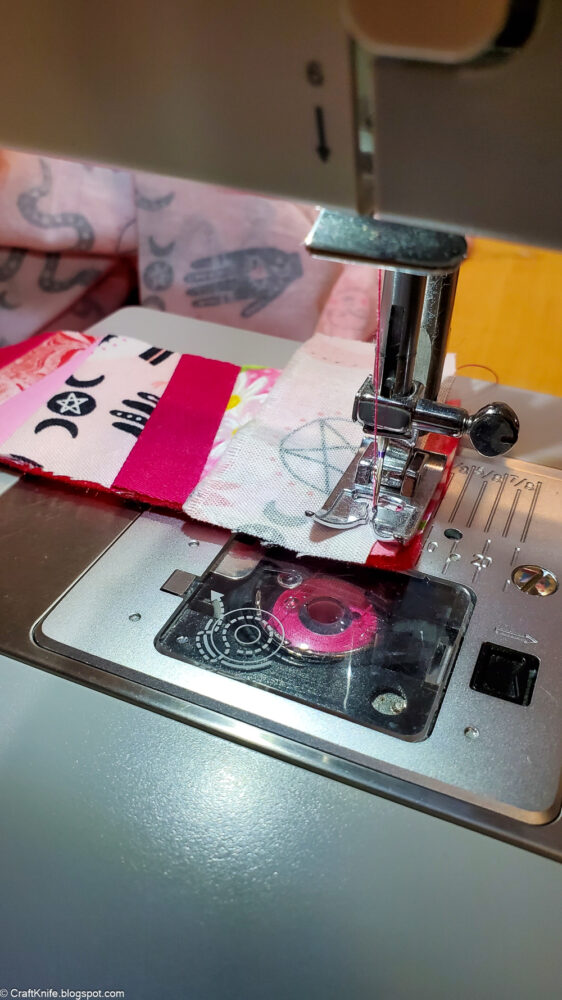
Continue to add new scraps to the bookmark by placing them facedown on a previous scrap, sewing them together, and then unfolding and pressing. Feel free to play with your placement by setting scraps at fun angles, and to fussy cut novelty prints to show off your favorite elements.
Step 4: Edge stitch to finish the bookmark.
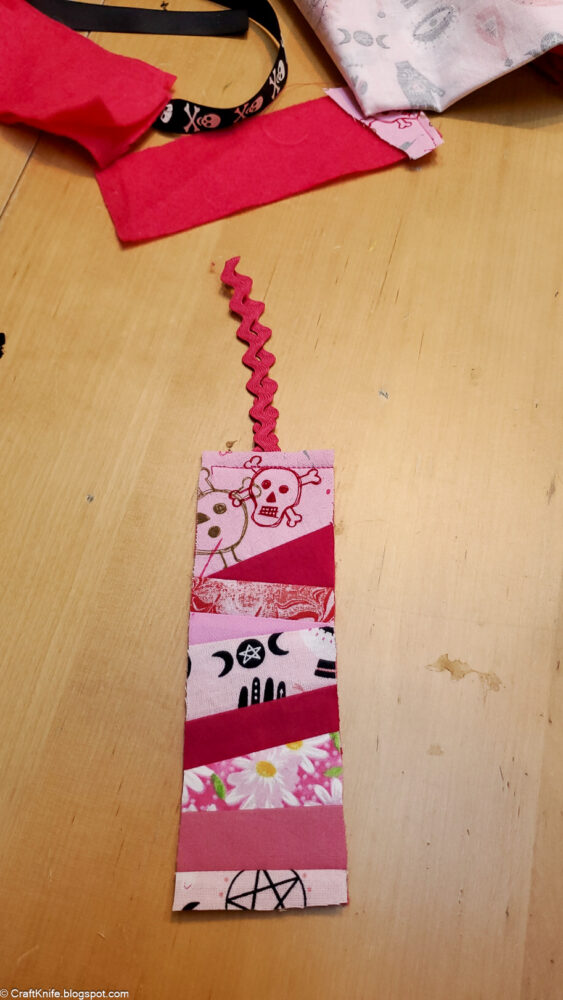
When you’ve covered the entire bookmark back with quilted fabric, edge stitch around the perimeter of the bookmark.
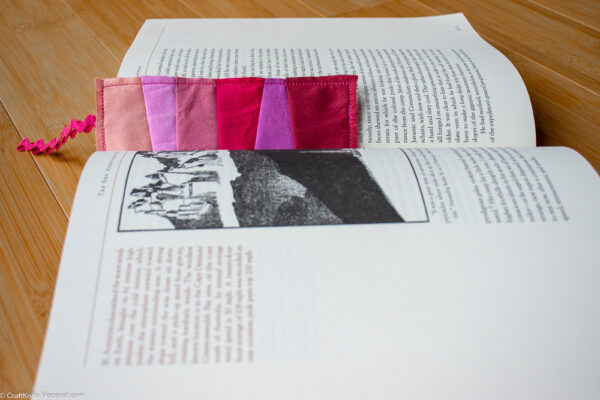
My favorite thing about these particular bookmarks is how easy it is to make them all look completely different. I didn’t think I even had that many pink fabrics, but look how many different pink bookmarks I made!
I’m already mentally compiling my list of green fabrics that I might have kicking around my scraps bin, because don’t you think that all the kids in my Girl Scout troop would also love their own quilted bookmark as a Bridging gift?


