
Enlarging an existing pattern by a fraction of an inch is a pretty common thing to have to do. Sometimes a pattern won’t have the seam allowance that you want, but usually you need to do it when you’re copying an existing article of clothing.
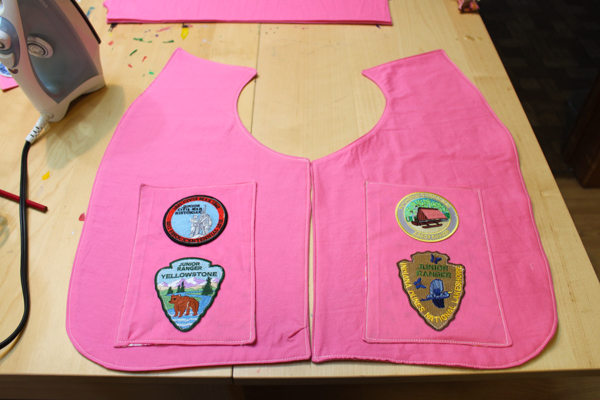
For instance, to make my daughter’s Junior Ranger vest, above when it was still a WIP, I copied her Girl Scout vest. That gave me the footprint of the completed vest, sure, but I still needed to add the seam allowances. Therefore, I needed to enlarge the pattern on all sides.
That’s easy enough to do on the straight sides, but what about the curves? I don’t have much of a steady hand for drawing, and I don’t like the look of wobbly, hand-drawn patterns anyway.
Fortunately, there IS a method for drafting a curve onto a pattern that is steady, accurate, and fool-proof. Here’s how you do it!
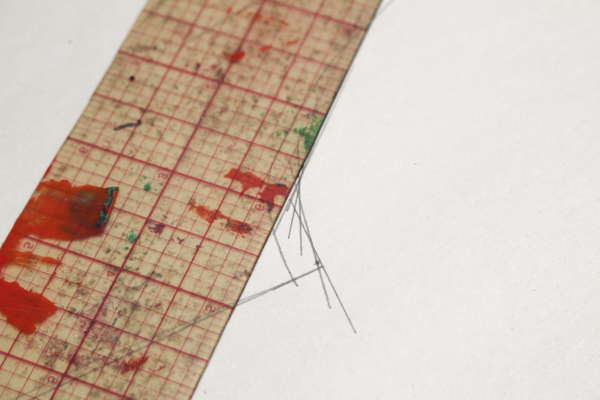
1. Extend the line from each adjacent side of the curve to the proper seam allowance. In these photos, I’m extending my seam allowance by .25″. In the photo above, see how I’ve extended the line from the adjacent side by .25″? That’s where my new curve is going to end on each side.
2. Rest your transparent ruler against the drawn curve, so that the straight edge represents your desired measurement. Draw one short, straight line there. Move the ruler slightly down the curve, and repeat. Do this over and over and over again until you’ve done this down the entire curve. You’ll see that all of your many straight lines will, at their intersection with each other, mark out your new curve.
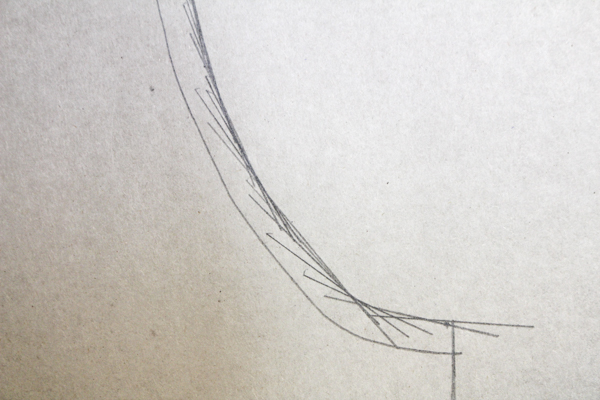
3. Re-trace the curve and neaten it. I usually trace over my finished pattern in Sharpie, then label it with the size and sewing instructions before cutting it out.

When drawing a pattern from scratch, you’ll find a French curve indispensable for making those curves, but for enlarging an existing pattern or creating seam allowances, this method is the most accurate for preserving the original cut of the piece.


That’s a lot of work! I just use a cheapie compass set to the width I need. The point goes on the line, the pencil draws the new line. I’ve also seen people tape 2 pens together.