Whether you’re refurbishing a kid’s hand-me-down building blocks for a new generation, or adding new interest to a current toy, painting building blocks is an excellent way to turn an old toy into something brand-new and exciting.
It can also increase a toy’s educational value! Children are born pattern seekers. Practicing pattern recognition and creating their own patterns are prerequisites to unlocking reading and math. Painting blocks in such a way as to allow children to also match and organize and pattern with colors helps them build not just awesome towers, but also sophisticated mental faculties for matching and organizing and pattern.
But mostly, creatively painted building blocks are just really, really, really fun!
Here’s how to give old building blocks a second life with just paint and your imagination:
You will need:
- building blocks. Thrift them, dig them out from the back of your closet, or buy them new. No affiliate link here, but when my kids were little I regularly topped up their block collection via Barclay Wood blocks, usually through seconds and their scrap boxes. Feeling super handy? DIY your own building blocks from scratch!
- paint. For this project, I used water-based professional-quality acrylic paint, specifically this exact set. If you paint often, I highly recommend finding the best quality brand you can afford and then staying loyal to it, rather than mixing and matching various brands and types. Primers and glazes and glues can react differently to different paints, and I’ve had a lot fewer unexpected reactions since I started staying brand-loyal. For detail work, I like Arteza paint pens, also water-based acrylic. To stain wood, use liquid watercolors.
- sealant. Unfinished wood and unsealed paint picks up dirt and oils like you would not believe, so unless you plan to regularly wash your blocks, I recommend sealing them with a water-based polyurethane sealant. The sealant itself is not an eco-friendly material, but it IS a material that will keep your project heirloom-quality and extend its lifetime, so it’s often a worthwhile compromise.
Step 1: Clean and refurbish any old or second-quality blocks.
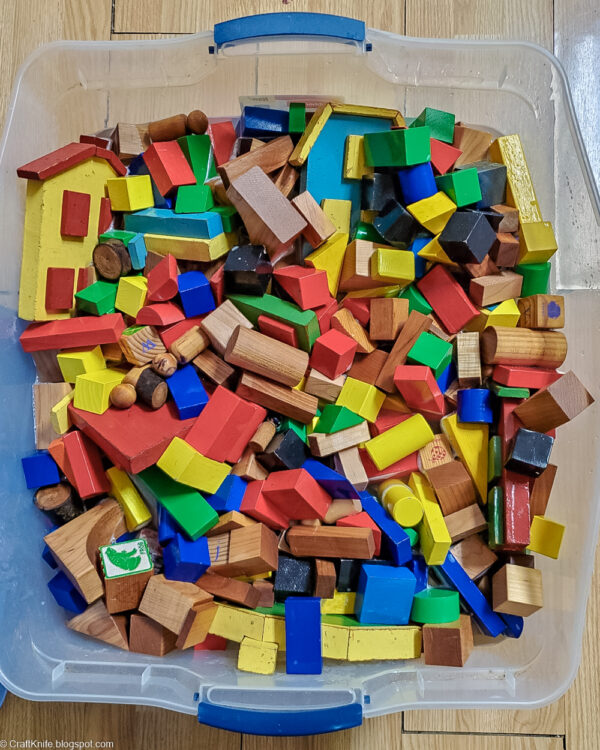
I have a whole tutorial showing you how to clean and refurbish building blocks here! This should be your first step when preparing to gift a kid a set of thrifted or hand-me-down blocks, regardless of whether or not you plan to paint them. It’s also a good process to undergo every few years that blocks are played with. Even second-quality blocks bought new will need some of this, as they’ll usually have some edges that need to be sanded and corners rounded.
When you have squeaky clean, smoothly sanded, rounded-edge blocks, you’re ready for Step 2!
Step 2: Mark off a design (optional).
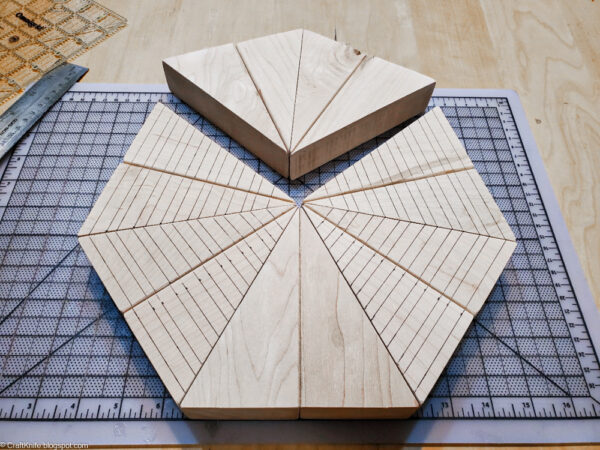
You don’t need to do this if you’re freehanding a design or painting an entire face a single color, of course. But if you’re going for a specific design, mark it before you paint.
My go-to tool for marking a design is a Frixion heat-erasable pen. These Frixion gel pens work well on unfinished wood. The color is very dark, which is great for my nearsighted self. Also, you can paint right over the pen marks. Just run a heat gun over the pen marks and they will disappear–even if you’ve painted over them! Depending on the darkness of the wood, I sometimes notice a faint white line. However, it’s so faint that you have to practically put your nose to the wood to see it.
Step 3: Paint!
This is the fun part!
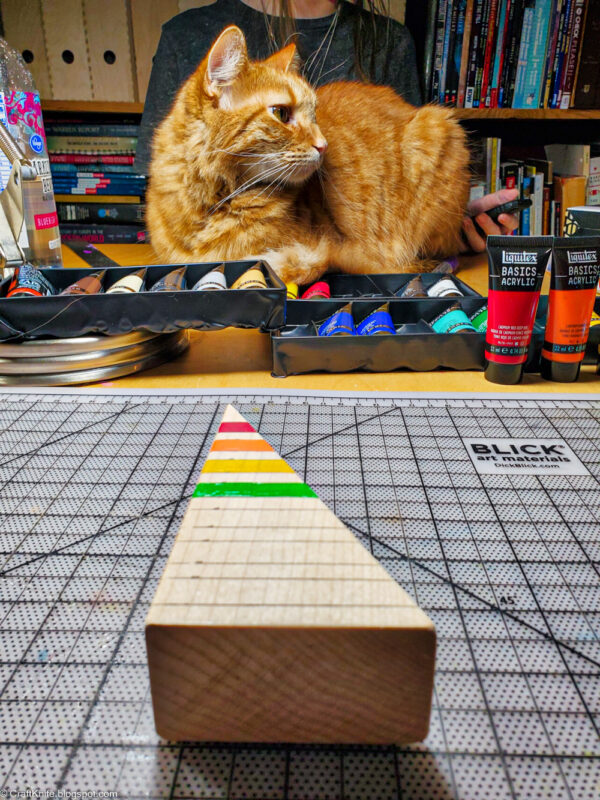
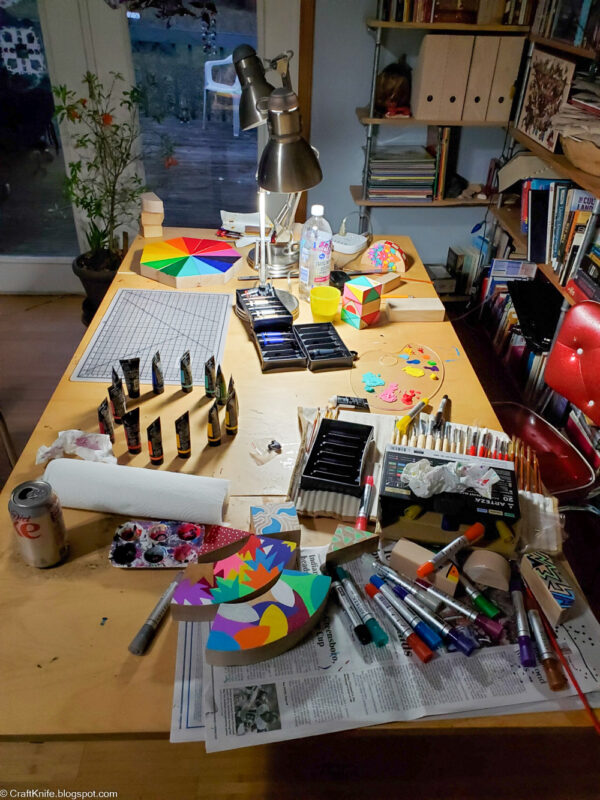
Make yourself a comfy set-up for a painting marathon and then settle in for a quiet evening of creativity. Some tools that you might find handy include those Frixion pens, a gridded mat, a quilting ruler, and various templates or reference pictures.
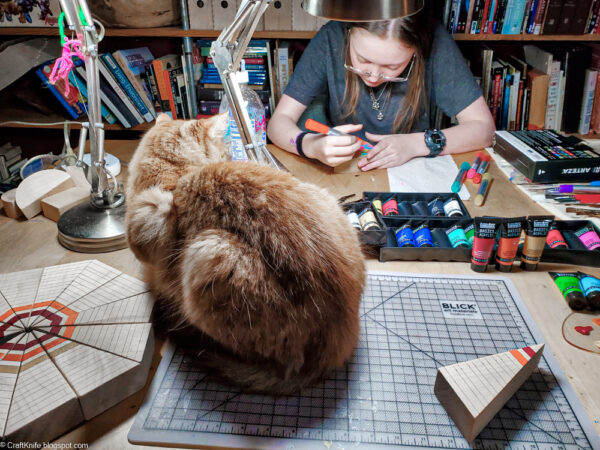
And a cat, of course. It’s impossible to do anything worth doing if there isn’t a cat present.
Let each face of the building blocks dry completely, according to the paint manufacturer’s specifications, before you rest it on a surface so you can paint the opposite face.
Step 4: Seal the blocks (optional).
Again, it’s not required, but sealing the blocks with a water-based polyurethane sealant will increase their longevity and allow them to be played with without worrying about the paint chipping off.
I give blocks like these at least two coats per side, letting the polyurethane dry for at least two hours between coats. It takes at least three days, generally, for the polyurethane to be ready for light play after the final coat. Depending on your polyurethane brand, it might be even longer.
But when the sealant is completely cured, the blocks should be sturdy enough for all the wear and tear and semi-rough handling that a child-staffed tower construction crew could possibly provide.
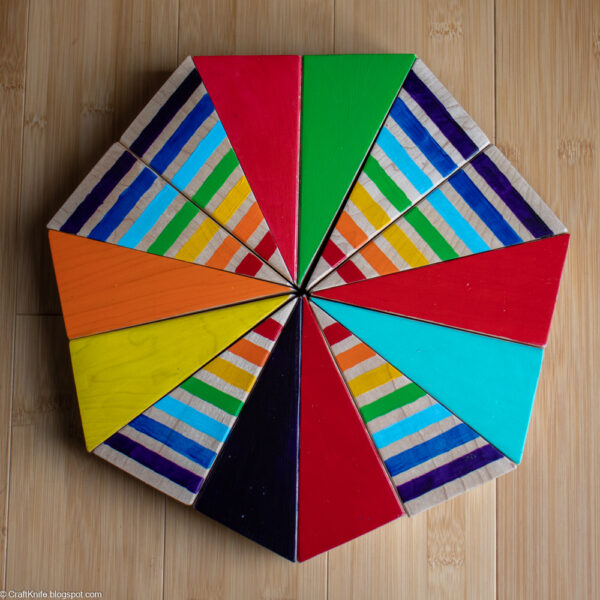
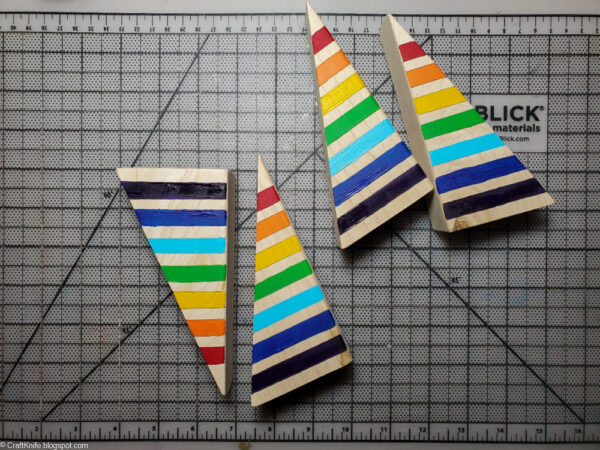
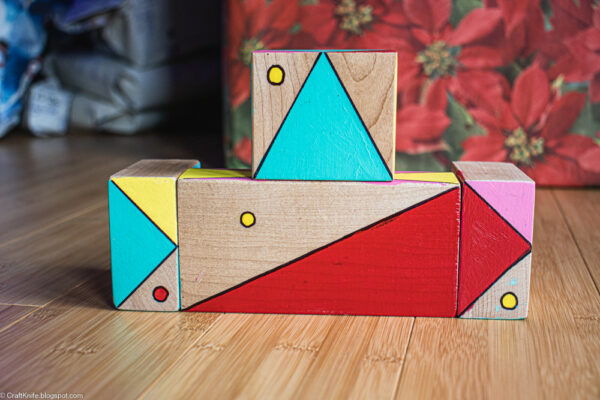
Regarding this particular set of building blocks refurbished from some of my teenagers’ childhood stash, I painted a series of Montessori-style constructive triangles in rainbow colors on one side and as a color wheel on the other. One of my teenagers painted a series of Mary Blair-inspired blocks (some of which are pictured above). My husband and other teenager are less theme-driven, so they just enjoyed painting their blocks without having to instill an overarching theme, if you can imagine such a thing.
Combined with a few precious blocks handmade by the children’s great-grandfather and passed with reverence from one child to the next across the generations, they made an awesome, eco-friendly, heirloom-quality gift for the toddler who’s next in line to steward Grandpa Bangle’s blocks.