
Short of wearing chaps, what can one do to permanently solve the issue of those blankety-blank-blank rips that always happen in the inner thighs of your favorite jeans?
I mean, until the Supreme Court comes for the last ragged shreds of my body autonomy, I do still have ownership over my thighs. And those thighs have a terrible habit of absolutely shredding my jeans when I walk. I’ve tried numerous solutions over the years, but my current all-time favorite solution essentially consists of…
…well, just giving my thighs MORE jeans to shred! Reinforcing that entire thigh area, both the rip and the surrounding real estate, with a denim patch, as well as quilting the snot out of that patch, stops the rip. It also stabilizes the area, so that more weak fabric can’t give way. And it adds an additional layer of fabric for your thighs to wear away at. It’s so much fabric, in fact, that I’ll be VERY surprised if your thighs can ever again work their way all the way through it.
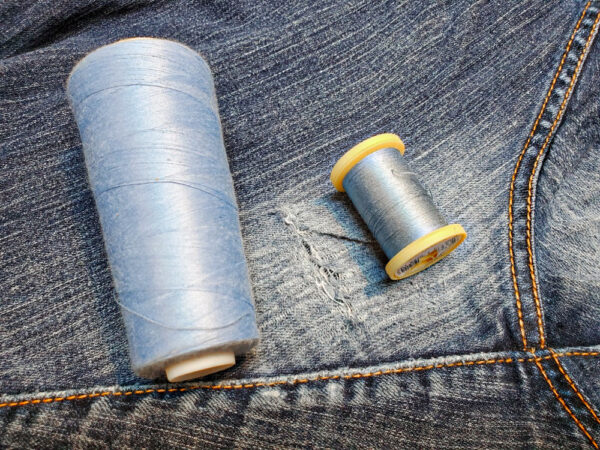
To forever fix the thigh rip in your favorite jeans, here’s what you need:
- matching thread. The inner thigh of your jeans isn’t super visible in most circumstances, so you don’t need to get too precious about matching the thread. But if you do get a good match, your mend will be nearly invisible!
- scrap denim. Choose a good piece of denim from your scrap stash. You want one that will cover the rip and the real estate around it–the more real estate, the stronger and longer the repair!
- measuring, cutting, and sewing supplies. A good denim sewing needle is the most important of these.
Step 1: Prepare the rip for mending.
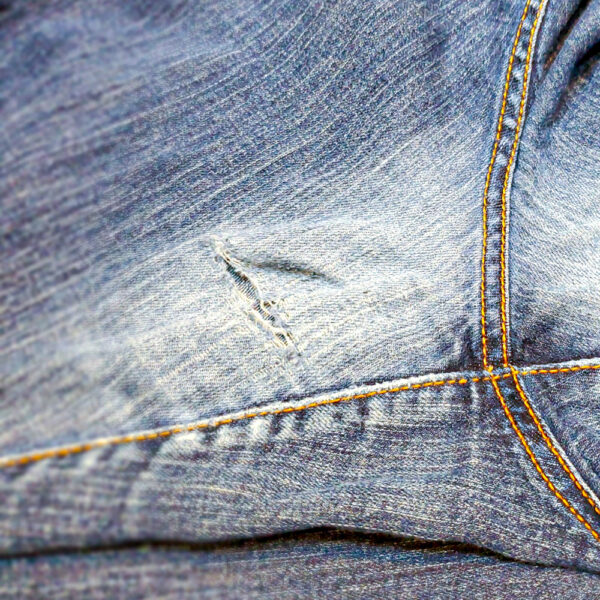
At the minimum, you’ll want to cut any loose threads hanging off of the rip. If the rip is very large, you may want to baste the sides together using your matching thread. The above rip is small enough that I’m just going to leave it as it is.
If you’ve worn your jeans out and about with that weak part for a while, and especially if you’ve been living with the rip for a while, you might find that the fabric is stretched out in that area. Thighs just wanna thigh! Ironing the area on hot might help you recondition the fabric. You also may just have to plan to work with it.
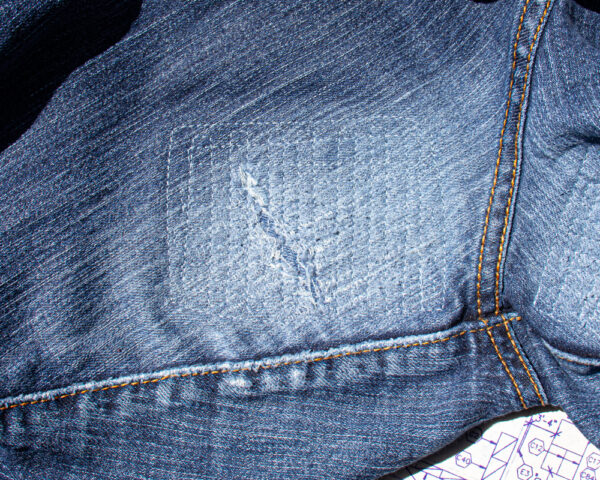
Step 2: Measure and pin the patch.
Cut a patch from denim that roughly matches your jeans, because it’ll likely show through a bit. I like to cut my patches rectangular, with rounded corners, to make them the easiest to stitch.
Notice in the photo above that I tried to size my patch to cover nearly all of the worn area, made visible from the color change. If your patch isn’t large enough, you run the risk of getting future rips right where the patch ends.
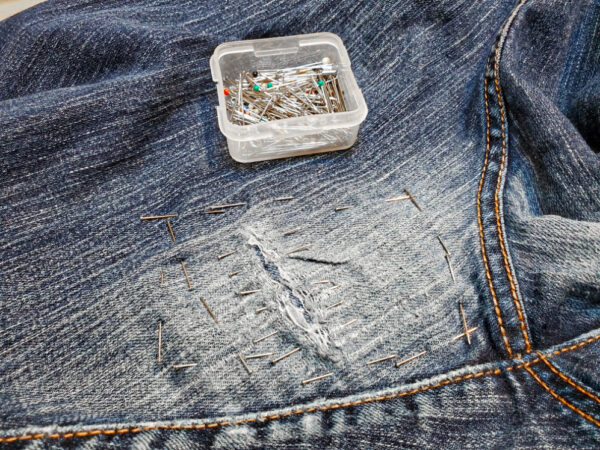
Move the patch to the wrong side of the fabric, and pin it in place. I like to first pin it to the ripped section, using the pins to also stabilize and close the rip. Then, I pin the entire perimeter of the patch in place. I don’t want it to shift AT ALL as I’m sewing it.
Step 3: Sew and quilt the patch.
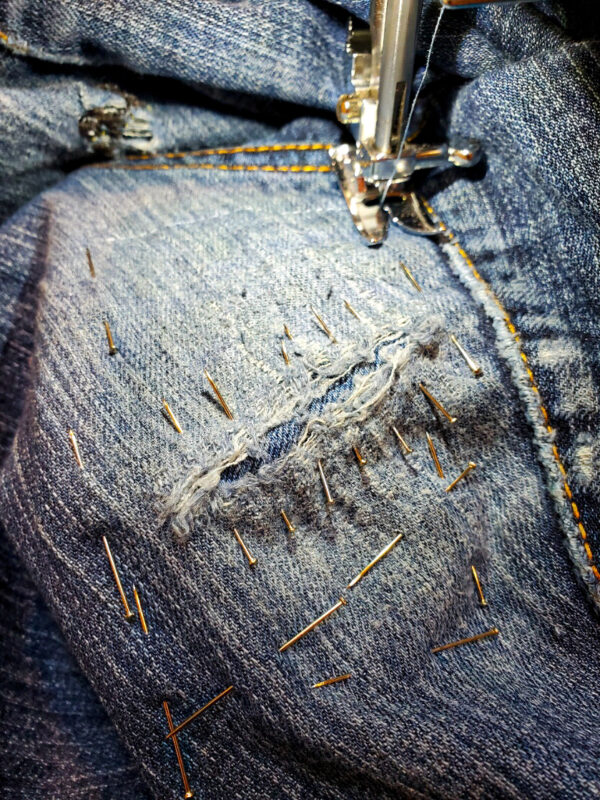
Sew the patch to the jeans. Since I like to sew from the front side of the rip, so that I can make sure it stays looking relatively cute, I use the pins that I put around the perimeter of the patch to guide my stitching.
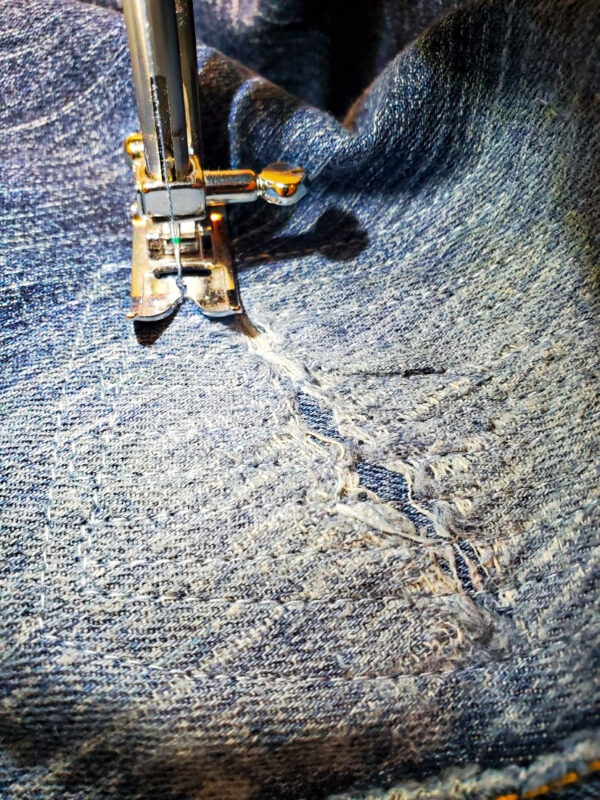
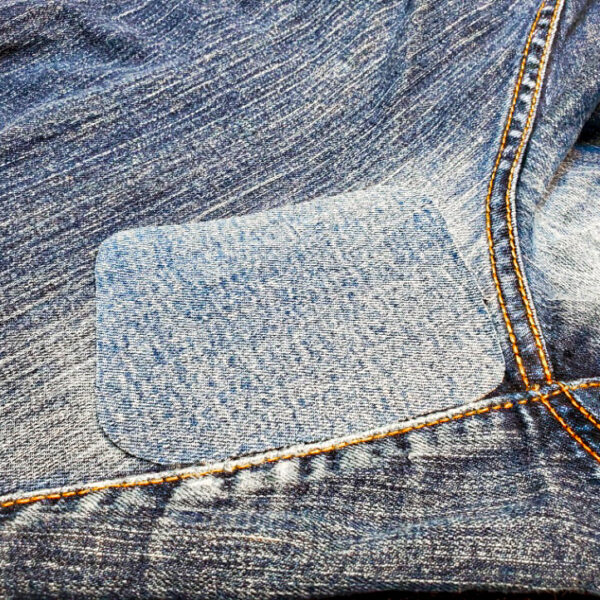
Once you’ve sewn all the way around the patch, here’s where it gets fun! Stitch back and forth across the entire width of the patch. I do this evenly by stitching two stitches across, then all the way down. Two more stitches across, then all the way back, parallel to the first line. I continue going until I’ve reached the end of the patch. Then I turn my fabric 90 degrees and stitch back and forth across the entire length of the patch.
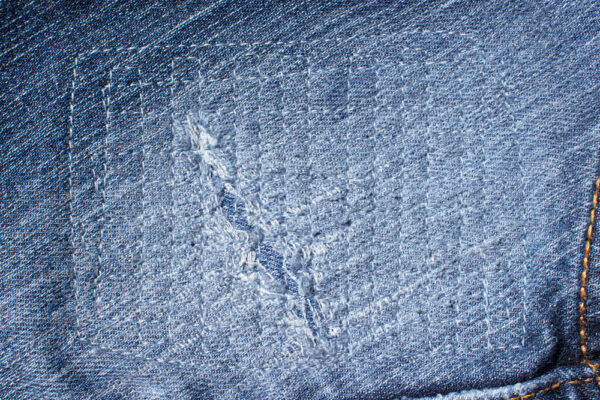
The finished patch is SO STRONG! That rip isn’t going anywhere. The area around it is also so well stabilized that future rips will have to think very hard about whether they want to go through the effort of making themselves known.
The edges of that patch will fray, but won’t fray beyond the stitching. You can minimize this by turning your jeans inside out and trimming the patch close to the stitching line. But if you think that any fray at all will be a sensory issue, zigzag stitch the edges of the patch to the jeans to keep the fraying entirely at bay.


I have a favorite pair that is about to give way any day and this is a great fix!
Thank you so much! I have a few pair and they are in great condition except for that area! Now I don’t have to throw them away!
A hilarious read, as well as helpful. Thank you for this