My kid loves books. Reading is, hands-down, her favorite activity in the world.
Her second favorite activity? Hanging out at the library or a bookstore, looking for more good books to read!
For her most recent birthday, I wanted to give my kid an experience gift that would allow me to spend time with her doing her two favorite activities. I chose nine independent bookstores, most of which we haven’t ever been to before (gasp!), that are in driving distance of our house. I incorporated those bookstores into a scratch-off card! Whenever we’ve got an afternoon free, my kid can scratch off a box, and whatever bookstore is underneath is where we’re going to hang out, browse, and buy a book or two!
A scratch-off card is a really fun way to present all kinds of experience gifts or fun activities. Everybody loves a scratch-off, and it adds an element of surprise that makes an already great gift even better.
Best yet: you likely already have everything that you need to make it!
To make your own scratch-off card, here’s what you’ll need:
- cardstock or other paper of a similar or heavier weight. I’m using watercolor paper for this scratch-off, but tbh I wish I’d used Bristol board. I wouldn’t use anything lighter than cardstock for this project. Heavier papers, like cardboard or mat board, would work fine.
- clear packing tape. You could get away with using Scotch tape or something similar, but clear packing tape is the perfect combination of clear and slick for this project.
- acrylic paint. Metallic paint feels really right for a scratch-off, but you can use non-metallic colors, too. Just remember that even if you choose a dark color that doesn’t need a lot of layers to make it opaque, you’ll still want to paint on several thick layers to make the scratch-off work properly.
- dish soap. Use the soap you use for handwashing your dishes, not the soap you put in the dishwasher.
- supplies for embellishment. Be as creative as you like! You shouldn’t have any bumps or ridges underneath the scratch-off paint, but otherwise, anything is fair game.
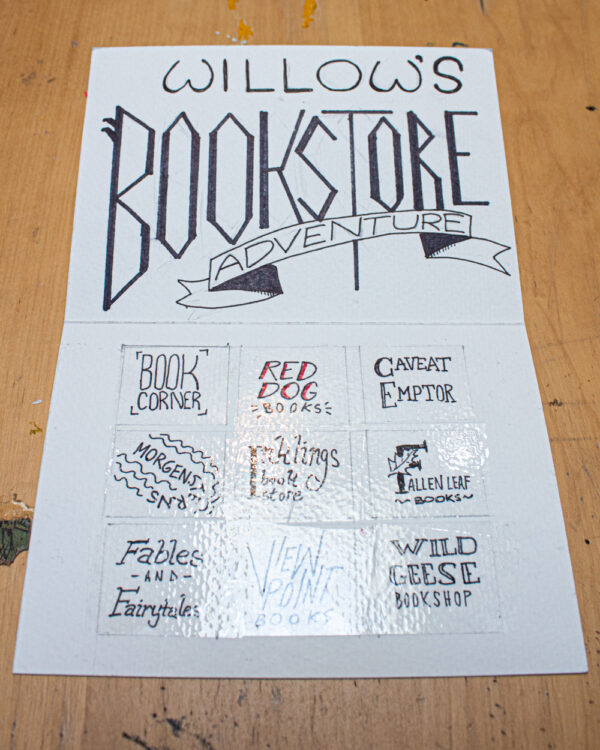
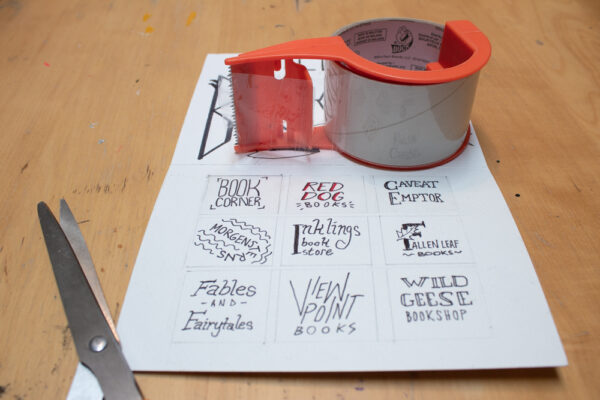
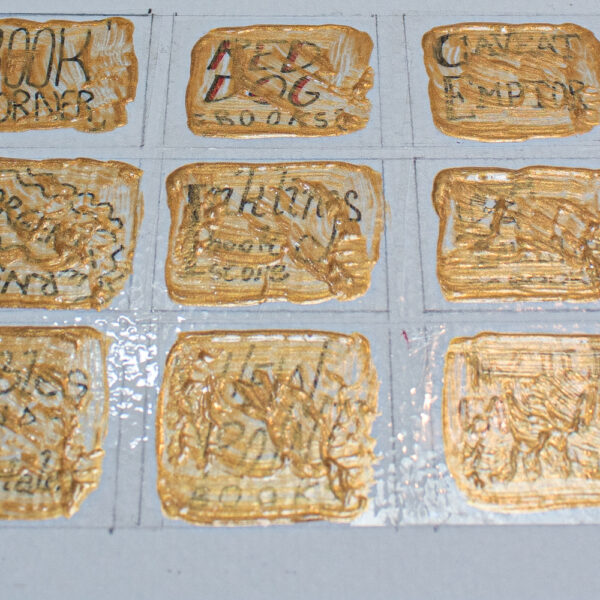
Step 1: Create the parts of the scratch-off that go underneath the paint.
You can decorate the entire card at this point, or just the scratch-off parts. Use pencil, inks, or paints, or digitally design your card and print it.
When you’re happy with the look that will go underneath the scratch-off paint, cover each scratch-off part with clear packing tape. That slick surface is what will enable the paint to scratch off instead of sticking. You technically could cover your entire card with packing tape, or even laminate it. I don’t like the shiny look on top of the rest of my cards, so I always try to cut my packing tape to just fit the scratch-off area.
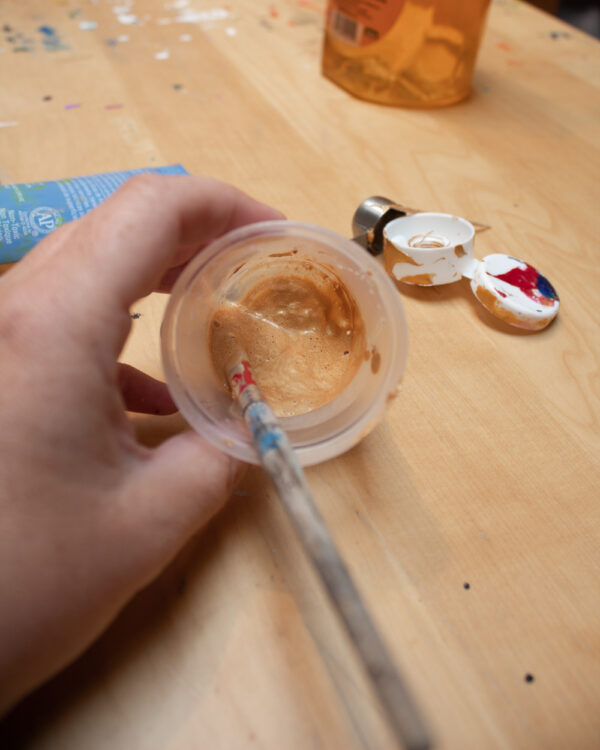
Step 2: Prepare the scratch-off paint.
The ratio for scratch-off paint is approximately one part dish soap to two parts paint. You don’t have to be too fussy with your measuring, though. I’ve found that this ratio works fine with whatever random dish soap and whatever random acrylic paint that I have on hand.
Stir the paint well until it’s thoroughly combined, and put it in a small lidded container. You’ll be painting on several coats over the course of many, many hours, so you don’t want your leftovers to dry out.
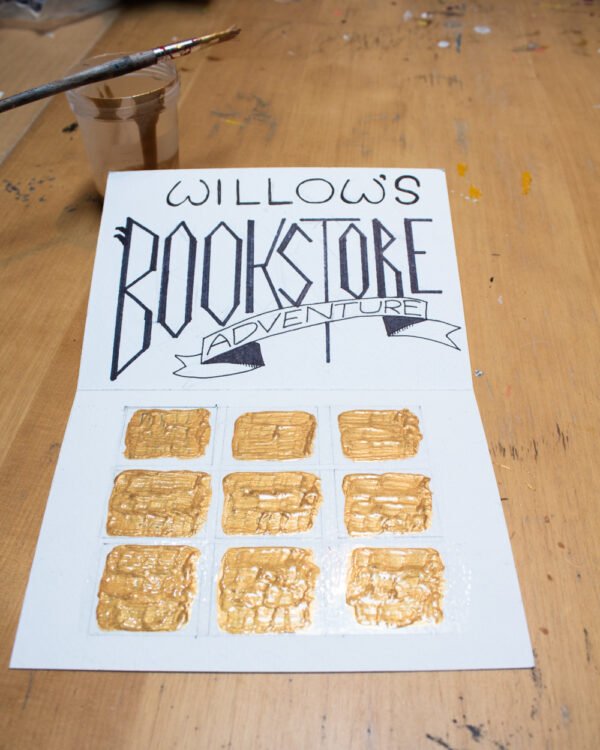
Step 3: Paint the scratch-off areas.
This step is extremely time-consuming, but all the many hours are primarily drying time. Essentially, you’re going to slop a layer of paint on top of the packing tape, wait for it to dry, then do it again until your scratch-off is opaque.
Of course, the thicker the layers of paint get, the longer it takes for each subsequent layer to dry. To get the last couple of layers to dry more quickly, I sometimes clothespin my scratch-off to an easel and aim a box fan at it. It was exceptionally hot and muggy when I made this particular summer birthday present. Without that trick, I might still be waiting for that final paint layer to dry!
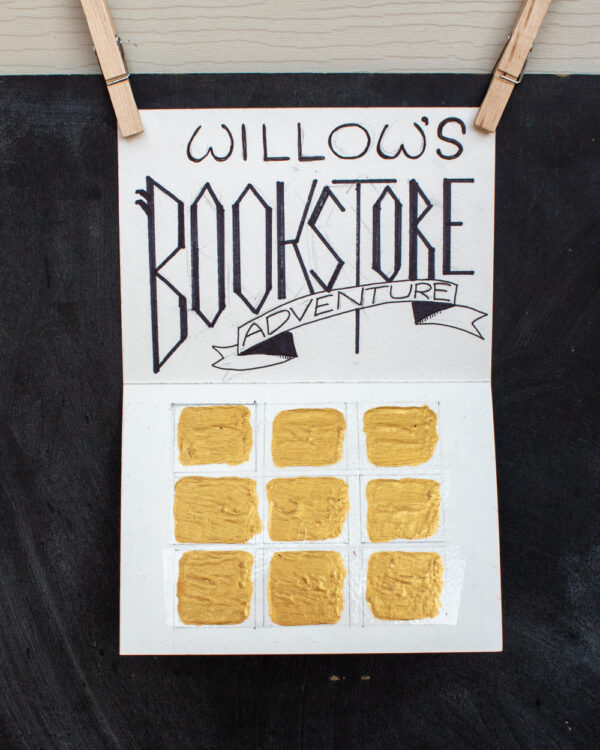
When the paint is dry, your scratch-off is ready to roll!
I’ve never had the paint get sticky or bleed, even in the humid Indiana sunshine, but I still like to cut a piece of wax paper to fit it when I put it in an envelope. It’s also fun to enclose a quarter–either brand-new or minted in the recipient’s birth year–the better to scratch off the prizes with.
There are tons of fun uses for a DIY scratch-off card. As you can see here, it’s a great way to make an experience gift even more special, but you can also use it to divvy out small gifts or rewards. Paint numbers over the scratch-off paint with a Sharpie, and use it as an Advent calendar! Put a fun activity under each square, and use it to pick what you do during family time. Write down your favorite restaurants, and take the waffling out of picking where you go out to eat. Laminate pages of a Richard Scarry Busy World book, cover different sections with scratch-off paint, and keep a small kid quietly entertained during a long meeting.
And the most important part? In THIS scratch-off, everybody wins!