
Check out this relatively simple way to completely replace a coat pocket, so it’s even sturdier than the original.
A good coat can last a lifetime, but coat pockets?
They don’t always last, and what good is a coat without functioning coat pockets?
Don’t put your keys in danger! Instead, check out this relatively simple way to completely replace a coat pocket, and sew it in such a way that the new one is much sturdier than the original.
You will need:
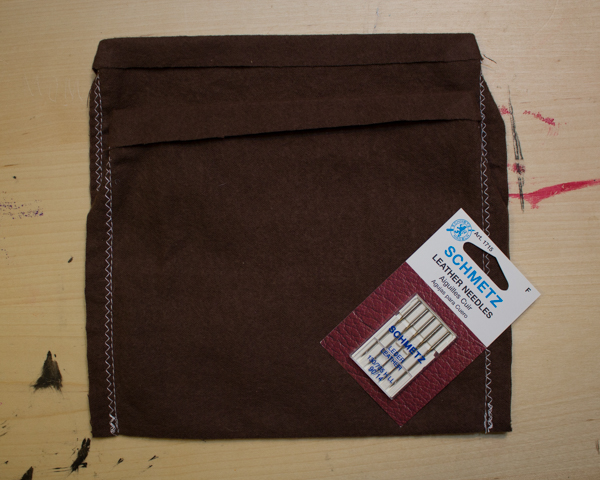
scrap fabric. I used scraps of brown flannel that I found in my stash bin–my husband was pleasantly surprised to put his hands into his new coat pockets for the first time and feel such nice, soft fabric.
sewing supplies. The most important of these is the correct sewing machine needle; I’m replacing the coat pocket on a leather jacket, so I’m using a leather needle here.
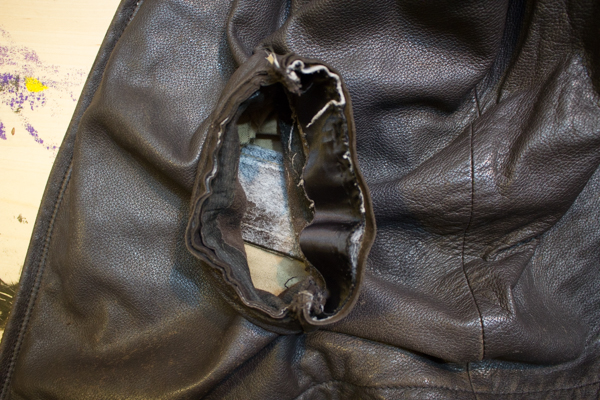
1. Remove the old pocket. Turn the coat pocket inside-out, then use a seam ripper and thread scissors to completely remove the old pocket. If the pocket is sandwiched in between the lining and the leather coat, then carefully cut the pocket fabric away with your thread scissors. Otherwise, you can use the seam ripper to carefully pick the pocket away from the leather coat.
2. Measure the new pocket. I’d suggest that you use the old pockets as a guideline, but in this particular case, I can’t show you a picture of how you’d do that, as Matt’s coat pockets were absolutely shredded. What on earth does he put in them?!?
If that’s the case for you, as well, then instead measure the length of the coat pocket and add a seam allowance on both sides. For the height of the pocket, the distance from the coat pocket to the bottom of the coat is the maximum possible length, and the length of a hand when it’s shoved snugly into a coat pocket is the minimum length–choose something in between, as your fabric scrap allows, then double it and add two seam allowances.

3. Sew the new pocket. Fold the pocket in half, then sew up the two sides adjacent to the fold with a straight stitch, and then go back and sew them again, and perhaps zig-zag them to finish them. You don’t want to ever replace this coat pocket again!
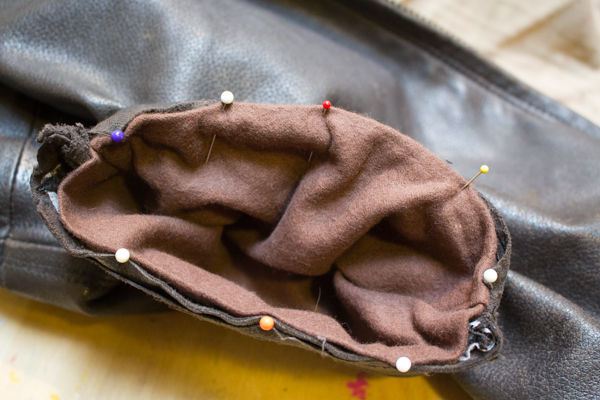
4. Attach the new pocket to the coat. Make sure that the new pocket is situated with the sewn seams facing out, then fold the top down to the wrong side by the length of your seam allowance, and iron to crease it.
Turn the seams of the coat pocket out.
Pin your new pocket around the inside of the coat pocket, being careful not to push any pins through the front of the coat itself, if it’s leather.
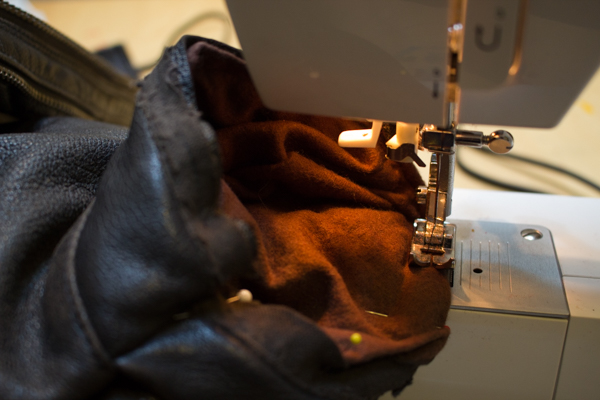
Sew around the new coat pocket, using a longer stitch if the coat fabric is heavy. Sew around again, then zig-zag to finish the seam, if you’d like.
Turn the coat pocket back in, and you should have a brand-new pocket all situated, with no stitches or fabric showing. The best part is that the pocket has no bottom seam, which means that it will take much longer for your car keys to make a hole in it, this time!


Thanks for the instruction. Wonderful way to replace coat’s pocket. Great job! Thanks for sharing.
Thanks. It’s a straightforward explanation with good pictures.
My pockets are also pretty much shredded. I’ll try to let you know how it goes for me.
Stay safe!
You’d think a tailor would know how to do what you say…I’m on my second set of pockets in 3 years. I will take your counsel and try it myself. I know I can do it…your instruction is clear and definitely rings of experience.